Chapter 6 Daily Care
113
9
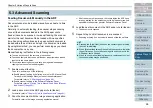
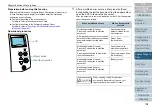
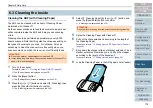
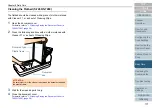
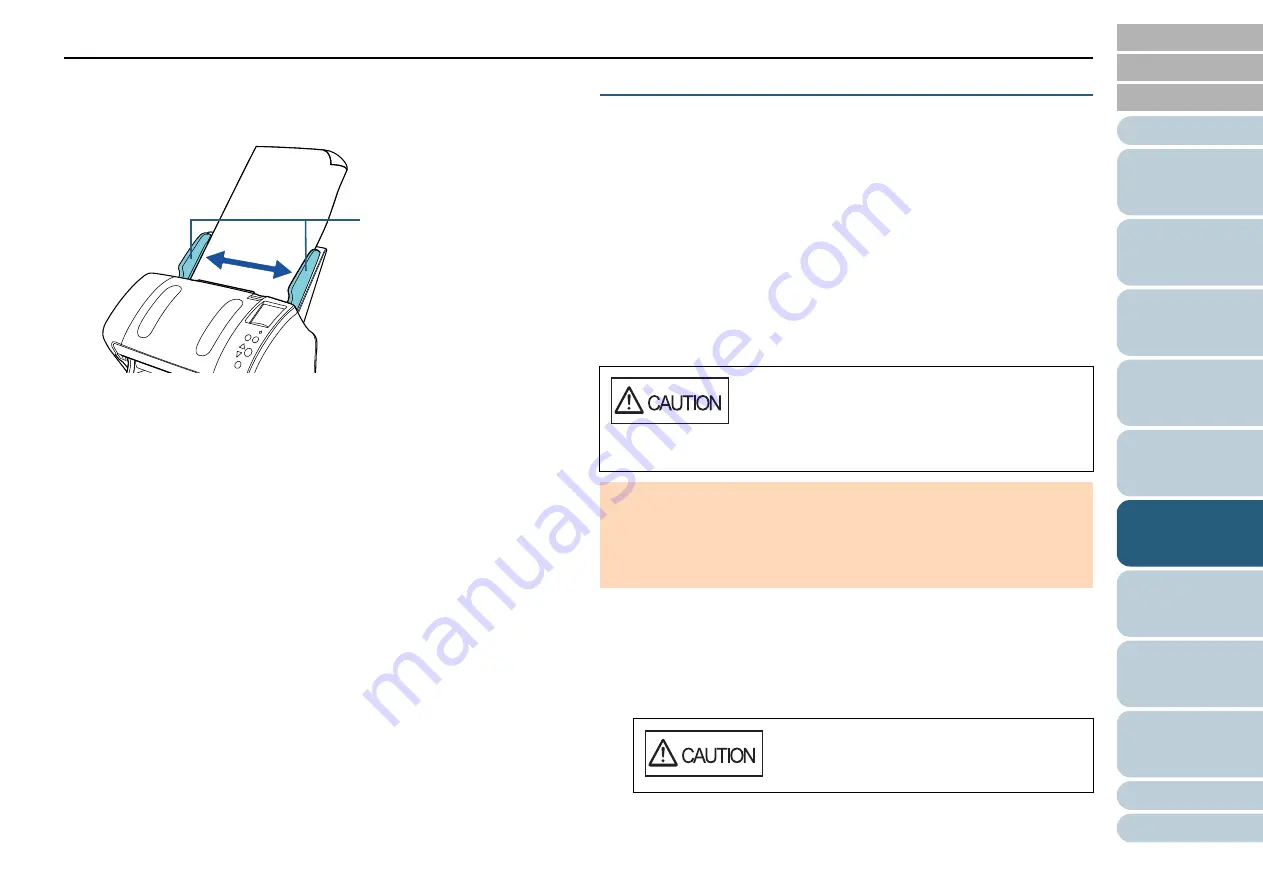
Adjust the side guides to the width of the Cleaning Paper.
Do not leave space between the side guides and the Cleaning Paper.
Otherwise, the Cleaning Paper may be fed skewed.
10
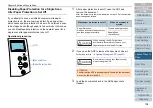
Press the [Scan/Enter] button.
The Cleaning Paper is fed and ejected onto the stacker.
11
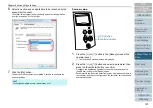
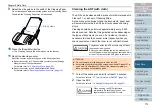
Reset the cleaning counter.
Reset the counter by performing one of the following actions:
z
Reset the counter in [4: Consumable counters] on the [Settings
Menu] screen of the operator panel.
For details, refer to
.
z
Reset the counter in the Software Operation Panel.
For details, refer to
"Resetting the sheet counters" (page 179)
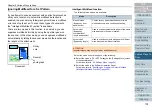
Cleaning the ADF (with cloth)
The ADF can be cleaned with a piece of cloth moistened with
Cleaner F1, or a sheet of Cleaning Wipe.
As the scanner continues to feed the documents, paper dust
will accumulate inside the ADF and it may cause scanning
errors.
Cleaning should be performed approximately every 5,000
sheets scanned. Note that this guideline varies depending on
the types of documents you scan. For instance, it may be
necessary to clean the scanner more frequently when you
scan documents on which the toner is not sufficiently fused.
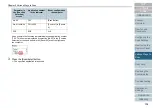
1
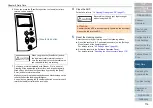
Turn off the scanner and wait for at least 15 minutes.
For details, refer to
"1.3 Turning the Power ON/OFF" (page 25)
2
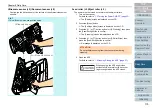
Open the ADF.
For details, refer to
"1.4 Opening/Closing the ADF" (page 27)
.
Side guides
The glasses inside the ADF become very hot when
the scanner is being used.
Before you start cleaning the inside, make sure to
turn off the power, unplug the power cable and wait
at least 15 minutes for the ADF glass to cool down.
ATTENTION
z
Do not use water or mild detergent to clean the ADF.
z
It may take a long time to dry if an excessive amount of Cleaner F1 is
used. Use it in small quantity. Wipe off the cleaner completely to
leave no residue on the cleaned parts.
When opening, the ADF might close
accidentally. Be careful not to have your
fingers caught when the ADF closes.

