41
U s e r I n s t a l l a b l e F e a t u r e s
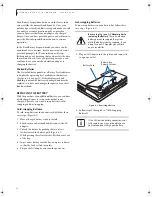
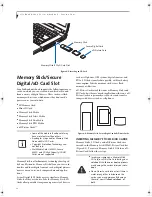
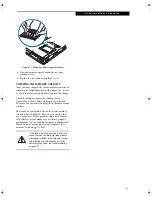
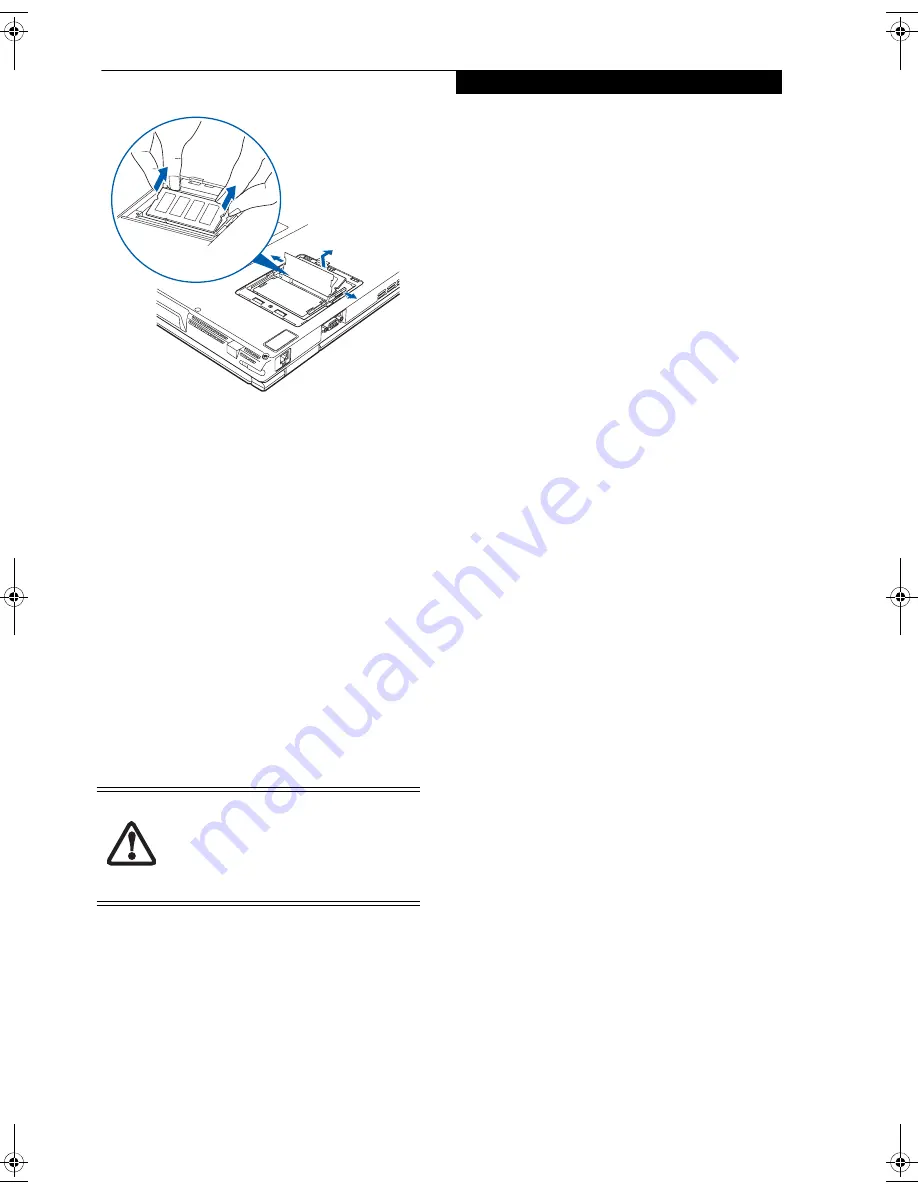
Figure 4-11. Removing a Memory Upgrade Module
4. Store the memory upgrade module in a static
guarded sleeve.
5. Replace the cover and reinstall the screw.
CHECKING THE MEMORY CAPACITY
Once you have changed the system memory capacity by
replacing the installed module with a larger one, be sure
to check that your notebook has recognized the change.
Check the memory capacity by clicking [Start] ->
Control Panel, then double-clicking the System icon.
The amount of memory is displayed on the main System
window.
There may be a variation between the actual memory
size and what is displayed. This is due to the fact that
your system uses a video graphics chip which dynami-
cally allocates system memory to accelerate graphics
performance. Up to 224 MB of memory is dynamically
shared on an as-needed basis using Dynamic Video
Memory Technology (DVMT)
.
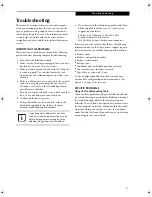
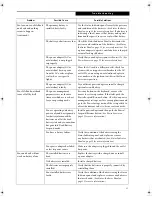
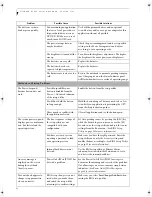
If the total memory displayed is incorrect,
check that your memory upgrade module
is properly installed. (If the module is prop-
erly installed and the capacity is still not
correctly recognized, see Troubleshooting
on page 47
.)
fennec2.book Page 41 Thursday, December 21, 2006 12:43 PM
Summary of Contents for LifeBook A6020
Page 1: ...Fujitsu LifeBook A6020 Notebook User s Guide ...
Page 2: ......
Page 8: ...L i f e B o o k A 6 0 0 0 S e r i e s N o t e b o o k ...
Page 9: ...1 Preface ...
Page 10: ...L i f e B o o k A 6 0 0 0 S e r i e s N o t e b o o k ...
Page 12: ...2 L i f e B o o k A 6 0 0 0 S e r i e s N o t e b o o k ...
Page 13: ...3 2 Getting to Know Your LifeBook Notebook ...
Page 14: ...4 L i f e B o o k A 6 0 0 0 S e r i e s N o t e b o o k S e c t i o n T w o ...
Page 31: ...21 3 Getting Started ...
Page 32: ...22 L i f e B o o k A 6 0 0 0 S e r i e s N o t e b o o k S e c t i o n T h r e e ...
Page 39: ...29 4 User Installable Features ...
Page 40: ...30 L i f e B o o k A 6 0 0 0 S e r i e s N o t e b o o k S e c t i o n F o u r ...
Page 54: ...44 L i f e B o o k A 6 0 0 0 S e r i e s N o t e b o o k S e c t i o n F o u r ...
Page 55: ...45 5 Troubleshooting ...
Page 56: ...46 L i f e B o o k A 6 0 0 0 S e r i e s N o t e b o o k S e c t i o n F i v e ...
Page 70: ...60 L i f e B o o k A 6 0 0 0 S e r i e s N o t e b o o k S e c t i o n F i v e ...
Page 71: ...61 6 Care and Maintenance ...
Page 72: ...62 L i f e B o o k A 6 0 0 0 S e r i e s N o t e b o o k S e c t i o n S i x ...
Page 76: ...66 L i f e B o o k A 6 0 0 0 S e r i e s N o t e b o o k S e c t i o n S i x ...
Page 77: ...67 7 System Specifications ...
Page 78: ...68 L i f e B o o k A 6 0 0 0 S e r i e s N o t e b o o k S e c t i o n S e v e n ...
Page 83: ...73 8 Glossary ...
Page 84: ...74 L i f e B o o k A 6 0 0 0 S e r i e s N o t e b o o k S e c t i o n E i g h t ...
Page 92: ...82 L i f e B o o k A 6 0 0 0 S e r i e s N o t e b o o k S e c t i o n E i g h t ...
Page 93: ...83 Appendix A Integrated Wireless LAN User s Guide ...
Page 94: ...84 L i f e B o o k A 6 0 0 0 S e r i e s N o t e b o o k A p p e n d i x ...
Page 105: ...95 Appendix B Using the Fingerprint Sensor ...
Page 106: ...96 L i f e B o o k A 6 0 0 0 S e r i e s N o t e b o o k ...
Page 114: ...104 L i f e B o o k A 6 0 0 0 S e r i e s N o t e b o o k ...
Page 118: ...108 L i f e B o o k A 6 0 0 0 S e r i e s N o t e b o o k I n d e x ...
Page 119: ......
Page 120: ......

