43
O p t i c a l D i g i t a l A u d i o O u t
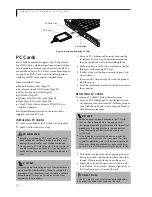
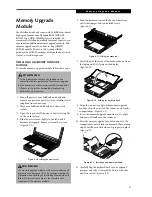
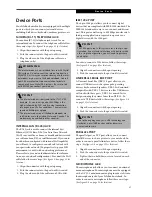
Optical Digital Audio Out
Your LifeBook notebook has an Optical Digital Audio
Out Port to which you can connect an optional Mini-
Disc recorder to record music or to a home sound
system to play your MP3 files. The optical digital audio
out port is located on the right-hand side of your Life-
Book notebook.
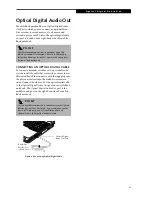
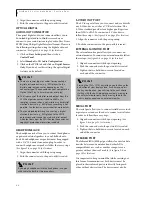
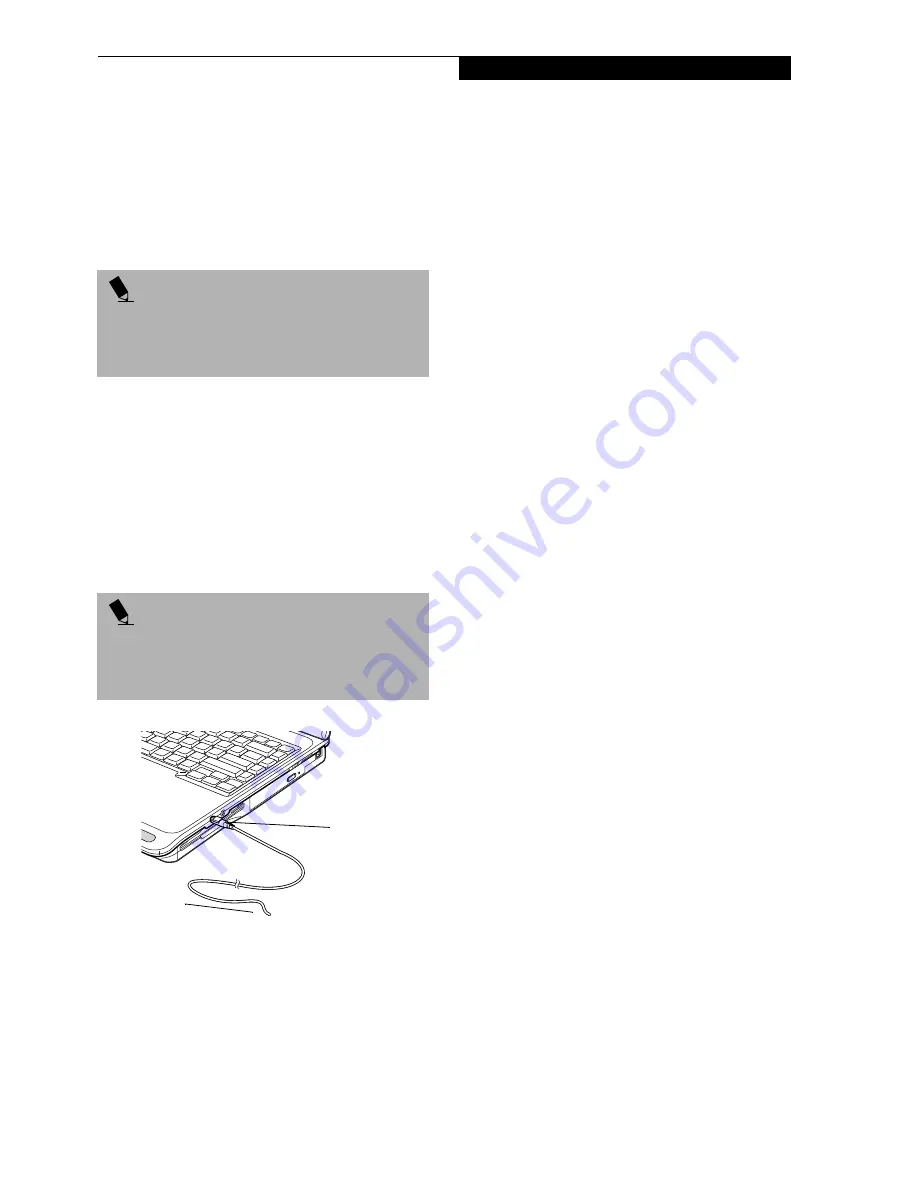
CONNECTING AN OPTICAL DIGITAL CABLE
To connect a minidisc recorder or to a personal sound
system, install the cable that came with your recorder as
illustrated. Install the connector with the long plug into
the player, as instructed in the vendor’s user instruc-
tions. Connect the other end of the optical digital cable
to the Optical Digital Audio Out port on your LifeBook
notebook. The Optical Digital Audio Out port is the
middle round port on the right-hand side of your Life-
Book notebook.
Figure 4-8 Connecting Optical Digital Cable
P O I N T
MiniDisc recorder operation is dependent upon the
individual vendor’s instructions. Be sure to thoroughly
review any documentation that comes with your player
before using your device.
P O I N T
Certain minidisc recorder cable connectors are configured
differently from that illustrated. If your cable connector
does not fit properly, you will need to purchase an
adapter from a third-party electronics store.
LifeBook Digital
Audio Out Port
To MiniDisc
Recorder Port
or home stereo
Summary of Contents for LifeBook C series
Page 2: ...L i f e B o o k C S e r i e s N o t e b o o k ...
Page 6: ...L i f e B o o k C S e r i e s N o t e b o o k ...
Page 7: ...1 1 Preface ...
Page 8: ...2 L i f e B o o k C S e r i e s N o t e b o o k ...
Page 10: ...4 L i f e B o o k C S e r i e s N o t e b o o k S e c t i o n O n e ...
Page 11: ...5 2 Getting to Know Your Computer ...
Page 12: ...6 L i f e B o o k C S e r i e s N o t e b o o k S e c t i o n T w o ...
Page 29: ...23 3 Getting Started ...
Page 30: ...24 L i f e B o o k C S e r i e s N o t e b o o k S e c t i o n T h r e e ...
Page 38: ...32 L i f e B o o k C S e r i e s N o t e b o o k S e c t i o n T h r e e ...
Page 39: ...33 4 User Installable Features ...
Page 40: ...34 L i f e B o o k C S e r i e s N o t e b o o k S e c t i o n F o u r ...
Page 56: ...50 L i f e B o o k C S e r i e s N o t e b o o k S e c t i o n F o u r ...
Page 57: ...51 5 Using the Integrated Wireless LAN Optional device ...
Page 58: ...52 L i f e B o o k C S e r i e s N o t e b o o k S e c t i o n F i v e ...
Page 75: ...69 6 Troubleshooting ...
Page 76: ...70 L i f e B o o k C S e r i e s N o t e b o o k S e c t i o n S i x ...
Page 90: ...84 L i f e B o o k C S e r i e s N o t e b o o k S e c t i o n S i x ...
Page 91: ...85 7 Care and Maintenance ...
Page 92: ...86 L i f e B o o k C S e r i e s N o t e b o o k S e c t i o n S e v e n ...
Page 96: ...90 L i f e B o o k C S e r i e s N o t e b o o k S e c t i o n S e v e n ...
Page 97: ...91 8 Specifications ...
Page 98: ...92 L i f e B o o k C S e r i e s N o t e b o o k S e c t i o n E i g h t ...
Page 106: ...100 L i f e B o o k C S e r i e s N o t e b o o k ...
Page 107: ...101 9 Glossary ...
Page 108: ...102 L i f e B o o k C S e r i e s N o t e b o o k S e c t i o n N i n e ...
Page 114: ...108 L i f e B o o k C S e r i e s N o t e b o o k S e c t i o n N i n e ...
Page 118: ...L i f e B o o k C S e r i e s N o t e b o o k ...

