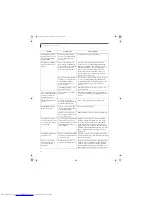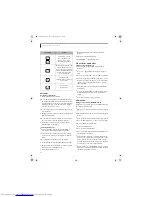
59
T r o u b l e s h o o t i n g
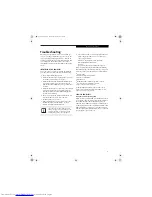
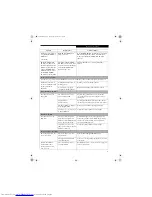
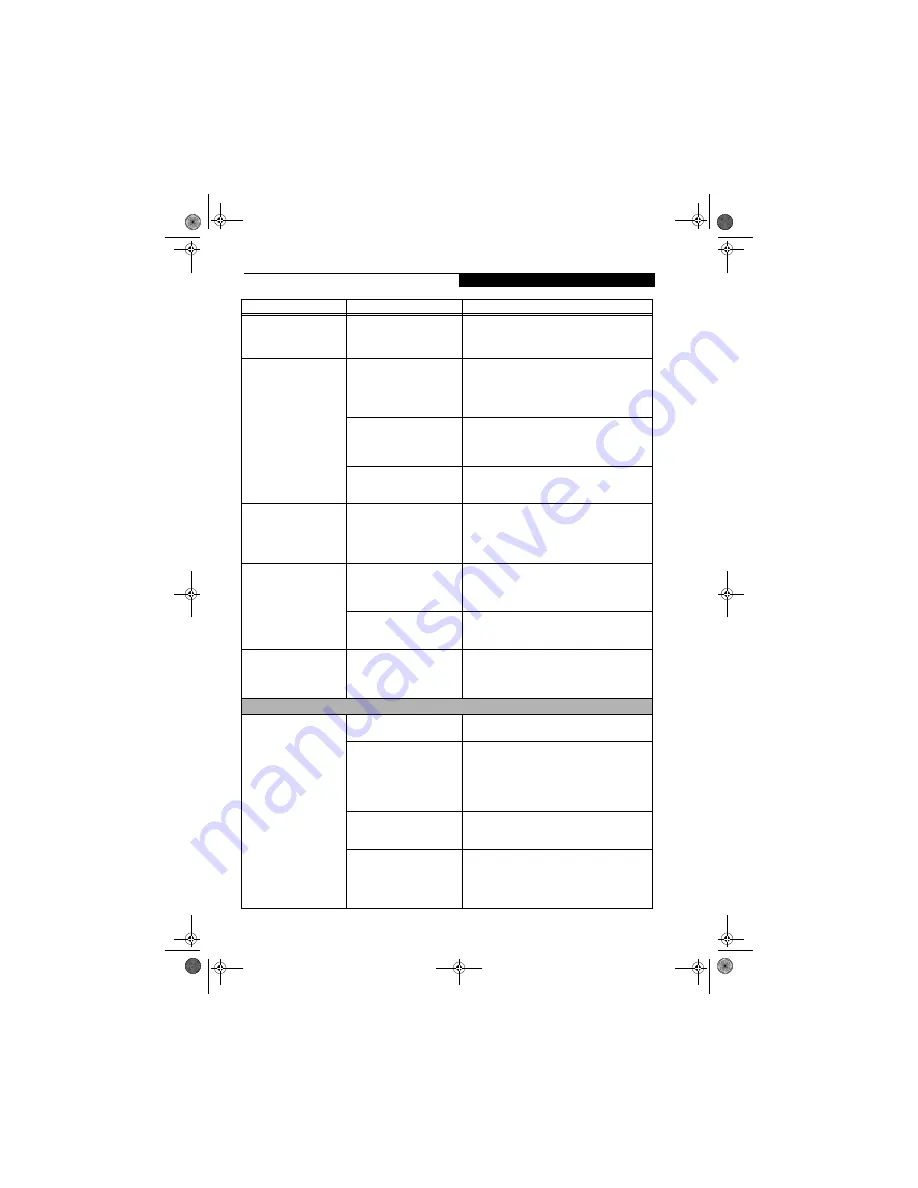
The Suspend/Resume
button does not work.
(continued)
There may be a conflict with
the application software.
Close all applications and try the button again.
The system powers up, and
displays power on informa-
tion, but fails to load the
operating system.
The boot sequence settings
of the setup utility are not
compatible with your
configuration.
Set the operating source by pressing the [ESC] key
while the Fujitsu logo is on screen or use the [F2]
key and enter the setup utility and adjust the source
settings from the Boot menu.
(See BIOS Setup
Utility on page 29 for more information)
You have a secured system
requiring a password to load
your operating system.
Make sure you have the right password. Enter the
setup utility and verify the Security settings and
modify them as accordingly.
(See BIOS Setup Utility
on page 29 for more information)
Internal hard drive was
not detected.
Use the BIOS setup utility or Primary Master
submenu, located within the Main menu, to try to
auto detect the internal hard drive.
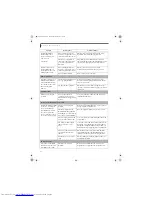
An error message is
displayed on the screen
during the notebook
(boot) sequence.
Power On Self Test (POST) has
detected a problem.
See the Power On Self Test (POST) messages to
determine the meaning and severity of the problem.
Not all messages are errors; some are simply status
indicators.
(See Power On Self Test Messages on
page 62 for more information)
Your notebook appears to
change setup parameters
when you start it.
BIOS setup changes were not
saved when you made them
and exited the setup utility
returning it to earlier settings.
Make sure you select
Save Changes And Exit
when
exiting the BIOS setup utility.
The BIOS CMOS hold-up
battery has failed.
Contact your support representative for repairs.
This is not a user serviceable part but has a normal
life of 3 to 5 years.
Your system display won’t
turn on when the system is
turned on or when the
system has resumed.
The system may be password-
protected.
Check the status indicator panel to verify that the
Security icon is blinking. If it is blinking, enter your
password.
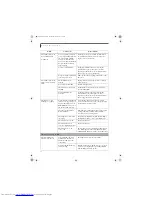
Video Problems
The built-in display is
blank when you turn on
your LifeBook notebook.
Something is pushing on the
Closed Cover switch.
Clear the Closed Cover switch.
(See figure 2-3 on
page 6 for location)
The notebook is set for an
external monitor only.
Pressing [F10] while holding down the [Fn] key
allows you to change your selection of where to send
your display video. Each time you press the keys you
will step to the next choice. The choices, in order
are: built-in display only, external monitor only,
both built-in display and external monitor.
The display angle and bright-
ness settings are not adequate
for your lighting conditions.
Move the display and the brightness control until
you have adequate visibility.
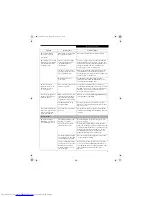
The power management time-
outs may be set for very short
intervals and you failed to
notice the display come on
and go off again.
Press any button the keyboard, or move the mouse
to restore operation. If that fails, push the Power/
Suspend/Resume button. (The display may be shut
off by Standy mode, Auto Suspend or Video
Timeout)
Problem
Possible Cause
Possible Solutions
E8020.book Page 59 Thursday, March 10, 2005 1:55 PM
Summary of Contents for Lifebook E8020
Page 6: ...L i f e B o o k E 8 0 0 0 N o t e b o o k E8020 book Page 6 Thursday March 10 2005 1 55 PM ...
Page 7: ...1 Preface E8020 book Page 1 Thursday March 10 2005 1 55 PM ...
Page 8: ...L i f e B o o k E 8 0 0 0 N o t e b o o k E8020 book Page 2 Thursday March 10 2005 1 55 PM ...
Page 10: ...2 L i f e B o o k E 8 0 0 0 N o t e b o o k E8020 book Page 2 Thursday March 10 2005 1 55 PM ...
Page 11: ...3 2 Getting to Know Your LifeBook Notebook E8020 book Page 3 Thursday March 10 2005 1 55 PM ...
Page 12: ...4 L i f e B o o k E 8 0 0 0 N o t e b o o k E8020 book Page 4 Thursday March 10 2005 1 55 PM ...
Page 33: ...25 3 Getting Started E8020 book Page 25 Thursday March 10 2005 1 55 PM ...
Page 43: ...35 4 User Installable Features E8020 book Page 35 Thursday March 10 2005 1 55 PM ...
Page 59: ...51 5 Troubleshooting E8020 book Page 51 Thursday March 10 2005 1 55 PM ...
Page 75: ...67 6 Care and Maintenance E8020 book Page 67 Thursday March 10 2005 1 55 PM ...
Page 81: ...73 7 Specifications E8020 book Page 73 Thursday March 10 2005 1 55 PM ...
Page 87: ...79 8 Glossary E8020 book Page 79 Thursday March 10 2005 1 55 PM ...

