45
D e v i c e P o r t s
UNIVERSAL SERIAL BUS PORTS
A Universal Serial Bus (USB) 2.0 port allows you to
connect USB devices such as game pads, pointing
devices, keyboards and speakers. USB 2.0 is downward-
compatible with USB 1.1 devices, so older USB devices
will work with these ports. USB 2.0 is a much faster
design, running forty times faster than USB 1.1.
Your LifeBook notebook has four USB 2.0 ports; three
on the back and one on the left side. To connect a USB
device follow these steps:
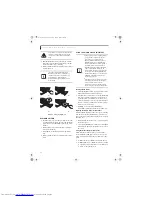
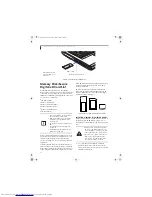
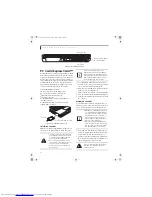
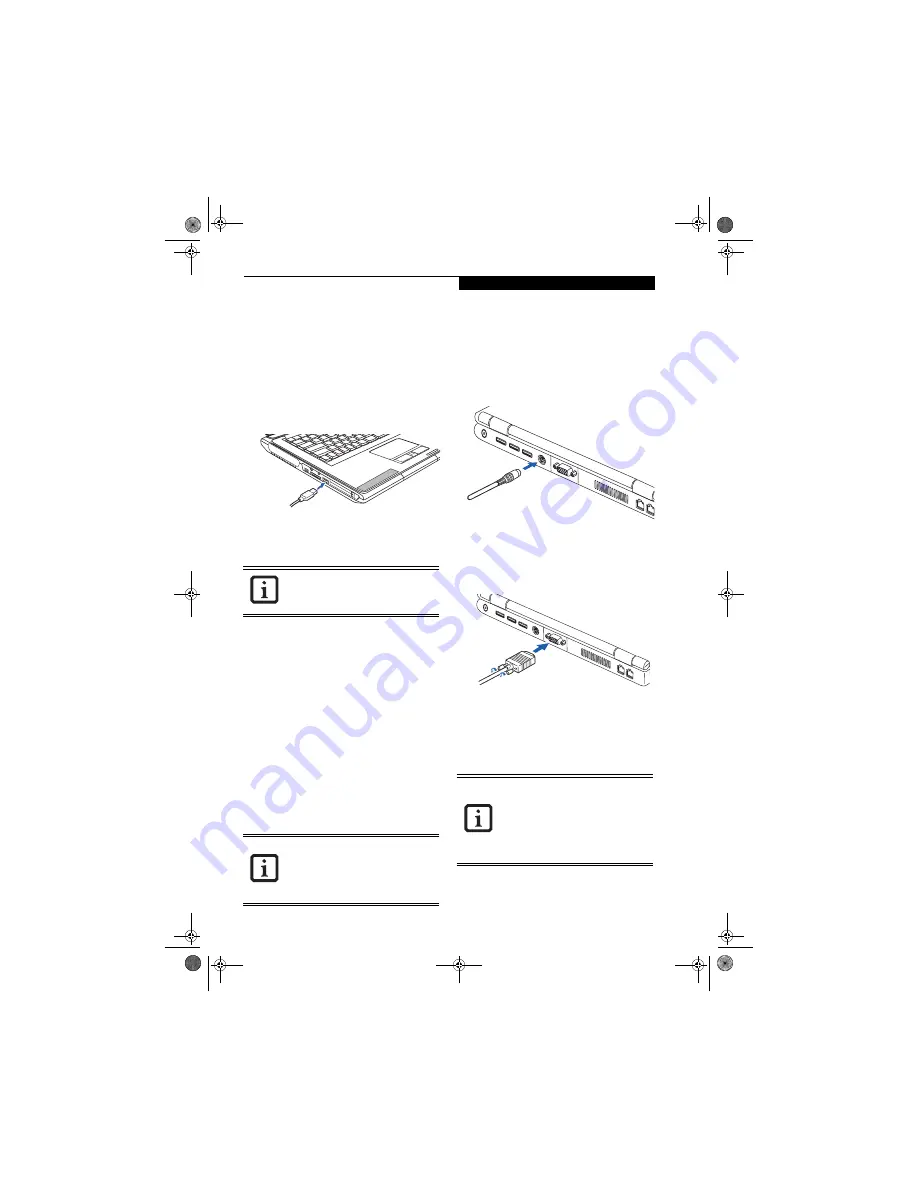
(Figure 4-14)
Figure 4-14. Connecting a USB device
1. Align the connector with the port opening.
2. Push the connector into the port until it is seated.
MICROPHONE JACK
The microphone jack allows you to connect an external
stereo microphone. Your microphone must be equipped
with a 1/8”(3.5 mm) mini-plug in order to fit into the
microphone jack of your LifeBook notebook. In order to
connect a microphone follow these easy steps:
(See
Figure 2-5 on page 10 for location)
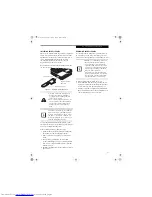
1. Align the connector with the port opening.
HEADPHONE/SPDIF JACK
The headphone/SPDIF jack supports 2-channel High
Definition (HD) audio for a greatly enhanced multi-
media experience. The SPDIF function of the jack allows
you to download digital audio to MiniDisc recorders. It
uses SPDIF (Sony Philips Digital Interface) format. To
connect headphones or SPDIF device, follow these steps:
1. Align the connector with the port opening.
2. Push the connector into the port until it is seated
.
S-VIDEO OUT PORT
The S-Video port allows you to connect and use directly
any S-Video device, such as a VCR or television. The
S-Video standard provides for a higher quality picture
than NTSC or PAL. To connect an S-Video device,
follow these steps:
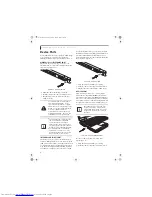
(Figure 4-15)
1. Align the connector with the port opening.
2. Push the connector into the port until it is seated.
Figure 4-15. Connecting an S-Video device
EXTERNAL VIDEO PORT
The external video port allows you to connect an external
video device. To connect an external device, follow these
steps:
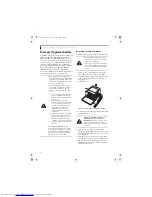
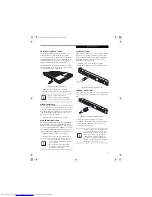
Figure 4-16. Connecting an external video device
1. Align the connector with the port opening.
2. Push the connector into the port until it is seated.
3. Tighten the two hold-down screws, located on
each end of the connector.
Due to ongoing changes in USB
technology and standards, not all USB
devices or drivers are guaranteed to work.
■
If you plug headphones into the head-
phone jack, you will disable the built-in
stereo speakers.
■
For information about using Dolby™
Headphone, refer to “Using Dolby™
Headphone” on page 39
Pressing the [Fn] + [F10] keys allows you
to change the destination of your display
video. Each time you press the key combi-
nation, you will step to the next choice,
starting with the built-in display panel
only, moving to the external device only,
finally moving to both the built-in display
panel and an external video device.
N3430-02.book Page 45 Tuesday, May 16, 2006 10:48 AM
Summary of Contents for LifeBook N3430
Page 2: ...C o p y r i g h t N3430 02 book Page 2 Tuesday May 16 2006 10 48 AM ...
Page 9: ...1 1 Preface N3430 02 book Page 1 Tuesday May 16 2006 10 48 AM ...
Page 13: ...5 2 Getting to Know Your Computer N3430 02 book Page 5 Tuesday May 16 2006 10 48 AM ...
Page 31: ...23 3 Getting Started N3430 02 book Page 23 Tuesday May 16 2006 10 48 AM ...
Page 39: ...31 4 User Installable Devices and Media N3430 02 book Page 31 Tuesday May 16 2006 10 48 AM ...
Page 55: ...47 5 Using the Integrated Wireless LAN N3430 02 book Page 47 Tuesday May 16 2006 10 48 AM ...
Page 69: ...61 6 Troubleshooting N3430 02 book Page 61 Tuesday May 16 2006 10 48 AM ...
Page 83: ...75 7 Care and Maintenance N3430 02 book Page 75 Tuesday May 16 2006 10 48 AM ...
Page 89: ...81 8 Specifications N3430 02 book Page 81 Tuesday May 16 2006 10 48 AM ...
Page 97: ...89 9 Glossary N3430 02 book Page 89 Tuesday May 16 2006 10 48 AM ...
Page 109: ...101 I n d e x N3430 02 book Page 101 Tuesday May 16 2006 10 48 AM ...
Page 111: ...103 I n d e x N3430 02 book Page 103 Tuesday May 16 2006 10 48 AM ...


