17
G e t t i n g t o K n o w Y o u r T a b l e t P C
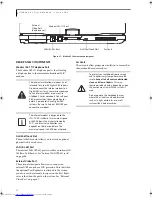
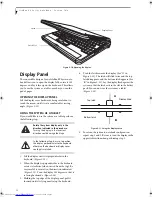
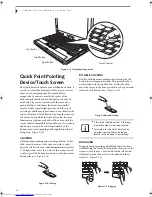
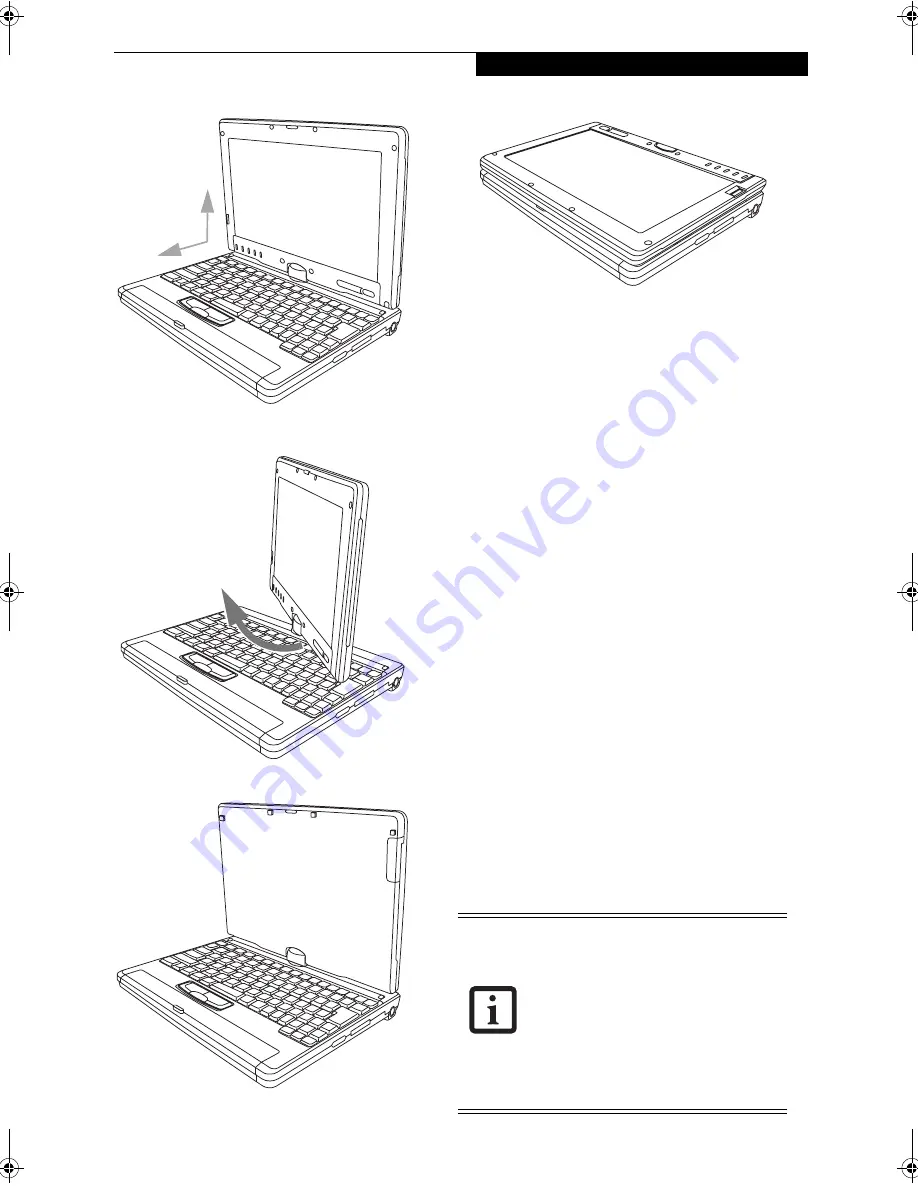
Figure 2-12. Fully open display
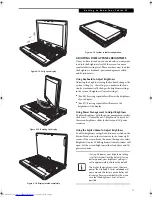
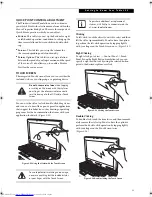
Figure 2-13. Rotating the display
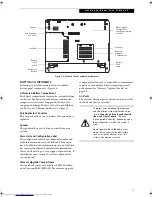
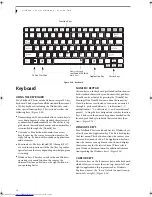
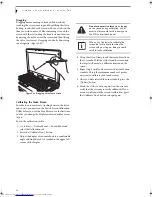
Figure 2-14. Display rotated completely
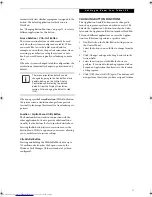
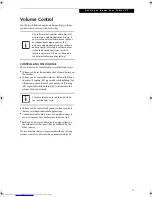
Figure 2-15. System in tablet configuration
ADJUSTING DISPLAY PANEL BRIGHTNESS
Once you have turned on your notebook, you may want
to adjust the brightness level of the screen to a more
comfortable viewing level. There are three ways to adjust
the brightness, keyboard, power management utility,
and Fujitsu menu.
Using Keyboard to Adjust Brightness
Adjusting the brightness using the keyboard changes the
system setting (i.e., the settings you make via the func-
tion keys automatically changes the brightness settings
in the system’s Brightness Control settings).
■
[Fn+F6]: Pressing repeatedly will lower the brightness
of your display.
■
[Fn+F7]: Pressing repeatedly will increase the
brightness of the display.
Using Power Management to Adjust Brightness
To adjust brightness with the power management utility,
click Start -> Control Panel -> Brightness Control. Set
the screen brightness slider for battery and AC power
scenarios.
Using the Fujitsu Menu to Adjust Brightness
To adjust brightness using the Fujitsu menu, click on the
Fujitsu Menu icon in the system tray in the lower right
corner of the screen. From the menu that appears, select
Brightness Control. The Brightness Control window will
open. Set the screen brightness slider for battery and AC
power scenarios.
90
o
If using AC power, your brightness setting
is set to its highest level by default. If using
battery power your brightness settings is
set to approximately mid-level by default.
The higher the brightness level, the more
power the LifeBook P Series notebook will
consume and the faster your batteries will
discharge. For maximum battery life, make
sure that the brightness is set as low as
possible.
P Series.book Page 17 Wednesday, July 6, 2005 2:29 PM
Summary of Contents for LIFEBOOK P Series
Page 6: ...L i f e B o o k P S e r i e s ...
Page 7: ...1 1 Preface ...
Page 8: ...2 L i f e B o o k P S e r i e s N o t e b o o k ...
Page 10: ...4 L i f e B o o k P S e r i e s N o t e b o o k ...
Page 11: ...5 2 Getting to Know Your LifeBook ...
Page 12: ...6 L i f e B o o k P S e r i e s N o t e b o o k S e c t i o n T w o ...
Page 32: ...26 L i f e B o o k P S e r i e s N o t e b o o k S e c t i o n T w o ...
Page 33: ...27 3 Using Your LifeBook ...
Page 34: ...28 L i f e B o o k P S e r i e s N o t e b o o k S e c t i o n T h r e e ...
Page 41: ...35 4 User Installable Features ...
Page 42: ...36 L i f e B o o k P S e r i e s N o t e b o o k S e c t i o n F o u r ...
Page 54: ...48 L i f e B o o k P S e r i e s N o t e b o o k S e c t i o n F o u r ...
Page 55: ...49 5 Troubleshooting ...
Page 56: ...50 L i f e B o o k P S e r i e s N o t e b o o k S e c t i o n F i v e ...
Page 68: ...62 L i f e B o o k P S e r i e s N o t e b o o k S e c t i o n F i v e ...
Page 69: ...63 6 Care and Maintenance ...
Page 70: ...64 L i f e B o o k P S e r i e s N o t e b o o k S e c t i o n S i x ...
Page 74: ...68 L i f e B o o k P S e r i e s N o t e b o o k S e c t i o n S i x ...
Page 75: ...69 7 Specifications ...
Page 76: ...70 L i f e B o o k P S e r i e s N o t e b o o k S e c t i o n S e v e n ...
Page 81: ...75 8 Glossary ...
Page 82: ...76 L i f e B o o k P S e r i e s N o t e b o o k S e c t i o n E i g h t ...
Page 89: ...83 Appendix A Integrated Wireless LAN User s Guide Optional Device ...
Page 90: ...84 L i f e B o o k P S e r i e s N o t e b o o k A p p e n d i x A ...
Page 104: ...98 L i f e B o o k P S e r i e s N o t e b o o k A p p e n d i x A ...
Page 105: ...99 Appendix B Using the Fingerprint Swipe Sensor ...
Page 106: ...100 L i f e B o o k T S e r i e s T a b l e t P C A p p e n d i x B ...
Page 114: ...108 L i f e B o o k T S e r i e s T a b l e t P C A p p e n d i x B ...
Page 118: ...112 L i f e B o o k P S e r i e s N o t e b o o k I n d e x ...
Page 119: ......
Page 120: ......

