17
G e t t i n g t o K n o w Y o u r N o t e b o o k
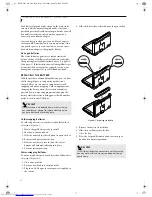
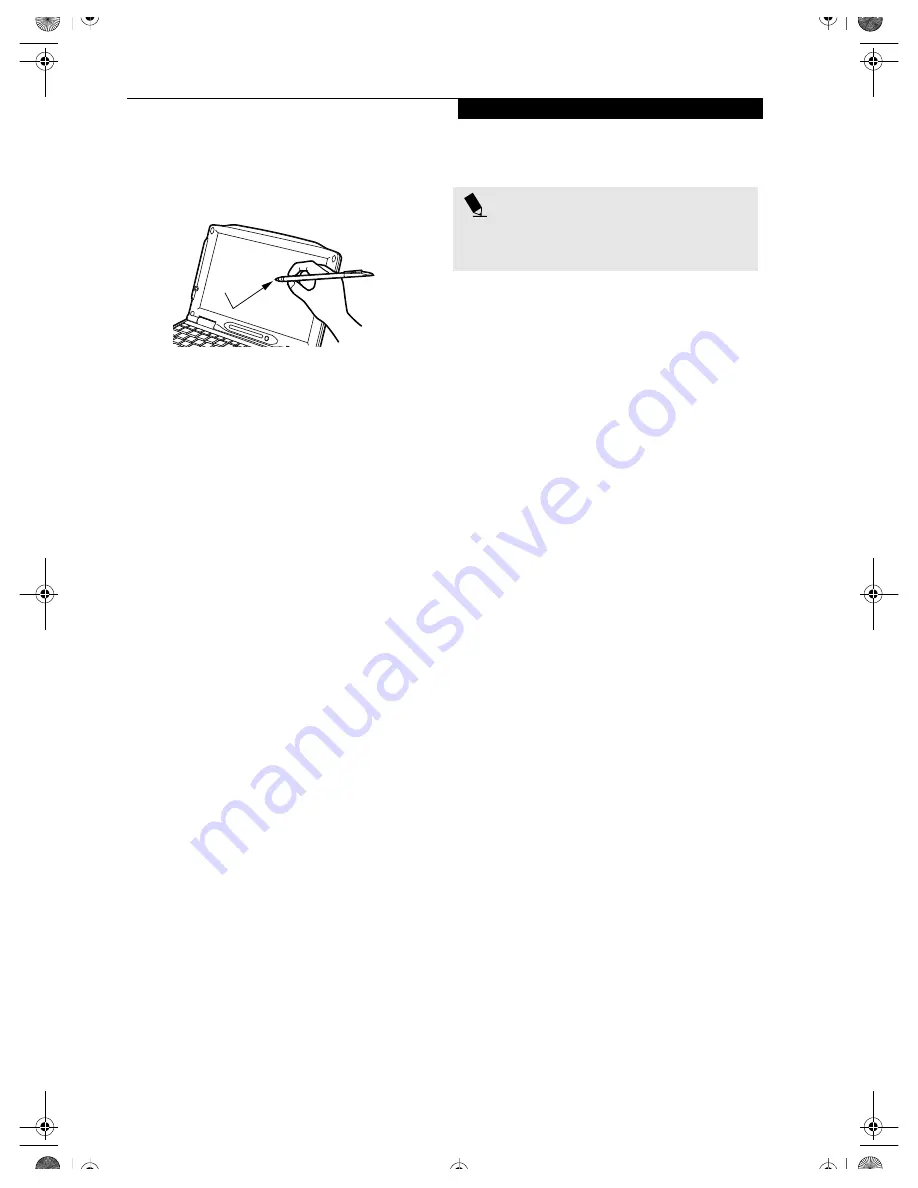
by moving the stylus across the screen, and then lifting
the stylus to release it. Dragging can also be done using
your fingertip.
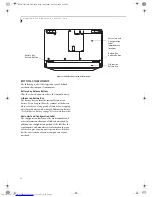
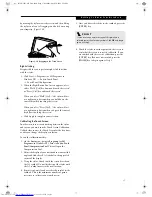
(Figure 2-19)
Figure 2-19 Dragging on the Touch Screen
Right-clicking
It is possible for you to perform right-click functions
with the stylus.
1. Click Start --> Programs (or All Programs, in
Windows XP) --> Fujitsu Touch Panel
--> Touch Panel Configuration.
2. When the Right Button Tool screen appears, select
either “Hold [Ctrl] key down and touch the screen”
or “Press [Ctrl] key and touch the screen”.
When you select “Hold [Ctrl]...”, the stylus will act
as a right mouse button when you hold down the
control key while touching the screen.
When you select “Press [Ctrl]...”, the stylus will act
as a right mouse button when you press the control
key before touching the screen.
3. Click Apply to complete your selection.
Calibrating the Touch Screen
In order to ensure accurate tracking between the stylus
and cursor, you must run the Touch Screen Calibration
Utility before you use the Touch Screen for the first time,
or after you change the display resolution.
To run the calibration utility:
1. On the
Start
menu, point to
Programs
(or
All
Programs
, in Windows XP). Point to
Fujitsu Touch
Panel/Compensation Tool
. This will open the
Compensation Tool.
2. Adjust the display of your notebook to a comfortable
angle and find the red (
+)
symbol in the upper-left
corner of the display.
3. Using the stylus, firmly touch the screen directly on
the (
+)
symbol. Do not lift the tip of the stylus until
the (+) symbol moves to the next location.
4. Repeat step 3 until you have selected a total of twelve
symbols. This is the minimum number of points
necessary to calibrate your touch screen.
5. Once you have selected the twelve symbols, press the
[ENTER] key.
6. Touch the stylus to various points on the screen to
verify that the screen is correctly calibrated. If you
are satisfied with the screen’s calibration, press the
[ENTER] key. If you are not satisfied, press the
[HOME] key to begin again at Step 2.
P O I N T
If you receive an error message at this point, you
selected fewer than twelve symbols. Click
OK
and begin
again at Step 2.
B5FH-5961-01EN-00.book Page 17 Monday, April 29, 2002 2:58 PM
Summary of Contents for Lifebook P1110
Page 5: ...1 Preface B5FH 5961 01EN 00 book Page 1 Monday April 29 2002 2 58 PM ...
Page 25: ...19 3 Getting Started B5FH 5961 01EN 00 book Page 19 Monday April 29 2002 2 58 PM ...
Page 35: ...29 4 User Installable Features B5FH 5961 01EN 00 book Page 29 Monday April 29 2002 2 58 PM ...
Page 43: ...37 5 Troubleshooting B5FH 5961 01EN 00 book Page 37 Monday April 29 2002 2 58 PM ...
Page 57: ...51 6 Care and Maintenance B5FH 5961 01EN 00 book Page 51 Monday April 29 2002 2 58 PM ...
Page 61: ...55 7 Specifications B5FH 5961 01EN 00 book Page 55 Monday April 29 2002 2 58 PM ...
Page 67: ...61 8 Glossary B5FH 5961 01EN 00 book Page 61 Monday April 29 2002 2 58 PM ...


