39
U s e r - I n s t a l l a b l e F e a t u r e s
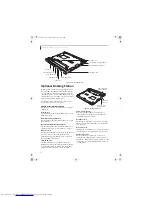
Power/Suspend/Resume Button
The power/suspend/resume button can be used to turn
the system and Docking Station on and off when the
system is docked.
Anti-theft Lock Slot
The anti-theft lock slot allows you to attach an optional
physical lock-down device.
Docking Station Release Latch
Pull the Docking Station Release latch away from the
Docking Station to remove it from your notebook.
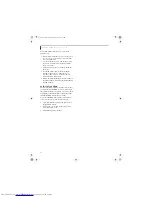
ATTACHING THE DOCKING STATION
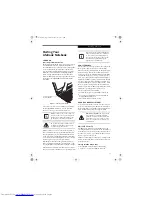
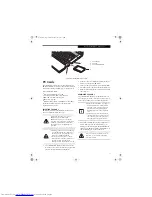
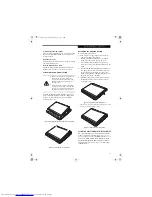
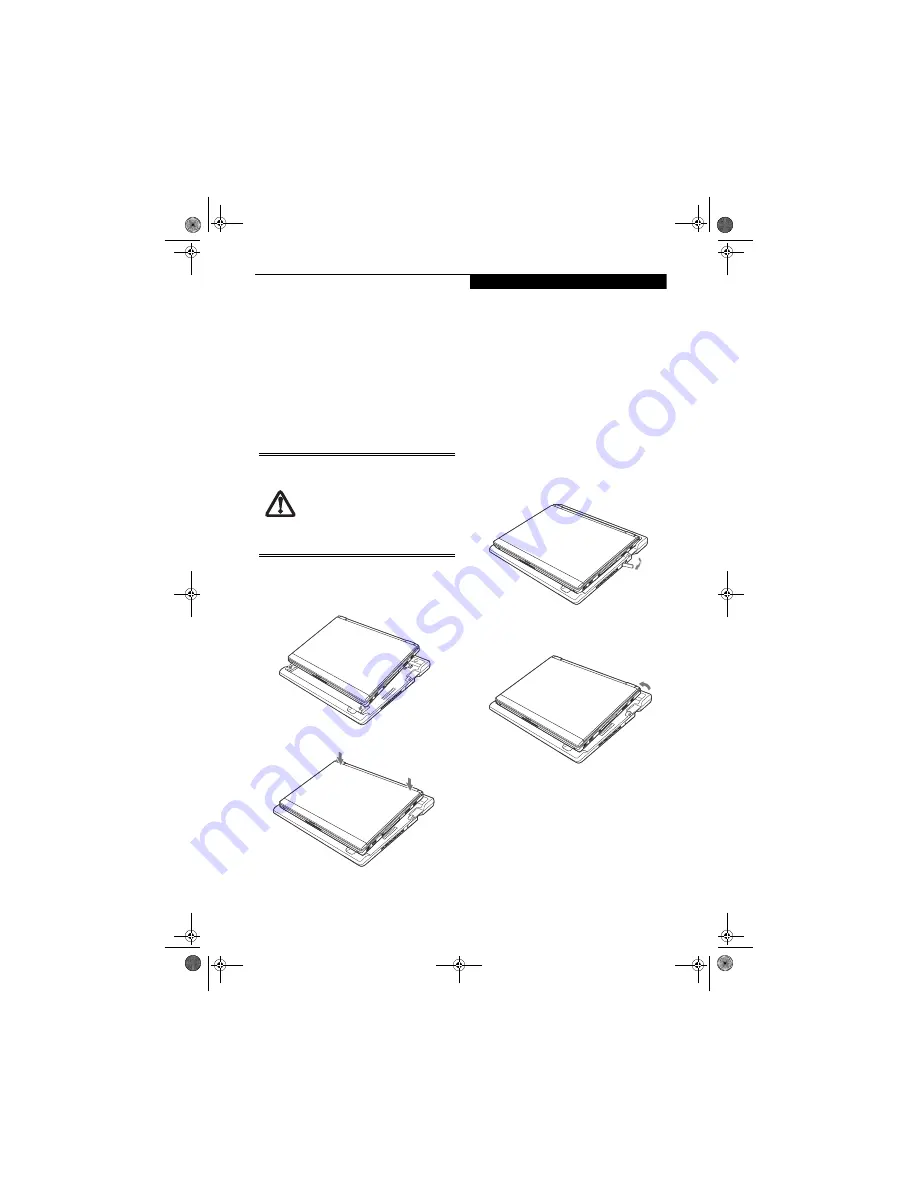
To attach the Docking Station, align the front of your
notebook with the front ledge of the Docking Station
(Figure 4-10)
and push the corners down simulta-
neously.
(Figure 4-11)
Figure 4-10. Aligning the Notebook with the Docking Station
Figure 4-11. Installing the Docking Station
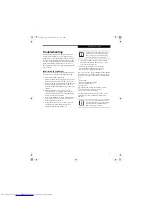
DETACHING THE DOCKING STATION
To detach the Docking Station:
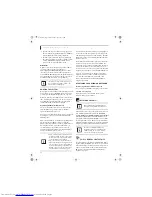
1. Turn off power to any peripheral devices that are
connected to the Docking Station.
2. Click the [Safely Remove Hardware] icon in the
system tray at the bottom right of the screen.
3. Select [Safely remove USB Mass Storage Device -
Drive (D:)] to remove the Docking Station from the
system.
4. Wait until the FDD/Optical Drive access indicator is
no longer visible on the Status Indicator Panel. (If
the optical drive is active when you remove the
system, any application running may hang up and
the system may become unstable.)
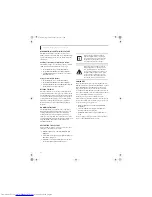
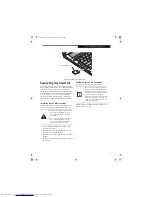
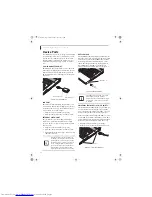
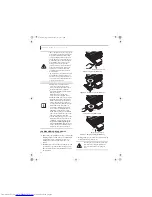
5. Pull the Docking Station’s release latch away from
the Docking Station to release it from your note-
book.
(Figure 4-12)
Figure 4-12. Unlatching the Docking Station
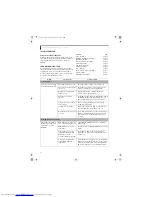
2. Lift the notebook away from the Docking Station to detach
it from your notebook.
(Figure 4-13)
Figure 4-13. Removing the Docking Station
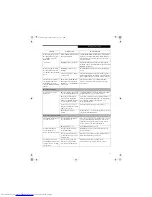
USING THE MULTI-FORMAT OPTICAL DRIVE
The optional Docking Station has a Dual-Layer Multi-
Format optical drive. This drive allows you to access
movies, software, and audio DVD/CDs as well as to read
and write to CD-R, CD-RW, DVD-R, DVD+R, DVD-
RW, DVD+RW, and DVD RAM discs. The dual-layer
architecture allows you to record up to 8.5 GB of data
on DVD+R discs.
■
Before connecting the Docking Station to
the notebook, be sure to shut down
power to the notebook and any periph-
eral devices that are connected to the
Docking Station.
■
When aligning the system in the follow-
ing step, be sure to align it carefully. Fail-
ure to do so could result in damage to the
Docking Station and/or system chassis.
Q2010.book Page 39 Wednesday, May 24, 2006 1:36 PM
Summary of Contents for LifeBook Q2010
Page 2: ...C o p y r i g h t Q2010 book Page 2 Wednesday May 24 2006 1 36 PM ...
Page 9: ...1 1 Preface Q2010 book Page 1 Wednesday May 24 2006 1 36 PM ...
Page 13: ...5 2 Getting to Know Your LifeBook Notebook Q2010 book Page 5 Wednesday May 24 2006 1 36 PM ...
Page 29: ...21 3 Getting Started Q2010 book Page 21 Wednesday May 24 2006 1 36 PM ...
Page 37: ...29 4 User Installable Features Q2010 book Page 29 Wednesday May 24 2006 1 36 PM ...
Page 51: ...43 5 Troubleshooting Q2010 book Page 43 Wednesday May 24 2006 1 36 PM ...
Page 65: ...57 6 Care and Maintenance Q2010 book Page 57 Wednesday May 24 2006 1 36 PM ...
Page 71: ...63 7 System Specifications Q2010 book Page 63 Wednesday May 24 2006 1 36 PM ...
Page 77: ...69 8 Glossary Q2010 book Page 69 Wednesday May 24 2006 1 36 PM ...
Page 101: ...93 Appendix B Using the Fingerprint Sensor Q2010 book Page 93 Wednesday May 24 2006 1 36 PM ...
Page 111: ...103 Index Q2010 book Page 103 Wednesday May 24 2006 1 36 PM ...
Page 117: ...109 I n d e x Q2010 book Page 109 Wednesday May 24 2006 1 36 PM ...
Page 119: ...111 I n d e x Q2010 book Page 111 Wednesday May 24 2006 1 36 PM ...

