


49
U s e r - I n s t a l l a b l e F e a t u r e s
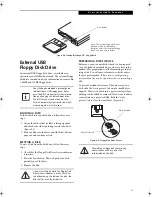
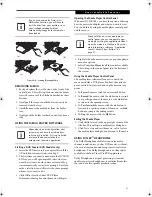
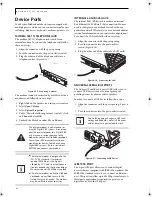
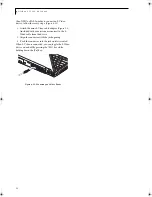
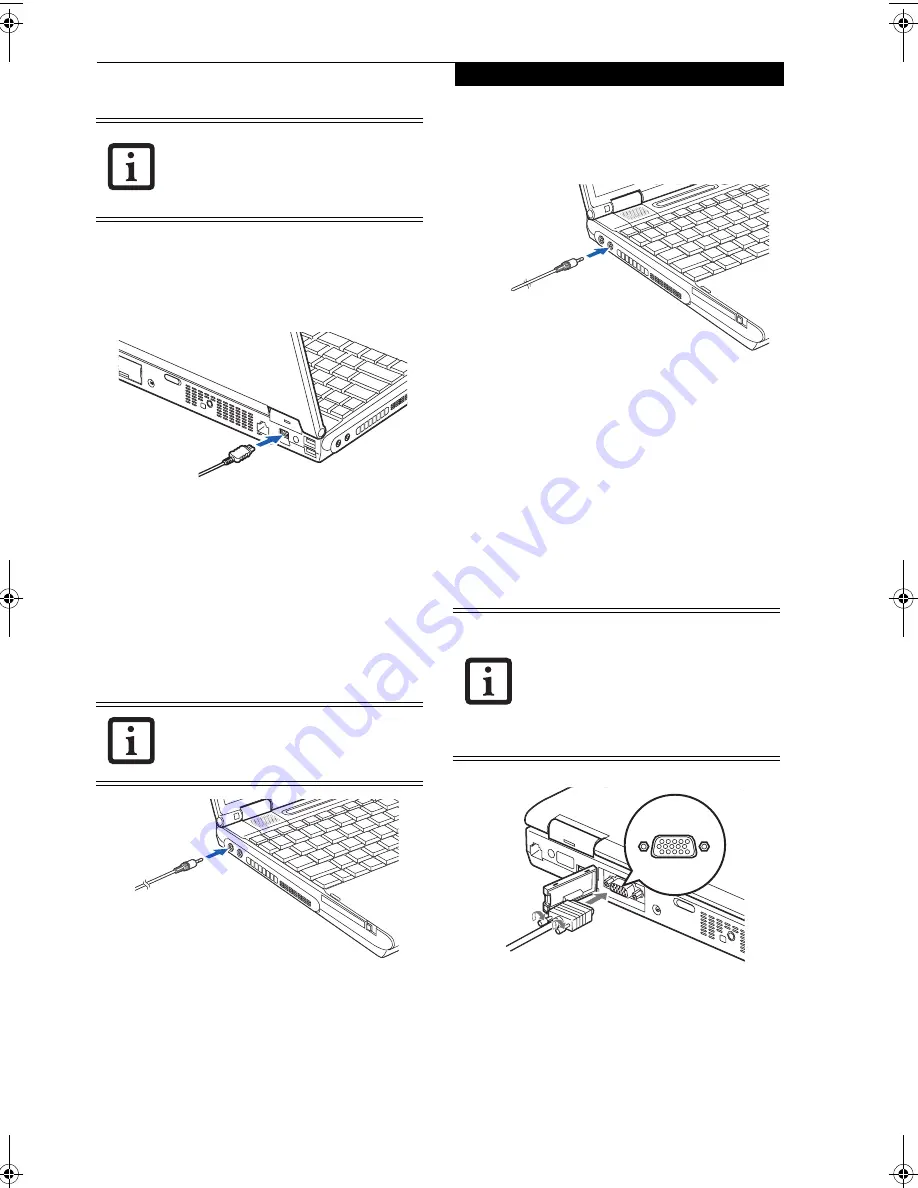
In order to connect a 1394 device, follow these steps:
1. Align the connector with the port opening.
2. Push the connector into the port until it is
seated.
(Figure 4-18)
Figure 4-18. Connecting an IEEE 1394 Device
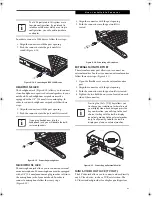
HEADPHONE JACK
The headphone jack
(Figure 4-19)
allows you to connect
stereo headphones or powered external speakers to your
notebook. Your headphones or speakers must be
equipped with a 1/8” (3.5 mm) stereo mini-plug. In
order to connect headphones or speakers follow these
steps:
1. Align the connector with the port opening.
2. Push the connector into the port until it is seated
.
Figure 4-19. Connecting Headphones
MICROPHONE JACK
The microphone jack allows you to connect an external
mono microphone. Your microphone must be equipped
with a 1/8”(3.5 mm) mono mini-plug in order to fit into
the microphone jack of your notebook. In order to
connect a microphone follow these easy steps:
(Figure 4-20)
1. Align the connector with the port opening.
2. Push the connector into the port until it is
seated.
Figure 4-20. Connecting a Microphone
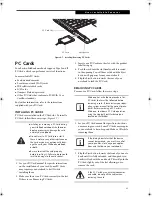
EXTERNAL MONITOR PORT
The external monitor port allows you to connect an
external monitor. In order to connect an external monitor
follow these easy steps:
(Figure 4-21)
1. Open the flexible cover over the external monitor
port.
2. Align the connector with the port opening.
3. Push the connector into the port until it is seated.
4. Tighten the two hold-down screws, located on each
side of the connector.
Figure 4-21. Connecting an External Monitor
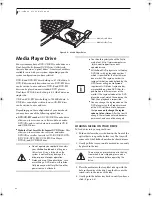
MINI S-VIDEO OUT JACK (TV OUT)
The S-Video jack allows you to connect and use directly
any S-Video device, such as a VCR or television. The
S-Video standard provides for a higher quality picture
The 1394 port used in this system uses a
four-pin configuration. If you intend to
interface with devices which use a six-pin
configuration, you will need to purchase
an adapter.
If you plug headphones into the
headphone jack, you will disable the built-
in stereo speakers.
Pressing the [Fn] + [F10] keys allows you
to change your selection of where to send
your display video. Each time you press the
key combination, you will step to the next
choice, starting with the built-in display
panel only, moving to the external monitor
only, finally moving to both the built-in
display panel and an external monitor.
S Series.book Page 49 Thursday, June 2, 2005 3:28 PM
Summary of Contents for Lifebook S2110
Page 6: ...L i f e B o o k S 2 0 0 0 N o t e b o o k ...
Page 7: ...1 Preface ...
Page 8: ...L i f e B o o k S 2 0 0 0 N o t e b o o k ...
Page 10: ...2 L i f e B o o k S 2 0 0 0 N o t e b o o k ...
Page 11: ...3 2 Getting to Know Your LifeBook Notebook ...
Page 12: ...4 L i f e B o o k S 2 0 0 0 N o t e b o o k ...
Page 32: ...24 L i f e B o o k S 2 0 0 0 N o t e b o o k ...
Page 33: ...25 3 Getting Started ...
Page 34: ...26 L i f e B o o k S 2 0 0 0 N o t e b o o k ...
Page 42: ...34 L i f e B o o k S 2 0 0 0 N o t e b o o k ...
Page 43: ...35 4 User Installable Features ...
Page 44: ...36 L i f e B o o k S 2 0 0 0 N o t e b o o k ...
Page 59: ...51 5 Troubleshooting ...
Page 60: ...52 L i f e B o o k S 2 0 0 0 N o t e b o o k ...
Page 73: ...65 6 Care and Maintenance ...
Page 74: ...66 L i f e B o o k S 2 0 0 0 N o t e b o o k ...
Page 78: ...70 L i f e B o o k S 2 0 0 0 N o t e b o o k ...
Page 79: ...71 7 Specifications ...
Page 80: ...72 L i f e B o o k S 2 0 0 0 N o t e b o o k ...
Page 84: ...76 L i f e B o o k S 2 0 0 0 N o t e b o o k ...
Page 85: ...77 8 Glossary ...
Page 86: ...78 L i f e B o o k S 2 0 0 0 N o t e b o o k ...
Page 95: ...87 Appendix Integrated Wireless LAN User s Guide Optional Device ...
Page 96: ...88 L i f e B o o k S 2 0 0 0 N o t e b o o k ...
Page 114: ...106 L i f e B o o k S 2 0 0 0 N o t e b o o k ...
Page 115: ......
Page 116: ......
Page 117: ......
Page 118: ......
Page 119: ......
Page 120: ......


