


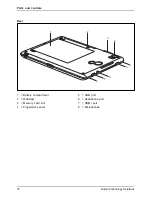


Important notes
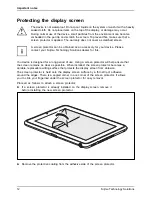
Protecting the display screen
The device is not waterproof. Do not pour liquids on the system or wash it with a heavily
soaked cloth. Do not place items on the top of the display, or damage may occur.
During normal use of the device, small particles from the environment can become
embedded in the pen tip and scratch the screen. To prevent this, make sure that a
screen protector is applied. The warranty does not cover a scratched screen.
A screen protector can be obtained as an accessory for your device. Please
contact your Fujitsu Technology Solutions dealer for this.
You device is designed for a long period of use. Using a screen protector will help ensure that
the screen remains as clear as possible. When installed, the screen protector becomes a
durable, replaceable writing surface that protects the display screen from abrasion.
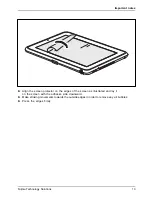
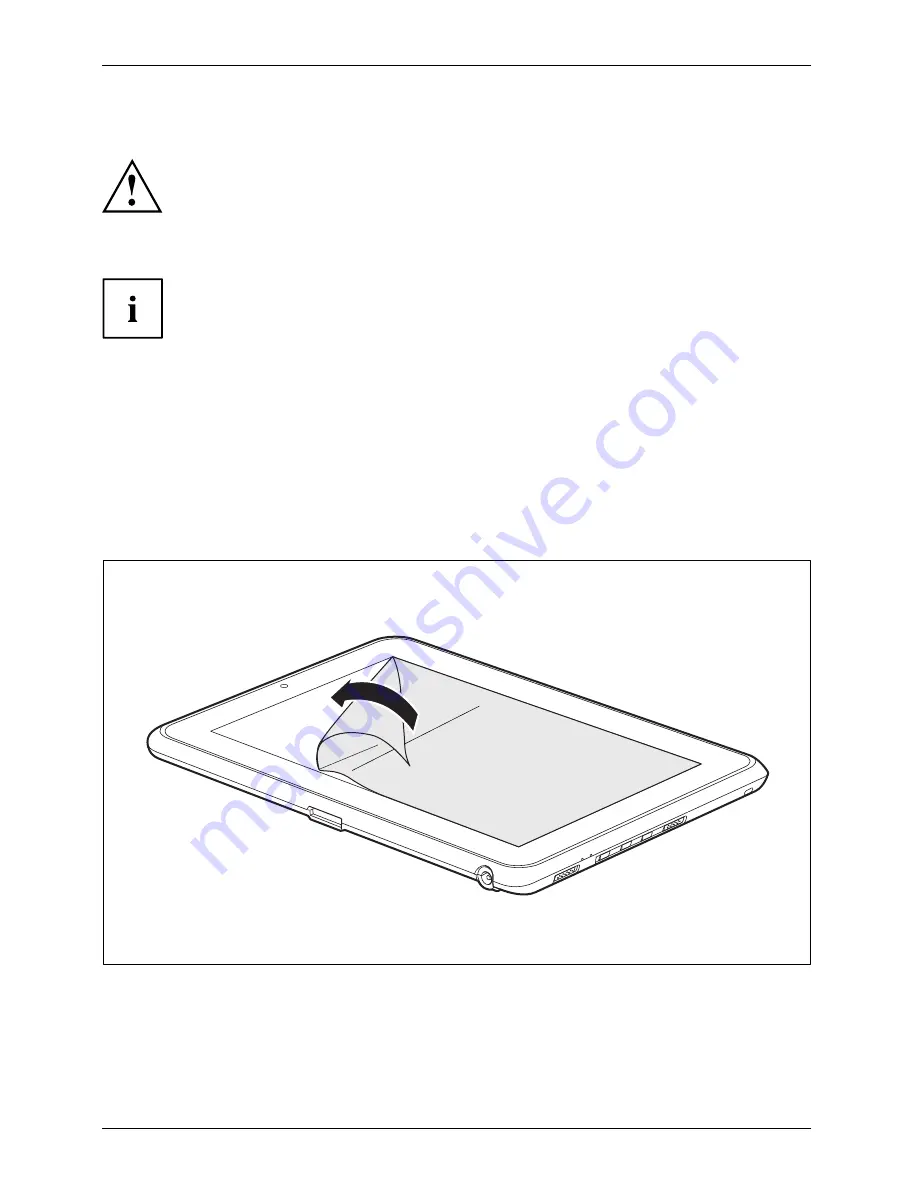
The screen protector is held onto the display screen surface by a thin strip of adhesive
around the edges. There is a angled corner in one corner of the screen protector. It allows
you to slide your
fi
ngernail under the screen protector for easy removal.
Proceed as follows to attach a screen protector:
►
If a screen protector is already installed on the display screen, remove it
before installing the new screen protector.
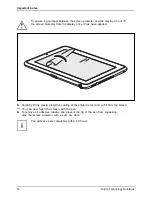
►
Remove the protective coating from the adhesive side of the screen protector.
12
Fujitsu Technology Solutions
Summary of Contents for LifeBook Stylistic Q550
Page 1: ...System Operating manual STYLISTIC Q550 ...
Page 3: ......