7-9
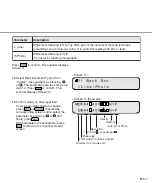
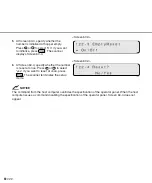
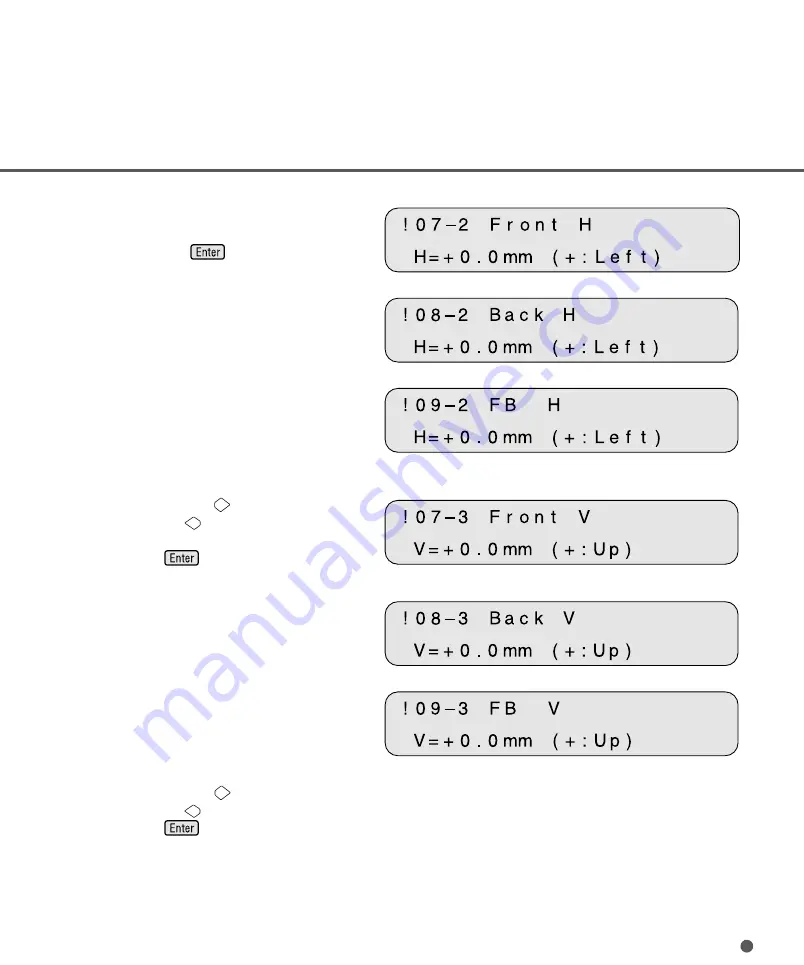
<Screen B (Example of ADF Front Offset)>
3
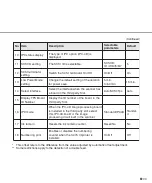
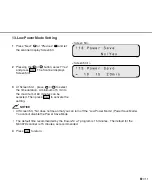
At Screen A, if you want to let the offset
return to default, select “Yes” otherwise
“No” then press
. The scanner
displays Screen B.
<Screen B (Example of ADF Back Offset)>
<Screen B (Example of FB Offset)>
<Screen C (Example of ADF Front Offset)>
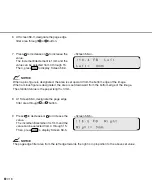
4
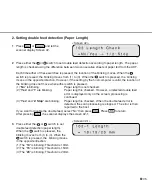
At Screen B, press
to increase the
offset or press
to decrease offset.
The increment or decrement is 0.5 mm.
Then press
to activate the setting.
The scanner displays Screen C.
<Screen C (Example of ADF Back Offset)>
<Screen C (Example of FB Offset)>
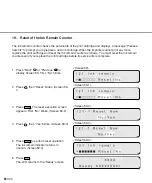
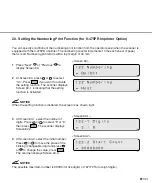
5
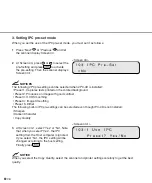
At Screen C, press
to increase the
offset or press
to decrease the offset.
Then press
to activate the setting.
The scanner displays the next item of the
setup mode.
Summary of Contents for M4097D - Fb 50PPM SCSI A3 Dupl 100Sht Adf
Page 1: ...M4097D Image Scanner Operator s Guide P3PC E482 05EN ...
Page 9: ...viii ...
Page 13: ......
Page 17: ...1 4 Stacker Thumb screw Guide A ASY Pick roller 2 Pick roller 1 Pad ASY Assemblies ...
Page 29: ......
Page 32: ...2 3 Label B Example your actual label may differ ...
Page 39: ...2 10 ...
Page 41: ......
Page 55: ......
Page 65: ......
Page 68: ...5 3 unit mm 521 234 335 445 696 17 5 in 27 4 in 13 2 in 9 2 in 20 5 in Dimensions ...
Page 69: ...5 4 ...
Page 71: ......
Page 81: ...6 10 ...
Page 83: ......
Page 113: ...GL 8 ...
Page 116: ...This manual uses recycled paper ...

