18
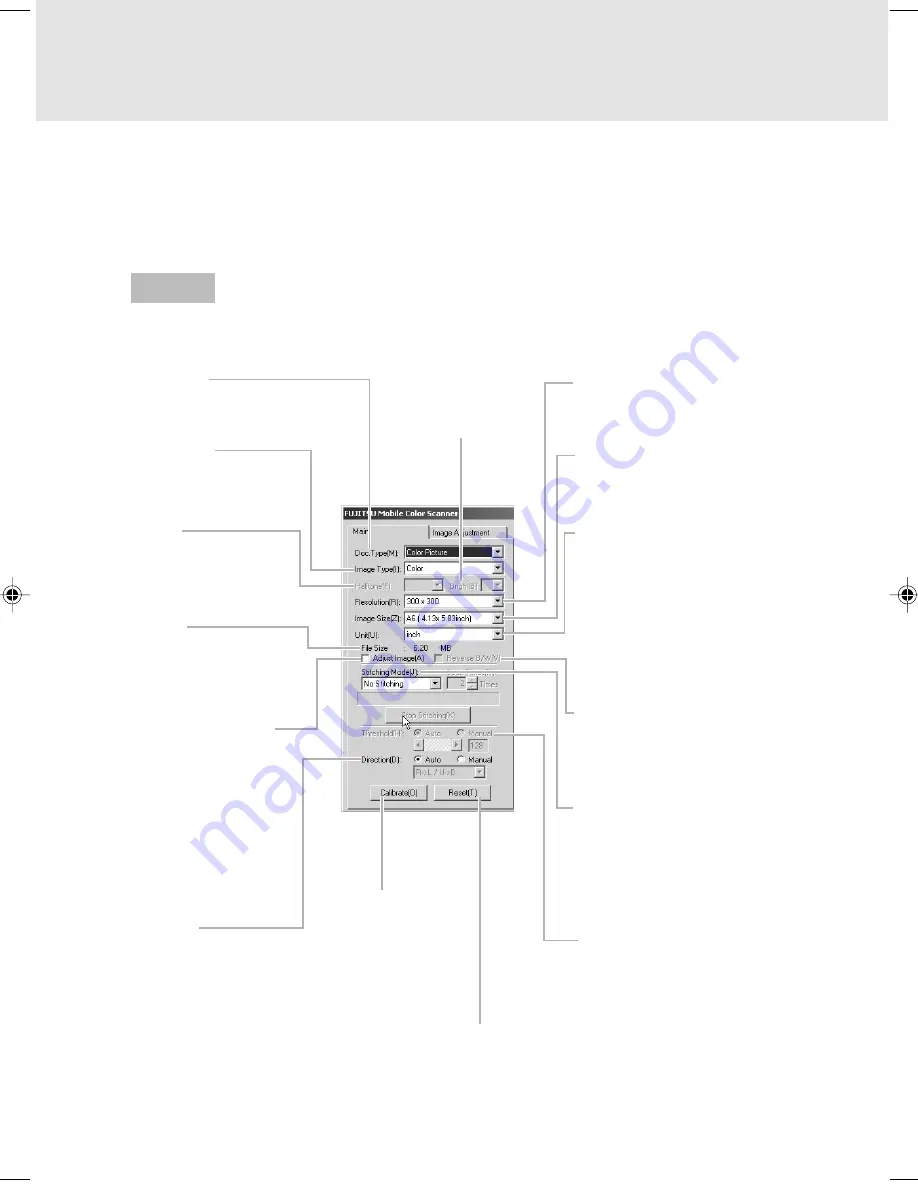
The following outlines the names and functions of the items on the scanner driver screen.
For details, see Online Help of the scanner driver.
Main Tab
This screen is displayed on the left when the scanner driver starts.
You can bring up the screen by pressing the scanner button.
Screens Displayed during Use of the
Scanner
Doc.Type
Selects the type of
original to be scanned.
Image Type
Sets the type of scanned
image.
Halftone
Selects the halftone
pattern to be used for
halftone processing.
File Size
Displays the size of the
file for the scanned
image in MB.
Adjust Image check
box
When turned on, does
not immediately transfer
the image to the
application, but transfers
it when the Transfer
button on the preview
screen is clicked.
Direction
Specifies whether to
automatically recognize
the direction of the
scanned image or
manually set the
scanning direction.
Resolution
Specifies the number of
pixels (dots) per inch.
Image Size (scan length)
Selects the size of the
original to be scanned.
Unit
Selects the unit to be used
in the preview window.
Reverse B/W check box
Turn this check box on to
invert the scanned image.
Stitching Mode
Select this mode to scan a
large document or image
original that cannot be
scanned at one time.
Threshold
Specifies the threshold to be
used as the reference value
for distinguishing white from
black.
Calibrate button
Scans the calibration
sheet to update white
and black level values.
Bright
Adjusts the brightness
of halftones.
Reset button
Returns the settings
to those at installation.
Guide
03_Scanner (15-27)
8/15/01, 8:38 AM
18


