
4
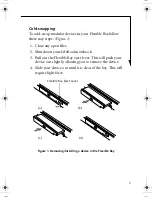
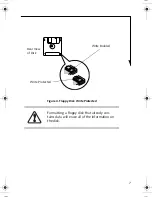
5. Slide the device you are installing into your notebook
until it clicks into place.
6. It is now safe to turn your notebook back on.
7. You can now access and use the device.
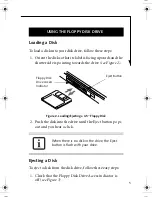
Your LifeBook notebook will automatically detect the new
device and activate it within your system. The drive letters
associated with the device will be created and listed under
My Computer and Windows Explorer.
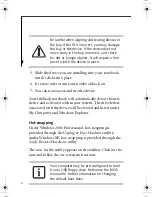
Hot-swapping
Under Windows 2000 Professional, hot-swapping is
provided through the Unplug or Eject Hardware utility,
under Windows XP, hot-swapping is provided through the
Safely Remove Hardware utility.
The icon for the utility appears on the taskbar. Click on the
icon and follow the on-screen instructions.
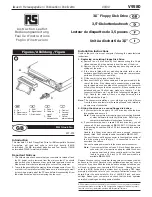
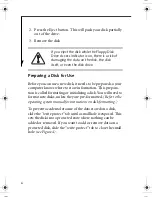
Be careful when aligning and seating devices in
the bay. If the fit is incorrect, you may damage
the bay or the device. If the device does not
move easily in the bay, remove it, and check
for dirt or foreign objects. It will require a firm
push to latch the device in place.
Your computer may be pre-configured to boot
from a USB floppy drive. Reference the BIOS
manual for further information on changing
the default boot drive.
B5FY-3341-02EN-00.fm Page 4 Tuesday, February 3, 2004 8:46 AM