17
G e t t i n g t o K n o w Y o u r L i f e B o o k
FUNCTION KEYS
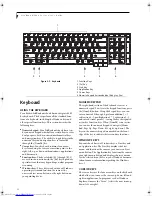
Your LifeBook notebook has 12 function keys, F1
through F12. The functions assigned to these keys differ
for each application. You should refer to your software
documentation to find out how these keys are used.
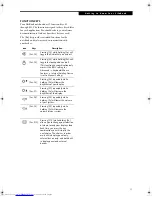
The [Fn] key provides extended functions for the
notebook and is always used in conjunction with
another key.
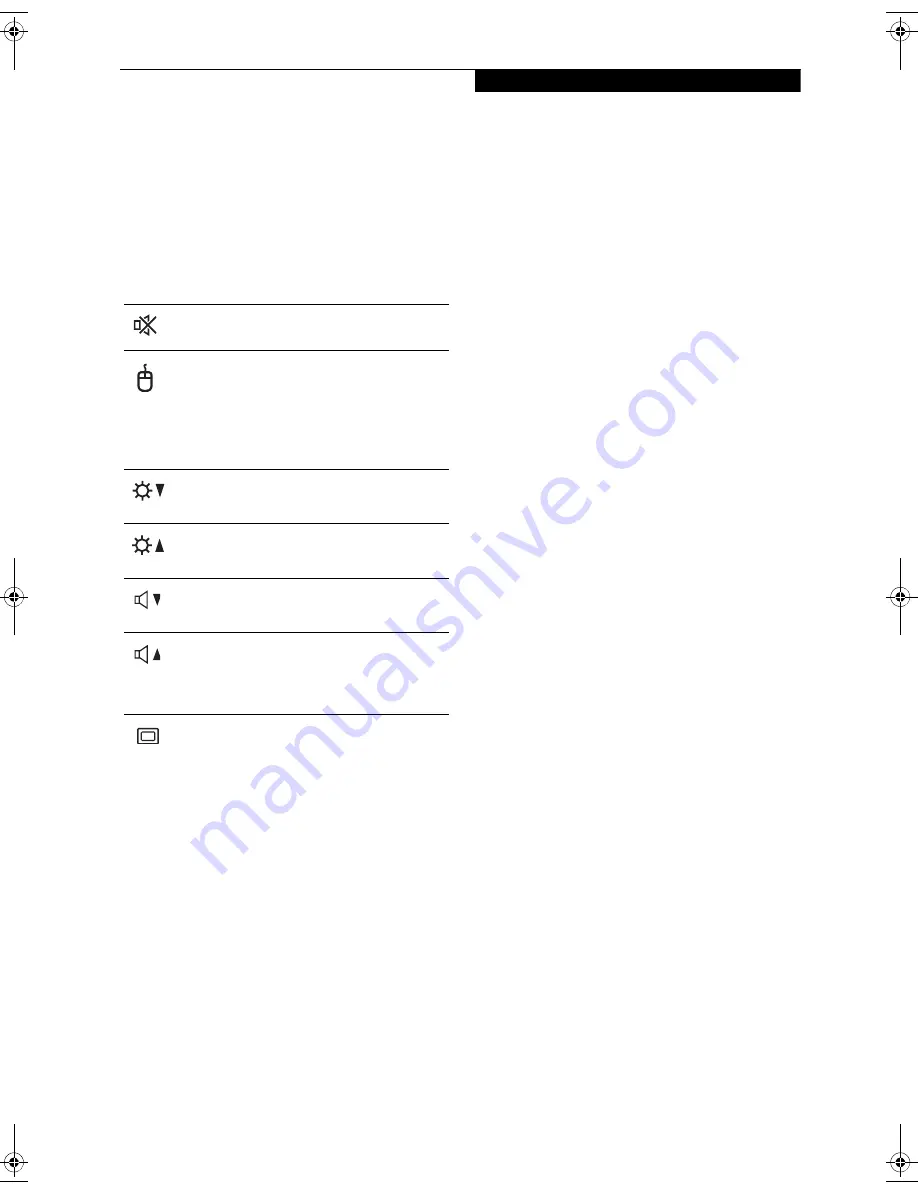
Icon
Keys Description
[Fn+F3]
Pressing [F3] while holding [Fn] will
toggle the Audio Mute on and off.
[Fn+F4]
Pressing [F4] while holding [Fn] will
toggle the touchpad on and off.
(This function key combination only
works if the BIOS setting for
Advanced -> Keyboard/Mouse
Features -> Internal Pointing Device
is set to Manual Setting.)
[Fn+F6]
Pressing [F6] repeatedly while
holding [Fn] will lower the
brightness of your display.
[Fn+F7]
Pressing [F7] repeatedly while
holding [Fn] will increase the
brightness of the display.
[Fn+F8]
Pressing [F8] repeatedly while
holding [Fn] will lower the volume
of your system.
[Fn+F9]
Pressing [F9] repeatedly while
holding [Fn] will increase the
volume of your system.
[Fn+F10]
Pressing [F10] while holding [Fn]
allows you to change your selection
of where to send your display video.
Each time you press the key
combination you will step to the
next choice. The choices, in order,
are: built-in display panel only,
external device only, and both built-
in display panel and external
devices.
N6460-Baikal.book Page 17 Friday, June 1, 2007 2:50 PM
Summary of Contents for N6460 - LifeBook
Page 1: ...C o p y r i g h t Fujitsu LifeBook N6460 Notebook User s Guide ...
Page 2: ...C o p y r i g h t ...
Page 8: ...L i f e B o o k N 6 4 0 0 S e r i e s U s e r s G u i d e ...
Page 9: ...1 1 Preface ...
Page 10: ...2 L i f e B o o k N 6 4 0 0 S e r i e s U s e r s G u i d e ...
Page 12: ...4 L i f e B o o k N 6 4 0 0 S e r i e s U s e r s G u i d e ...
Page 13: ...5 2 Getting to Know Your LifeBook Notebook ...
Page 14: ...6 L i f e B o o k N 6 4 0 0 S e r i e s U s e r s G u i d e ...
Page 31: ...23 3 Getting Started ...
Page 32: ...24 L i f e B o o k N 6 4 0 0 S e r i e s U s e r s G u i d e ...
Page 40: ...32 L i f e B o o k N 6 4 0 0 S e r i e s U s e r s G u i d e ...
Page 41: ...33 4 User Installable Features ...
Page 42: ...34 L i f e B o o k N 6 4 0 0 S e r i e s U s e r s G u i d e ...
Page 58: ...50 L i f e B o o k N 6 4 0 0 S e r i e s U s e r s G u i d e ...
Page 59: ...51 5 Troubleshooting ...
Page 60: ...52 L i f e B o o k N 6 4 0 0 S e r i e s U s e r s G u i d e ...
Page 73: ...65 6 Care and Maintenance ...
Page 74: ...66 L i f e B o o k N 6 4 0 0 S e r i e s U s e r s G u i d e ...
Page 78: ...70 L i f e B o o k N 6 4 0 0 S e r i e s U s e r s G u i d e ...
Page 79: ...71 7 System Specifications ...
Page 80: ...72 L i f e B o o k N 6 4 0 0 S e r i e s U s e r s G u i d e ...
Page 85: ...77 8 Glossary ...
Page 86: ...78 L i f e B o o k N 6 4 0 0 S e r i e s U s e r s G u i d e ...
Page 93: ...85 Appendix A Integrated Wireless LAN User s Guide Optional Device ...
Page 94: ...86 L i f e B o o k N 6 4 0 0 S e r i e s U s e r s G u i d e ...
Page 104: ...96 L i f e B o o k N 6 4 0 0 S e r i e s U s e r s G u i d e ...
Page 105: ...97 Appendix B Using the Fingerprint Sensor ...
Page 106: ...98 L i f e B o o k N 6 4 0 0 N o t e b o o k A p p e n d i x B ...
Page 114: ...106 L i f e B o o k N 6 4 0 0 N o t e b o o k A p p e n d i x B ...
Page 115: ...107 Index ...
Page 116: ...108 L i f e B o o k N 6 4 0 0 S e r i e s U s e r s G u i d e ...
Page 120: ...112 L i f e B o o k N 6 4 0 0 S e r i e s U s e r s G u i d e ...

