38
Options Guide
RX
200 S6
Processors
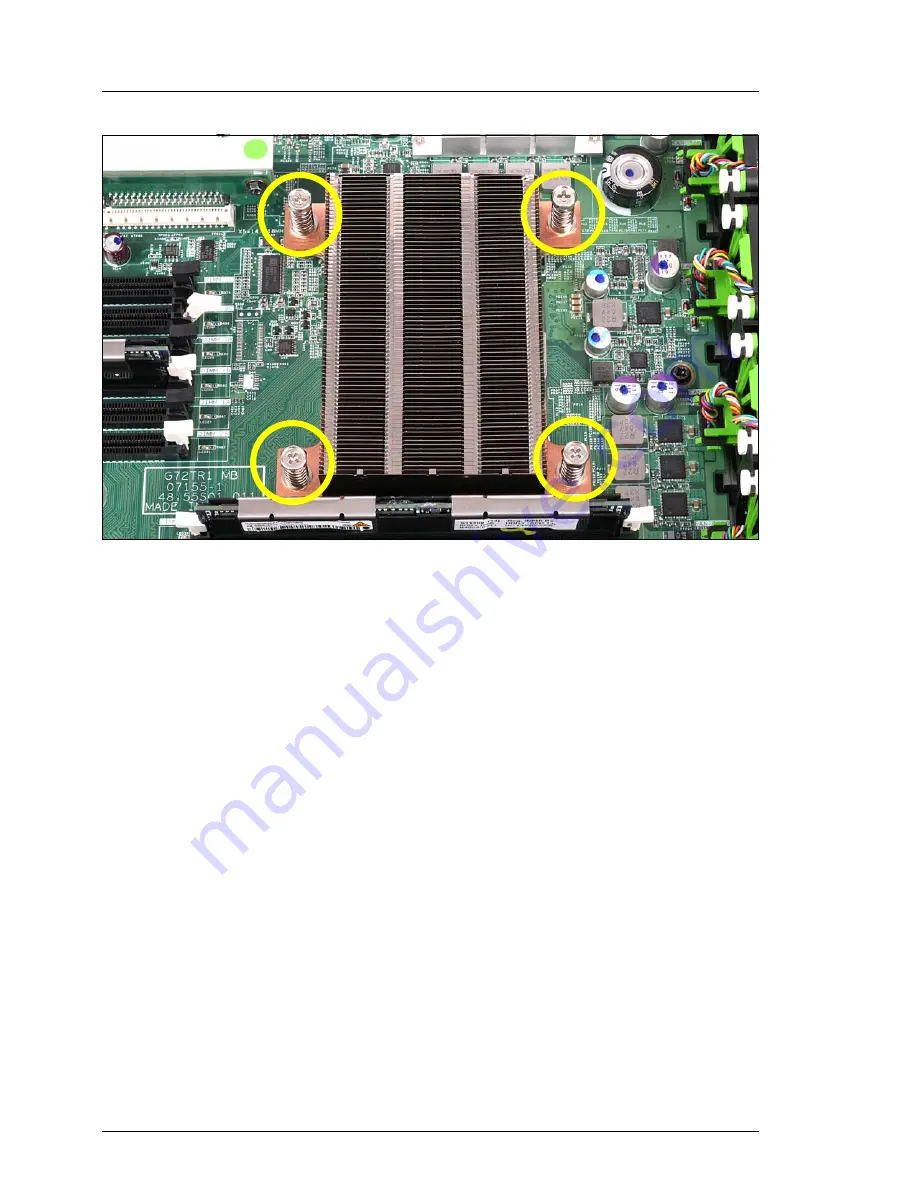
Figure 10: Installing the heat sink
Ê
Remove the protective cover on the underside of the heat sink.
V
CAUTION!
Do not touch the thermal paste on the underside of the heat sink.
Ê
Place the heat sink on the processor as shown.
Ê
Fasten the heat sink by tightening the four screws in a crossover pattern (see
circles).
V
CAUTION!
Never install a processor without a heat sink as otherwise the processor
may overheat, causing the possible failure of the processor and system
board.
Ê
Reinstall the air duct as described in the
section "Installing the air duct" on
page 73
.
Ê
Close the server, connect it to the power outlet, and switch it on as described
in the
chapter "Completion" on page 73
.
Summary of Contents for PRIMERGY RX200 S6
Page 1: ...Options Guide English PRIMERGY RX200 S6 Server Options Guide Edition November 2011 ...
Page 6: ...Options Guide RX200 S6 ...
Page 16: ...16 Options Guide RX200 S6 ...
Page 30: ...30 Options Guide RX200 S6 Preparation ...
Page 54: ...54 Options Guide RX200 S6 HDD modules ...
Page 68: ...68 Options Guide RX200 S6 Expansion cards and iBBU ...


