138
Upgrade and Maintenance Manual
RX2520
M1
Hard disk drives / solid state drives
Ê
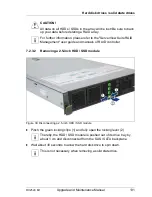
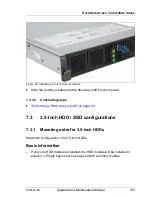
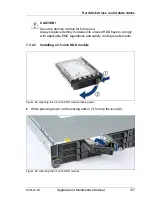
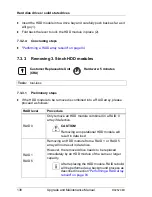
Insert the HDD module into a drive bay and carefully push back as far as it
will go (1).
Ê
Fold back the lever to lock the HDD module in place (2).
7.3.2.4
Concluding steps
Ê
"Performing a RAID array rebuild" on page 94
7.3.3
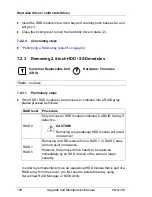
Removing 3.5-inch HDD modules
7.3.3.1
Preliminary steps
Ê
If the HDD module to be removed is combined into a RAID array, please
proceed as follows:
Customer Replaceable Unit
(CRU)
Hardware: 5 minutes
Tools:
tool-less
RAID level
Procedure
RAID 0
Only remove an HDD module combined in a RAID 0
array if defective.
V
CAUTION!
Removing an operational HDD module will
result in data loss!
RAID 1
RAID 5
Removing an HDD module from a RAID 1 or RAID 5
array will not result in data loss.
However, the removed drive needs to be replaced
immediately by an HDD module of the same or larger
capacity.
I
After replacing the HDD module, RAID rebuild
will be performed as a background process as
described in section
"Performing a RAID array
rebuild" on page 94
.
Summary of Contents for PRIMERGY RX2520 M1
Page 36: ...36 Upgrade and Maintenance Manual RX2520 M1 Before you start ...
Page 120: ...120 Upgrade and Maintenance Manual RX2520 M1 Power supply units ...
Page 162: ...162 Upgrade and Maintenance Manual RX2520 M1 Hard disk drives solid state drives ...
Page 220: ...220 Upgrade and Maintenance Manual RX2520 M1 Expansion cards and backup units ...
Page 230: ...230 Upgrade and Maintenance Manual RX2520 M1 Main memory ...
Page 310: ...310 Upgrade and Maintenance Manual RX2520 M1 Accessible drives ...
Page 410: ...410 Upgrade and Maintenance Manual RX2520 M1 Cables ...


