276
Upgrade and Maintenance Manual
RX2520
M1
Accessible drives
Ê
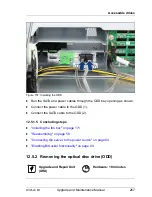
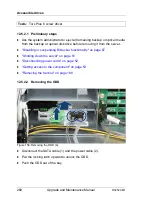
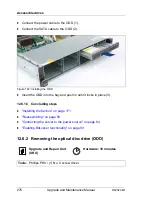
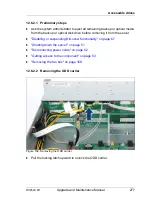
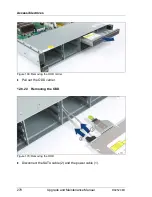
Connect the power cable to the ODD (1).
Ê
Connect the SATA cable to the ODD (2).
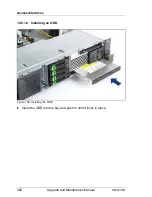
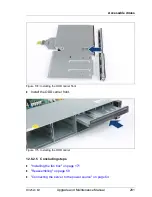
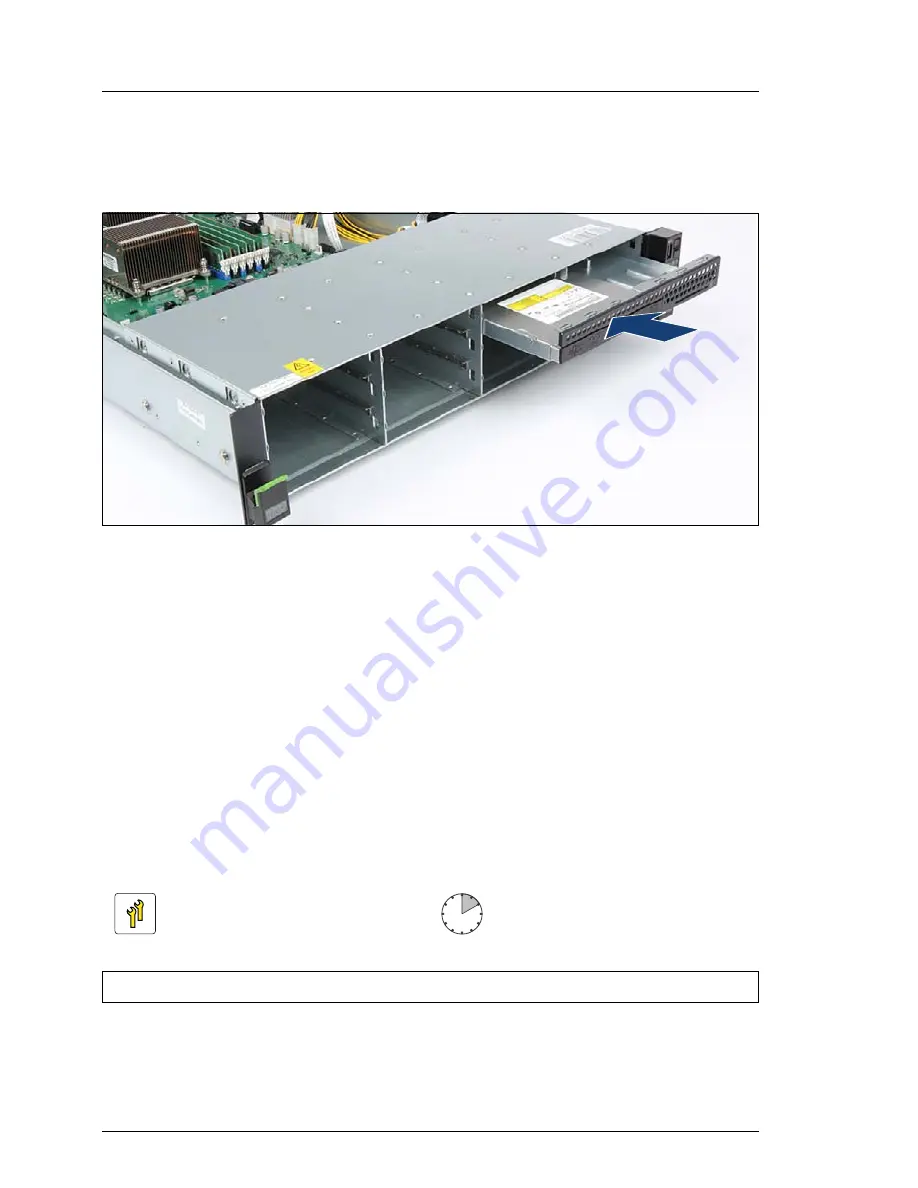
Figure 167: Installing the ODD
Ê
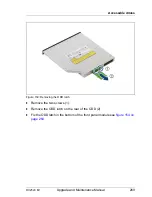
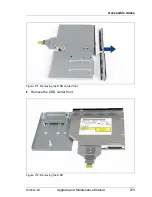
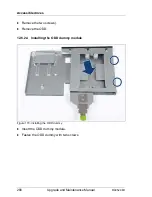
Insert the ODD into the bay and push in until it locks in place (3).
12.6.1.5 Concluding steps
Ê
"Installing the fan box" on page 171
Ê
"Reassembling" on page 59
Ê
"Connecting the server to the power source" on page 64
Ê
"Enabling BitLocker functionality" on page 93
12.6.2 Removing the optical disc drive (ODD)
Upgrade and Repair Unit
(URU)
Hardware: 10 minutes
Tools:
Phillips PH0 / (+) No. 0 screw driver
Summary of Contents for PRIMERGY RX2520 M1
Page 36: ...36 Upgrade and Maintenance Manual RX2520 M1 Before you start ...
Page 120: ...120 Upgrade and Maintenance Manual RX2520 M1 Power supply units ...
Page 162: ...162 Upgrade and Maintenance Manual RX2520 M1 Hard disk drives solid state drives ...
Page 220: ...220 Upgrade and Maintenance Manual RX2520 M1 Expansion cards and backup units ...
Page 230: ...230 Upgrade and Maintenance Manual RX2520 M1 Main memory ...
Page 310: ...310 Upgrade and Maintenance Manual RX2520 M1 Accessible drives ...
Page 410: ...410 Upgrade and Maintenance Manual RX2520 M1 Cables ...

