RX2520 M1
Upgrade and Maintenance Manual
313
Front panel and external connectors
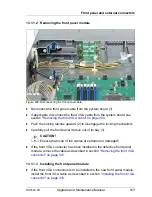
13.1.1.2 Removing the front panel module
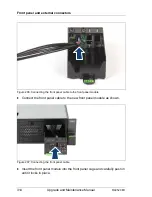
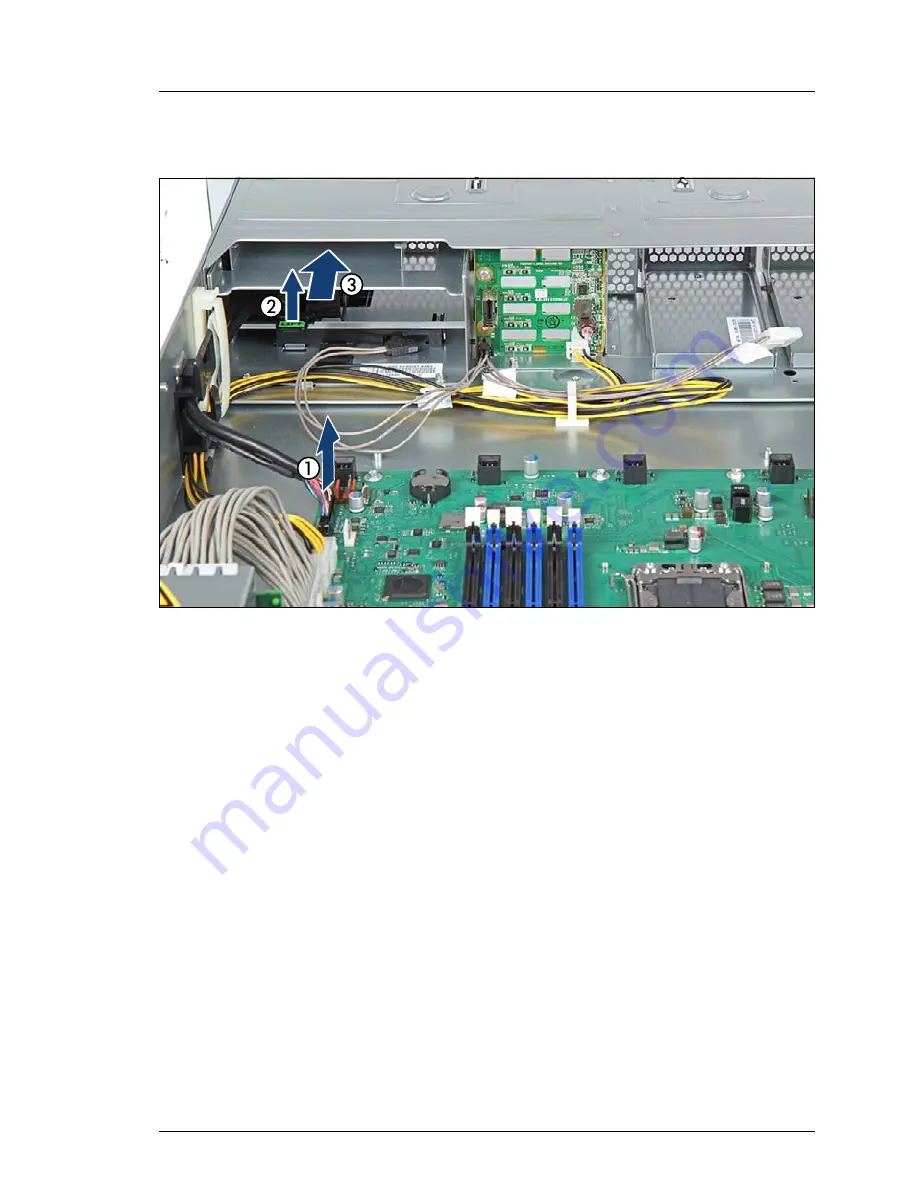
Figure 205: Disconnecting the front panel cable
Ê
Disconnect the front panel cable from the system board (1).
Ê
If applicable, disconnect the front VGA cable from the system board see
section
"Removing the front VGA cable" on page 320
.
Ê
Push the locking latches upward (2) to disengage the locking mechanism.
Ê
Carefully pull the front panel module out of its bay (3).
V
CAUTION!
Ensure that none of the cables are strained or damaged!
Ê
If the front VGA connector has been installed in the defective front panel
module, remove the cable as described in section
"Removing the front VGA
connector" on page 321
.
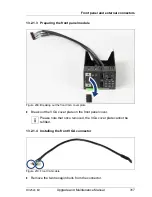
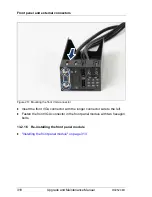
13.1.1.3 Installing the front panel module
Ê
If the front VGA connection is to be installed in the new front panel module,
install the front VGA cable as described in section
"Installing the front VGA
connector" on page 316
.
Summary of Contents for PRIMERGY RX2520 M1
Page 36: ...36 Upgrade and Maintenance Manual RX2520 M1 Before you start ...
Page 120: ...120 Upgrade and Maintenance Manual RX2520 M1 Power supply units ...
Page 162: ...162 Upgrade and Maintenance Manual RX2520 M1 Hard disk drives solid state drives ...
Page 220: ...220 Upgrade and Maintenance Manual RX2520 M1 Expansion cards and backup units ...
Page 230: ...230 Upgrade and Maintenance Manual RX2520 M1 Main memory ...
Page 310: ...310 Upgrade and Maintenance Manual RX2520 M1 Accessible drives ...
Page 410: ...410 Upgrade and Maintenance Manual RX2520 M1 Cables ...

