322
Upgrade and Maintenance Manual
RX2520
M1
Front panel and external connectors
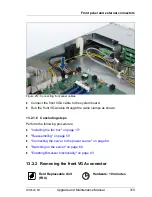
13.2.3 Replacing the front VGA connector
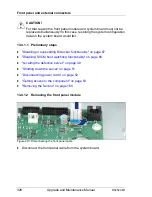
13.2.3.1 Preliminary steps
Ê
"Disabling or suspending BitLocker functionality" on page 67
Ê
"Locating the defective server" on page 49
Ê
"Shutting down the server" on page 51
Ê
"Disconnecting power cords" on page 52
Ê
"Getting access to the component" on page 53
Ê
"Removing the fan box" on page 168
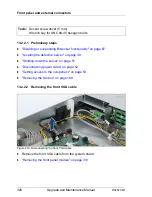
13.2.3.2 Removing the front panel module
Ê
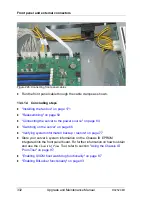
"Removing the front panel module" on page 316
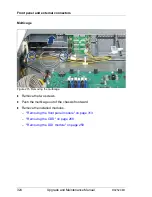
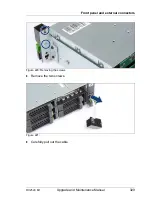
13.2.3.3 Removing the front VGA connector
Ê
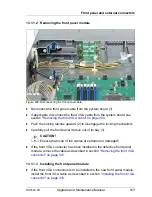
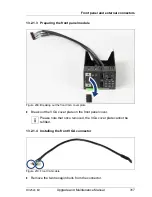
"Removing the front VGA connector" on page 321
.
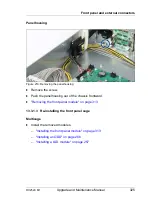
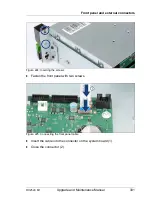
13.2.3.4 Installing the new front VGA connector
Ê
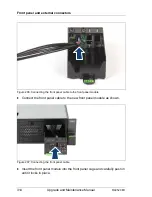
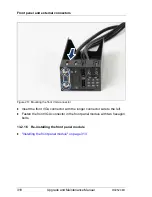
Install the new front VGA connector as described in section
"Installing the
front VGA connector" on page 317
.
13.2.3.5 Re-installing the front panel module
Ê
"Installing the front panel module" on page 313
.
13.2.3.6 Concluding steps
Ê
"Installing the fan box" on page 171
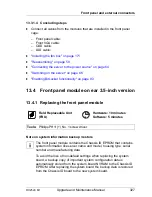
Field Replaceable Unit
(FRU)
Hardware: 15 minutes
Tools:
Socket screw driver (5 mm)
Wrench key for UNC #4-40 hexagon bolts
Summary of Contents for PRIMERGY RX2520 M1
Page 36: ...36 Upgrade and Maintenance Manual RX2520 M1 Before you start ...
Page 120: ...120 Upgrade and Maintenance Manual RX2520 M1 Power supply units ...
Page 162: ...162 Upgrade and Maintenance Manual RX2520 M1 Hard disk drives solid state drives ...
Page 220: ...220 Upgrade and Maintenance Manual RX2520 M1 Expansion cards and backup units ...
Page 230: ...230 Upgrade and Maintenance Manual RX2520 M1 Main memory ...
Page 310: ...310 Upgrade and Maintenance Manual RX2520 M1 Accessible drives ...
Page 410: ...410 Upgrade and Maintenance Manual RX2520 M1 Cables ...


