380
Upgrade and Maintenance Manual
RX2520
M1
Conversion configurations
Ê
"Removing the fan box" on page 168
Ê
Remove the pass-through board, see section
"Removing a pass-
through/expander board" on page 152
.
Ê
Install the expander board, see section
"Installing the pass-
through/expander board" on page 156
.
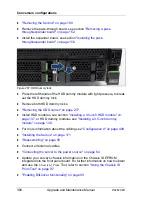
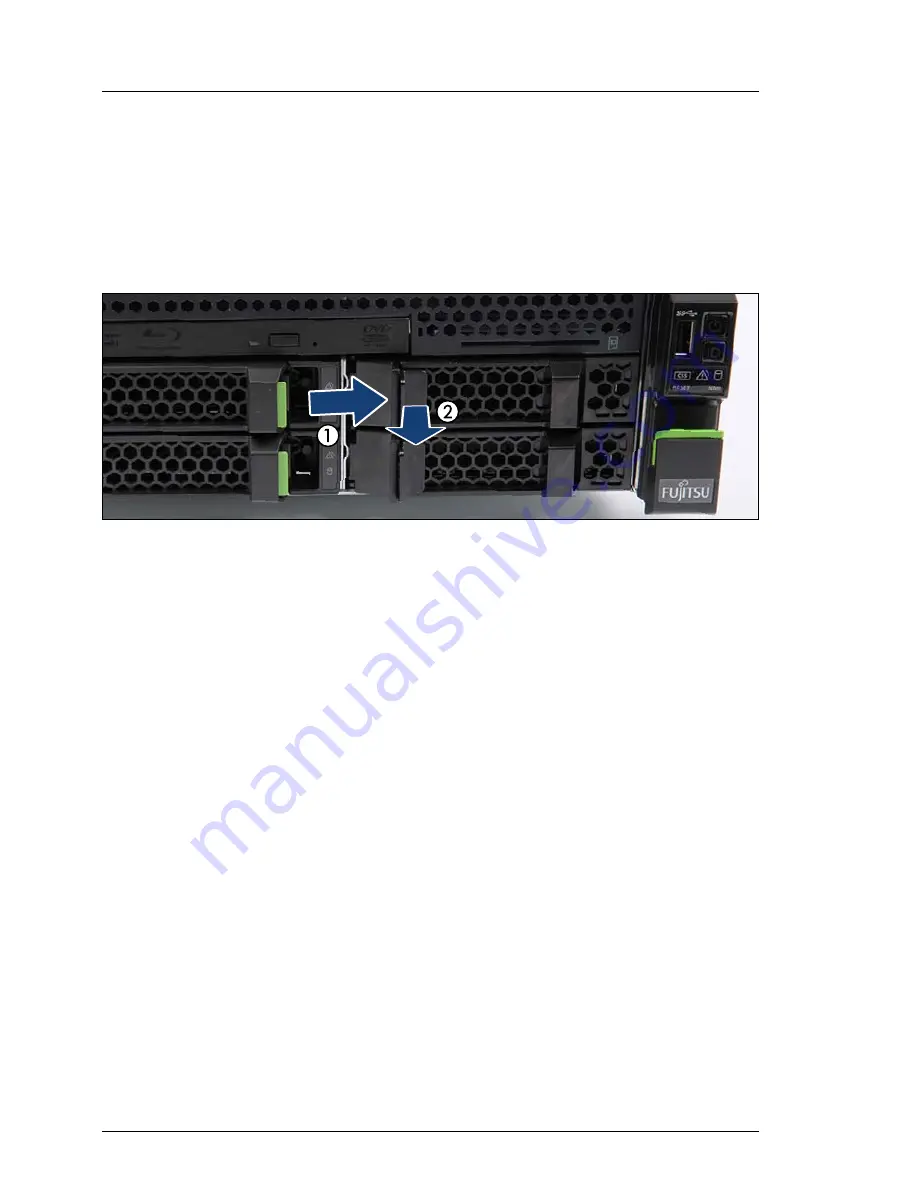
Figure 257: HDD dummy lock
Ê
Press the left handle of the HDD dummy module with light pressure, to break
out the HDD dummy lock.
Ê
Remove both HDD dummy locks.
Ê
"Removing the ODD carrier" on page 277
Ê
Install HDD modules, see section
"Installing a 3.5-inch HDD module" on
page 137
, or HDD dummy modules see
"Installing a 3.5-inch dummy
module" on page 140
.
Ê
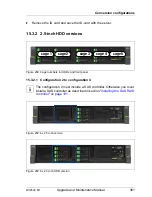
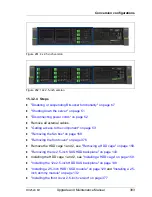
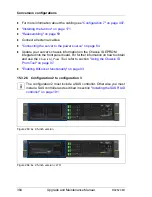
For more information about the cabling see
"Configuration 9" on page 409
.
Ê
"Installing the fan box" on page 171
Ê
"Reassembling" on page 59
Ê
Connect all external cables.
Ê
"Connecting the server to the power source" on page 64
Ê
Update your server’s chassis information on the Chassis ID EPROM
integrated into the front panel board. For further information on how to obtain
and use the
ChassisId_Prom
Tool, refer to section
"Using the Chassis ID
Prom Tool" on page 97
.
Ê
"Enabling BitLocker functionality" on page 93
Summary of Contents for PRIMERGY RX2520 M1
Page 36: ...36 Upgrade and Maintenance Manual RX2520 M1 Before you start ...
Page 120: ...120 Upgrade and Maintenance Manual RX2520 M1 Power supply units ...
Page 162: ...162 Upgrade and Maintenance Manual RX2520 M1 Hard disk drives solid state drives ...
Page 220: ...220 Upgrade and Maintenance Manual RX2520 M1 Expansion cards and backup units ...
Page 230: ...230 Upgrade and Maintenance Manual RX2520 M1 Main memory ...
Page 310: ...310 Upgrade and Maintenance Manual RX2520 M1 Accessible drives ...
Page 410: ...410 Upgrade and Maintenance Manual RX2520 M1 Cables ...


