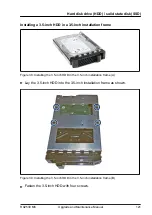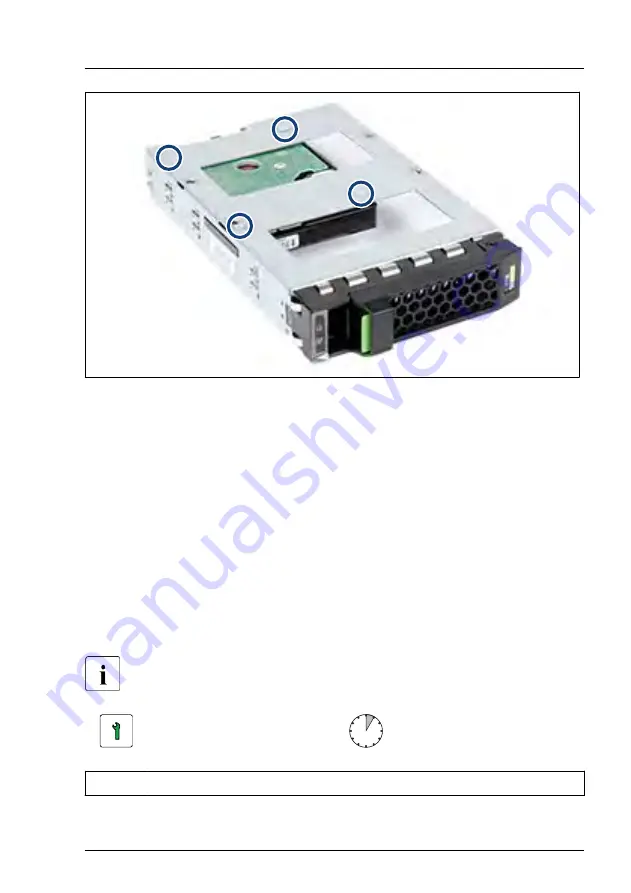
Figure 43: Installing the 2.5-inch HDD/SSD in the 3.5-inch installation frame (B)
▶
Fasten the 2.5-inch HDD/SSD with four screws.
Removing a 2.5-inch HDD/SSD from a 3.5-inch installation frame
▶
Please proceed in reversed order.
Concluding steps
No steps needed.
7.3.4
EDSFF SSD and EDSFF installation frame
Installing or removing the installation frame is only necessary for Japan.
Customer Replaceable
Unit (CRU)
Hardware: 5 minutes
Tools:
Phillips PH1 / (+) No. 1 screw driver
Hard disk drive (HDD) / solid state disk (SSD)
RX2530 M6
Upgrade and Maintenance Manual
125
Summary of Contents for PRIMERGY RX2530 M5
Page 18: ...Content Upgrade and Maintenance Manual RX2530 M6 ...
Page 194: ...Fans 194 Upgrade and Maintenance Manual RX2530 M6 ...
Page 262: ...Expansion cards and backup units 262 Upgrade and Maintenance Manual RX2530 M6 ...
Page 278: ...Main memory 278 Upgrade and Maintenance Manual RX2530 M6 ...
Page 324: ...Accessible drives 324 Upgrade and Maintenance Manual RX2530 M6 ...
Page 336: ...Front panel 336 Upgrade and Maintenance Manual RX2530 M6 ...
Page 344: ...Serial interface 344 Upgrade and Maintenance Manual RX2530 M6 ...
Page 480: ...List of all used screws for PRIMERGY Servers Assembled in Germany and Japan February 2019 ...


