Upgrade and Maintenance Manual
RX2540 M2
Contents
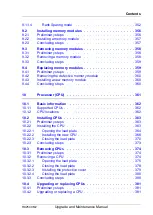
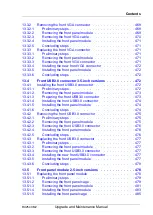
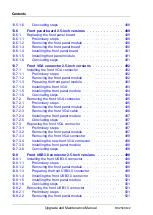
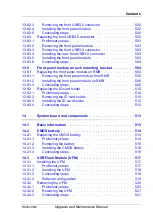
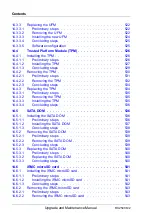
PLAN EM 2x 10 GB T . . . . . . . . . . . . . . . . . . . . 331
Installing the DynamicLoM module . . . . . . . . . . . . . . . 332
Preliminary steps . . . . . . . . . . . . . . . . . . . . . . 332
Removing the slot cover . . . . . . . . . . . . . . . . . . 332
Installing the DynamicLoM module . . . . . . . . . . . . . 333
Concluding steps . . . . . . . . . . . . . . . . . . . . . . 334
Software configuration . . . . . . . . . . . . . . . . . . . 335
Removing the DynamicLoM module . . . . . . . . . . . . . . 336
Preliminary steps . . . . . . . . . . . . . . . . . . . . . . 336
Removing the DynamicLoM module . . . . . . . . . . . . 337
Installing the slot cover . . . . . . . . . . . . . . . . . . . 338
Concluding steps . . . . . . . . . . . . . . . . . . . . . . 339
Replacing the DynamicLoM module . . . . . . . . . . . . . . 339
Preliminary steps . . . . . . . . . . . . . . . . . . . . . . 339
Removing the DynamicLoM module . . . . . . . . . . . . 340
Installing the DynamicLoM module . . . . . . . . . . . . . 340
Concluding steps . . . . . . . . . . . . . . . . . . . . . . 340
Software configuration . . . . . . . . . . . . . . . . . . . 340
External COM1 connector . . . . . . . . . . . . . . . . . . . 341
Installing the external COM1 connector . . . . . . . . . . . . 341
Preliminary steps . . . . . . . . . . . . . . . . . . . . . . 341
Breaking off the metal cover . . . . . . . . . . . . . . . . . 342
Installing the COM1 connector . . . . . . . . . . . . . . . 342
Concluding steps . . . . . . . . . . . . . . . . . . . . . . 344
Removing the external COM1 connector . . . . . . . . . . . . 344
Preliminary steps . . . . . . . . . . . . . . . . . . . . . . 344
Removing the COM1 connector . . . . . . . . . . . . . . . 345
Concluding steps . . . . . . . . . . . . . . . . . . . . . . 346
Replacing the external COM1 connector . . . . . . . . . . . . 346
Preliminary steps . . . . . . . . . . . . . . . . . . . . . . 346
Removing the external COM1 connector . . . . . . . . . . 346
Installing the external COM1 connector . . . . . . . . . . . 346
Concluding steps . . . . . . . . . . . . . . . . . . . . . . 346
Main memory . . . . . . . . . . . . . . . . . . . . . . . . . 347
Basic information . . . . . . . . . . . . . . . . . . . . . . . 348
Memory sequence . . . . . . . . . . . . . . . . . . . . . . . 349
Population rules . . . . . . . . . . . . . . . . . . . . . . . 349
Independant Channel mode . . . . . . . . . . . . . . . . . 350
Mirrored and performance modes . . . . . . . . . . . . . . 351
Summary of Contents for PRIMERGY RX2540 M2
Page 6: ...Upgrade and Maintenance Manual RX2540 M2 ...
Page 48: ...48 Upgrade and Maintenance Manual RX2540 M2 Before you start ...
Page 128: ...128 Upgrade and Maintenance Manual RX2540 M2 Basic software procedures ...
Page 142: ...142 Upgrade and Maintenance Manual RX2540 M2 Power supply unit PSU ...
Page 392: ...392 Upgrade and Maintenance Manual RX2540 M2 Processor CPU ...
Page 452: ...452 Upgrade and Maintenance Manual RX2540 M2 Accessible drives ...
Page 558: ...558 Upgrade and Maintenance Manual RX2540 M2 System board and components ...
Page 602: ...602 Upgrade and Maintenance Manual RX2540 M2 Appendix ...


