RX2540 M2
Upgrade and Maintenance Manual
137
Power supply unit (PSU)
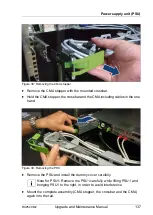
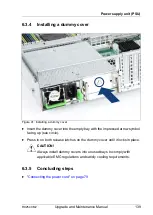
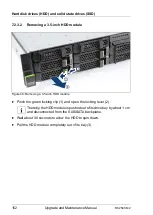
Figure 38: Removing the CMA stopper
Ê
Remove the CMA stopper with the mounted crossbar.
Ê
Hold the CMA stopper, the crossbar and the CMA including cables in the one
hand.
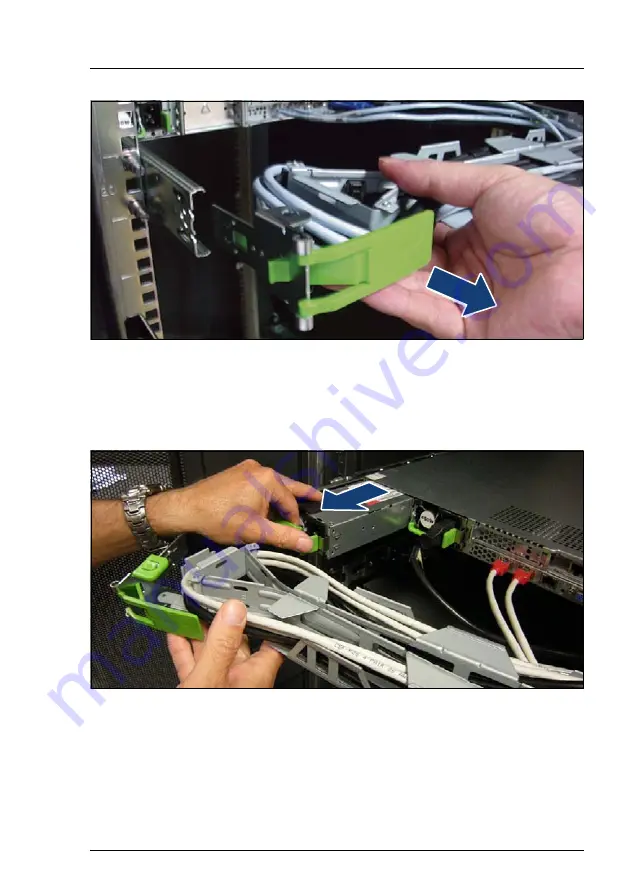
Figure 39: Removing the PSU
Ê
Remove the PSU and install the dummy cover carefully.
I
Note for PSU1: Remove the PSU1 carefully while lifting PSU1 and
bringing PSU1 to the right, in order to avoid interference
Ê
Mount the complete assembly (CMA stopper, the crossbar and the CMA)
again into the rail.
Summary of Contents for PRIMERGY RX2540 M2
Page 6: ...Upgrade and Maintenance Manual RX2540 M2 ...
Page 48: ...48 Upgrade and Maintenance Manual RX2540 M2 Before you start ...
Page 128: ...128 Upgrade and Maintenance Manual RX2540 M2 Basic software procedures ...
Page 142: ...142 Upgrade and Maintenance Manual RX2540 M2 Power supply unit PSU ...
Page 392: ...392 Upgrade and Maintenance Manual RX2540 M2 Processor CPU ...
Page 452: ...452 Upgrade and Maintenance Manual RX2540 M2 Accessible drives ...
Page 558: ...558 Upgrade and Maintenance Manual RX2540 M2 System board and components ...
Page 602: ...602 Upgrade and Maintenance Manual RX2540 M2 Appendix ...

