36
Chapter 1 Overview
1.4.4 Inserting and Ejecting a CD-ROM
This section explains how to insert and eject a CD-ROM.
When using CD-ROMs, note the following points to avoid failures:
■
Cautions for Handling Drives
• Use the drive in a dry place with low airborne dust levels. Entry of water, a paper clip, or other liquids
or metal objects can cause electric shock or failures.
• Do not use the drive in a place exposed to shocks or vibration.
• Do not insert any object other than the specified CD-ROMs.
• Do not pull or push the CD-ROM tray forcibly.
• Do not disassemble the CD-ROM drive.
• Clean the CD-ROM tray before use. Use a dry, soft cloth for cleaning.
• When the CD-ROM drive is not used for a prolonged period, eject the CD-ROM to prevent accidents.
To avoid dust or particles, keep the CD-ROM tray closed (in a loaded position).
• This server supports CD-ROMs with the following logo. Do not use CD-ROMs without the logo.
Doing so may cause failures.
■
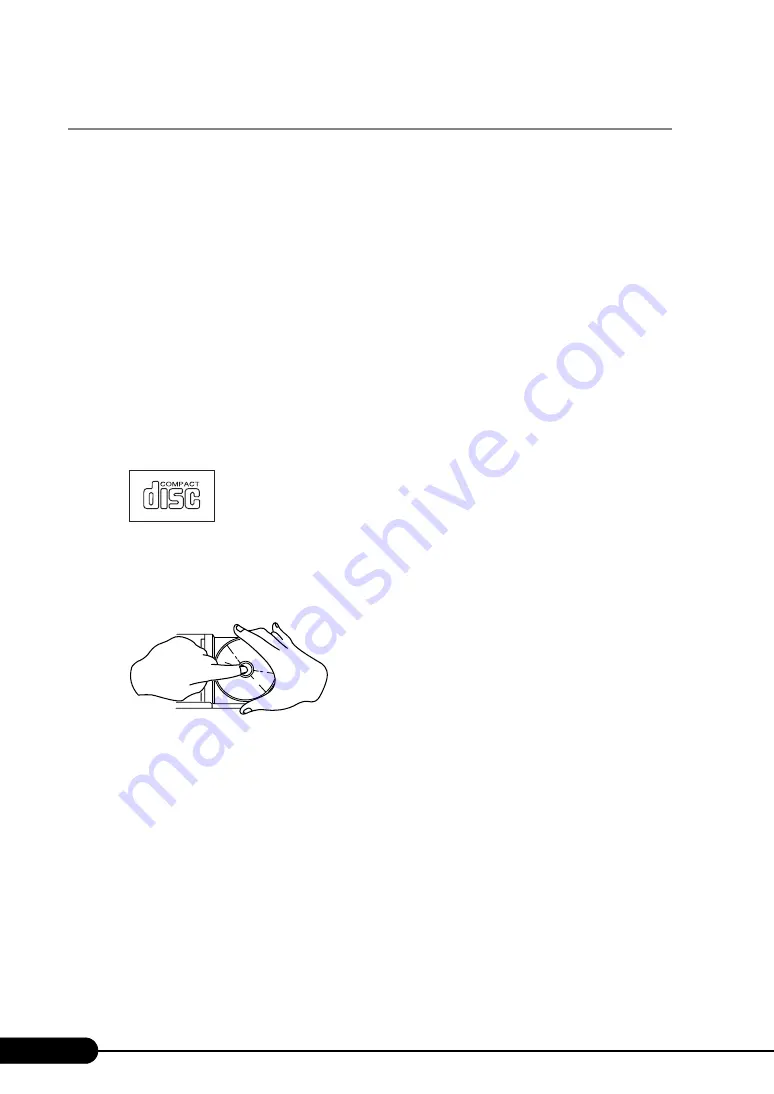
Cautions for Handling CD-ROMs
• When removing the disk from the case, pull the disk up while pressing the center holder of the case as
shown in the figure below.
• Hold the CR-ROM on its edge to avoid contact with the disk surface.
• Do not contaminate the CD-ROM surface with fingerprints, oil, or dust. If the disk is dirty, wipe it
from the center to the edge with a dry, soft cloth. Do not use benzine, thinner, water, record sprays,
antistatics, or silicone clothes.
• Be careful not to scratch the CD-ROM surface.
• Avoid heat.
• Do not bend the CD-ROM or place heavy objects on it.
• Do not use a ball-point pen or pencil on the label (printed) side.
• Do not apply stickers to the label side. Abnormal vibration can occur due to eccentricity.
• When the CD-ROM is moved from a cold place into a warm place, dew condensation may occur,
resulting in data read errors. In this case, wipe droplets away with a dry, soft cloth and let the unit dry
naturally. Do not use a hair dryer.
• To avoid dust, scratches, or deformation, store CD-ROMs in the case whenever not in use.
Summary of Contents for Primergy RX600 S2
Page 6: ...6 ...
Page 110: ...110 Chapter 3 OS Installation Using ServerStart ...
Page 132: ...132 Chapter 4 Manual OS Installation ...
Page 228: ...228 Chapter 7 Installing Internal Options ...
Page 286: ...286 Chapter 9 Operation and Maintenance ...
Page 298: ...298 ...


