32
U41662-J-Z156-1-76
Installation Steps
Hardware Installation
4.1
Installation Steps
The following installation steps are described in detail in other sections of this
chapter:
Ê
Transporting the server to the desired site.
Ê
Unpacking the server (see next
section “Unpacking the Server”
).
Ê
Mounting the rack model into the rack (see
section “Installing/Removing the
Server into the Rack” on page 33
) as shown in the layout arrangement
created with
System Architect
.
Ê
Cabling the server. Please also refer to the Technical Manual for the corre-
sponding rack, the
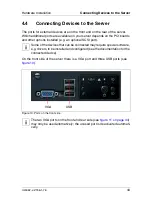
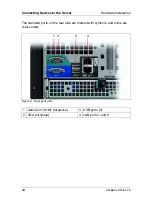
section “Connecting Devices to the Server” on page 43
and
section “Hints: Connecting/Disconnecting Cables” on page 47
.
Ê
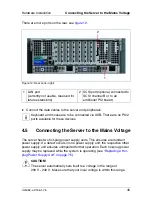
Connecting the server to the power supply (see
section “Connecting the
Server to the Mains Voltage” on page 45
).
4.2
Unpacking the Server
V
CAUTION!
Please note the safety instructions in
chapter “Important Notes” on
page 19
.
If you need to lift or transport the server, ask other people to help you.
Do not unpack the server until all transport maneuvers are completed.
It is recommended to not throw away the original packaging material! It may be
required for transportation at some later date.
Ê
Unpack all the individual parts.
Ê
Check the contents of the package for visible transport damage.
Ê
Check whether the delivery agrees with the details in the delivery note.
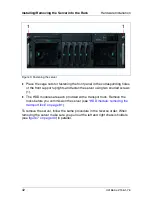
The identification rating plate is located on the left side of the server.
If you find transport damage or inconsistencies between the contents of the
package and the delivery note, inform your supplier immediately!


