


TX100 S2
Service Supplement
71
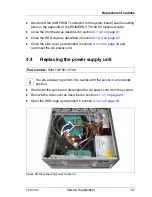
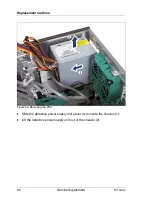
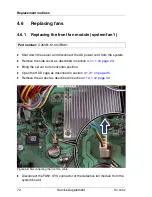
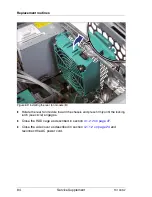
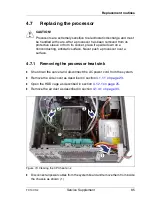
Replacement routines
Ê
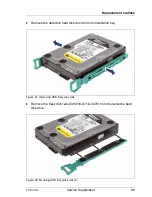
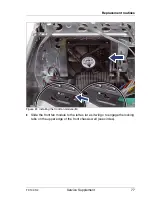
Insert the new hard disk drive into its installation bay and push in until the
locking latches engage.
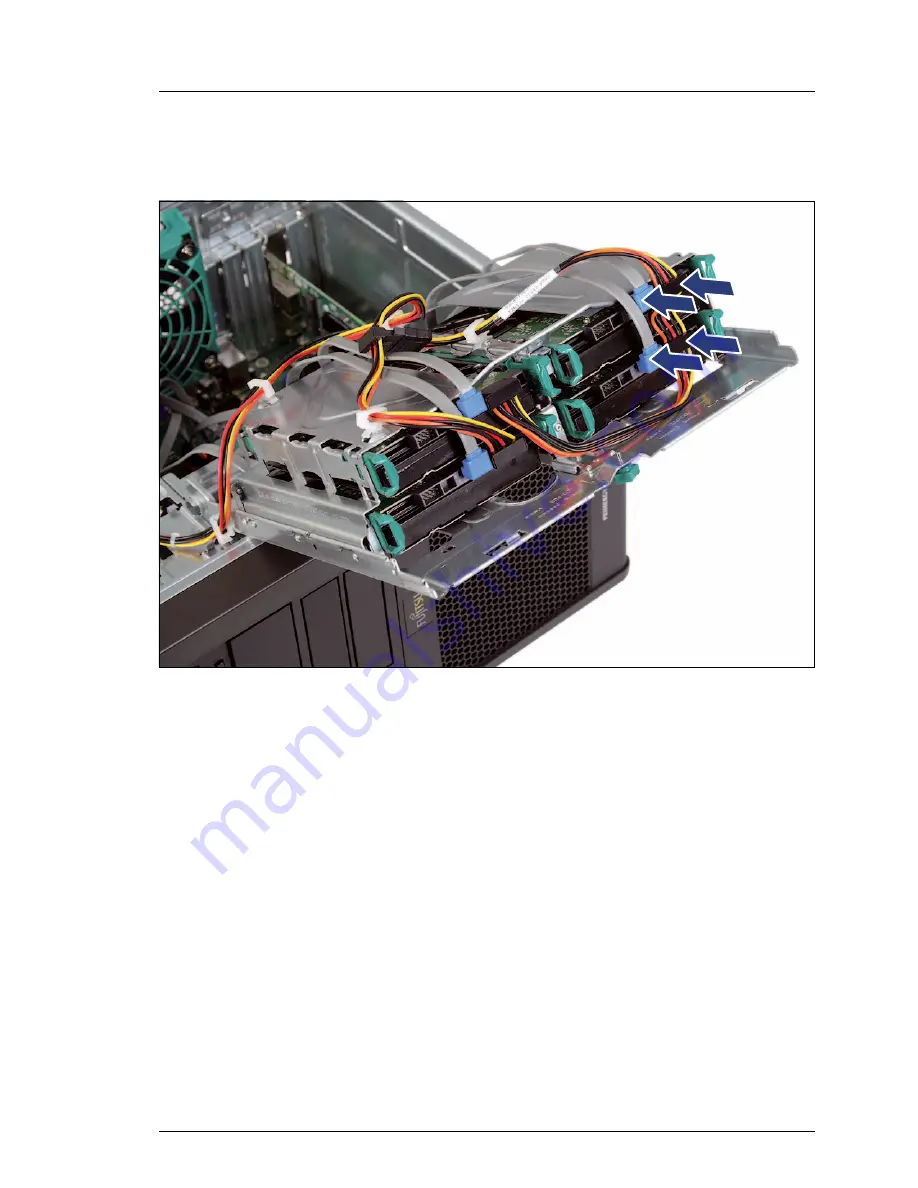
Figure 55: Connecting HDD cables
Ê
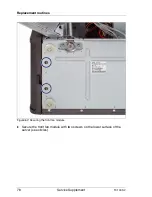
Reconnect all cables to the hard disk drives (see the cabling plans in the
appendix of the PRIMERGY TX100 S2 Options Guide).
Ê
Close the HDD cage as described in section
4.1.2.2 on page 27
.
Ê
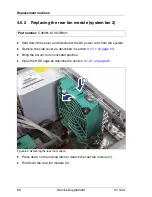
Close the side cover as described in section
4.1.1.2 on page 24
and
reconnect the AC power cord.
Summary of Contents for PRIMERGY TX100 S2
Page 1: ...Service Supplement English PRIMERGY TX100 S2 Server Service Supplement Edition July 2010 ...
Page 6: ......
Page 14: ......
Page 22: ......


