204
Upgrade and Maintenance Manual
TX1310
M1
System board and components
14.3.3 Replacing the TPM
V
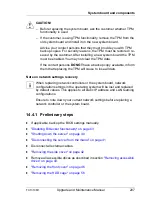
CAUTION!
Advise your contact persons that they must provide you with TPM
backup copies. For security reasons, the TPM must be restored/re-
saved by the customer. After installing a new system board, the TPM
must be enabled. You may not clear the TPM data.
If the contact persons
DO NOT
have a backup copy available, inform
them that replacing the TPM will cause to lose all data.
14.3.3.1 Preliminary steps
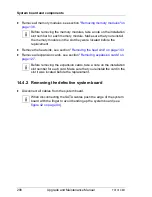
Ê
"Disabling BitLocker functionality" on page 63
Ê
"Shutting down the server" on page 40
Ê
"Disconnecting the server from the mains" on page 41
Ê
"Removing the side cover" on page 42
Ê
Remove all accessible drives as described in section
"Removing accessible
drives" on page 43
.
Ê
"Removing the front cover" on page 46
Ê
"Removing the HDD cage" on page 56
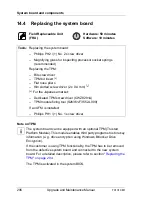
Field Replaceable Unit
(FRU)
Hardware: 40 minutes
Tools:
Removing the system board:
– Phillips PH2 / (+) No. 2 screw driver
Replacing the TPM:
– Bit screw driver
– TPM bit insert
(
*
)
– thin slotted screw driver (2 x 0.4 mm)
(
*
)
(
*
)
For the Japanese market:
– Dedicated TPM screw driver (CWZ8291A)
– TPM module fixing tool (S26361-F3552-L909)
Summary of Contents for PRIMERGY TX1310 M1
Page 6: ...Upgrade and Maintenance Manual TX1310 M1 Version history ...
Page 18: ...18 Upgrade and Maintenance Manual TX1310 M1 Introduction ...
Page 38: ...38 Upgrade and Maintenance Manual TX1310 M1 Important information ...
Page 132: ...132 Upgrade and Maintenance Manual TX1310 M1 Expansion cards and backup units ...
Page 220: ...220 Upgrade and Maintenance Manual TX1310 M1 Cables ...

