164
Upgrade and Maintenance Manual
TX140
S1
Hard disk drives / solid state drives
7.2.2.2
Preliminary steps
Before installing a 2.5-inch HDD / SSD module, perform the following steps:
Ê
If applicable, open the rack door as described in section
"Opening the rack
door" on page 61
.
Ê
When working on a tower server, open the HDD bay cover as described in
section
"Removing the HDD bay cover" on page 76
.
Ê
Locate the correct drive bay as described in section
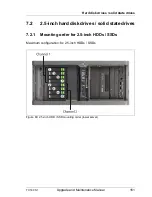
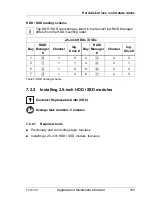
"Mounting order for 2.5-
inch HDDs / SSDs" on page 161
.
7.2.2.3
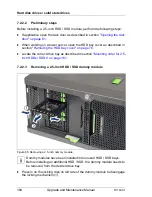
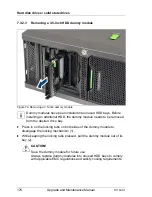
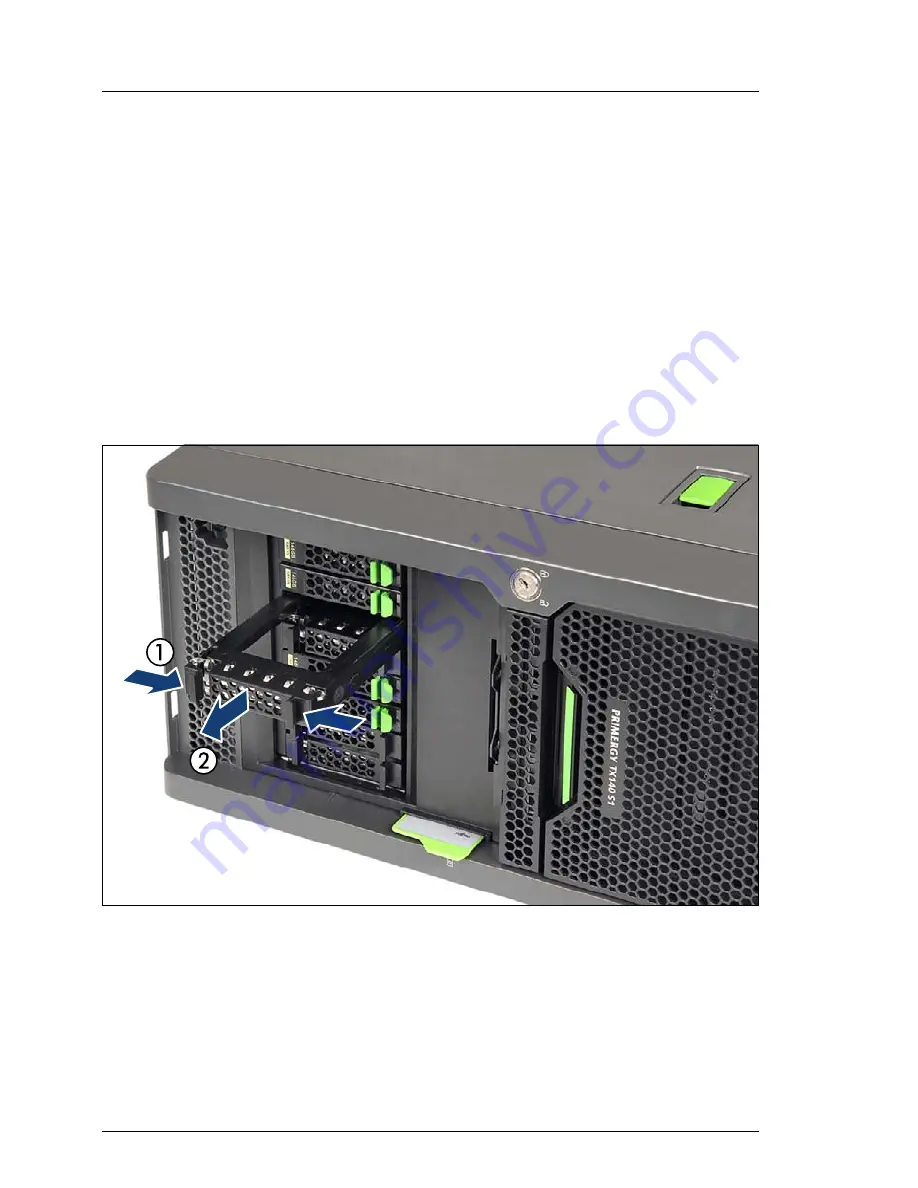
Removing a 2.5-inch HDD / SSD dummy module
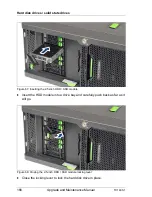
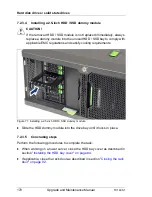
Figure 65: Removing a 2.5-inch dummy module
I
Dummy modules have been installed into unused HDD / SSD bays.
Before installing an additional HDD / SSD, the dummy module needs to
be removed from the desired drive bay.
Ê
Press in on the locking clips on left side of the dummy module to disengage
the locking mechanism (1).
Summary of Contents for PRIMERGY TX140 S1
Page 6: ...Upgrade and Maintenance Manual TX140 S1 ...
Page 22: ...Upgrade and Maintenance Manual TX140 S1 Contents ...
Page 24: ...24 Upgrade and Maintenance Manual TX140 S1 ...
Page 40: ...40 Upgrade and Maintenance Manual TX140 S1 Before you start ...
Page 204: ...204 Upgrade and Maintenance Manual TX140 S1 Hard disk drives solid state drives ...
Page 292: ...292 Upgrade and Maintenance Manual TX140 S1 Expansion cards and backup units ...
Page 306: ...306 Upgrade and Maintenance Manual TX140 S1 Main memory ...
Page 370: ...370 Upgrade and Maintenance Manual TX140 S1 Accessible drives ...
Page 414: ...414 Upgrade and Maintenance Manual TX140 S1 Front panel and external connectors ...
Page 472: ...472 Upgrade and Maintenance Manual TX140 S1 System board and components ...
Page 568: ...568 Upgrade and Maintenance Manual TX140 S1 Cabling ...

