TX140 S1
Upgrade and Maintenance Manual
165
Hard disk drives / solid state drives
Ê
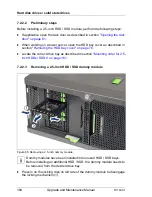
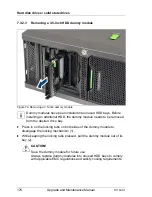
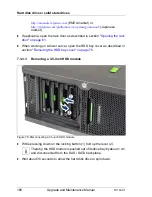
While keeping the locking clip pressed, pull the dummy module out of its bay
(2).
V
CAUTION!
Save the dummy module for future use.
Always replace dummy modules into unused HDD / SSD bays to
comply with applicable EMC regulations and satisfy cooling
requirements.
7.2.2.4
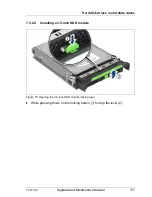
Installing a 2.5-inch HDD / SSD module
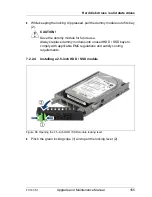
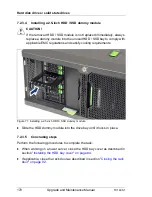
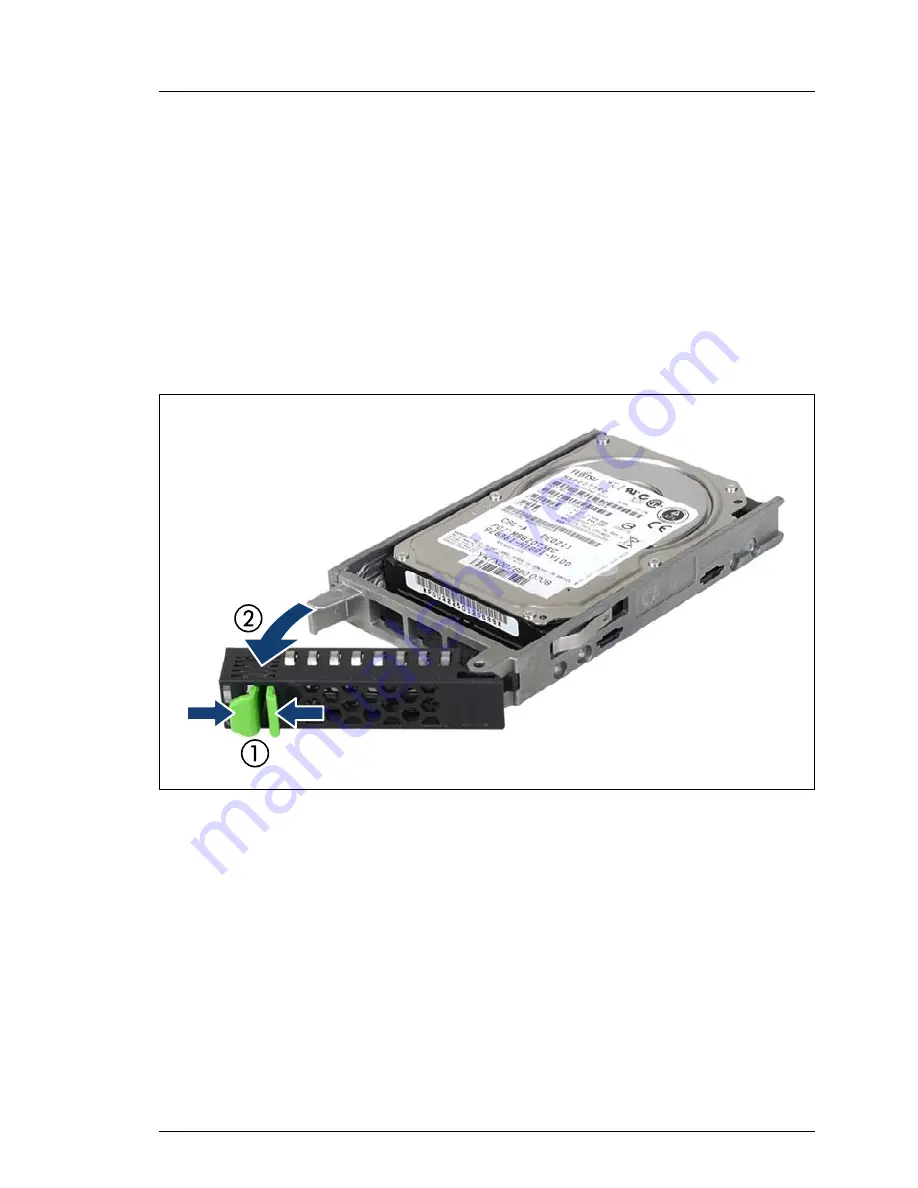
Figure 66: Opening the 2.5-inch HDD / SSD module locking lever
Ê
Pinch the green locking clips (1) and open the locking lever (2).
Summary of Contents for PRIMERGY TX140 S1
Page 6: ...Upgrade and Maintenance Manual TX140 S1 ...
Page 22: ...Upgrade and Maintenance Manual TX140 S1 Contents ...
Page 24: ...24 Upgrade and Maintenance Manual TX140 S1 ...
Page 40: ...40 Upgrade and Maintenance Manual TX140 S1 Before you start ...
Page 204: ...204 Upgrade and Maintenance Manual TX140 S1 Hard disk drives solid state drives ...
Page 292: ...292 Upgrade and Maintenance Manual TX140 S1 Expansion cards and backup units ...
Page 306: ...306 Upgrade and Maintenance Manual TX140 S1 Main memory ...
Page 370: ...370 Upgrade and Maintenance Manual TX140 S1 Accessible drives ...
Page 414: ...414 Upgrade and Maintenance Manual TX140 S1 Front panel and external connectors ...
Page 472: ...472 Upgrade and Maintenance Manual TX140 S1 System board and components ...
Page 568: ...568 Upgrade and Maintenance Manual TX140 S1 Cabling ...

