TX140 S1
Upgrade and Maintenance Manual
469
System board and components
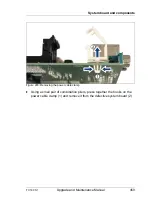
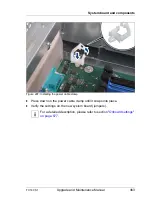
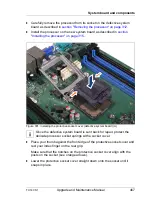
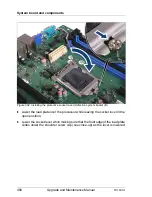
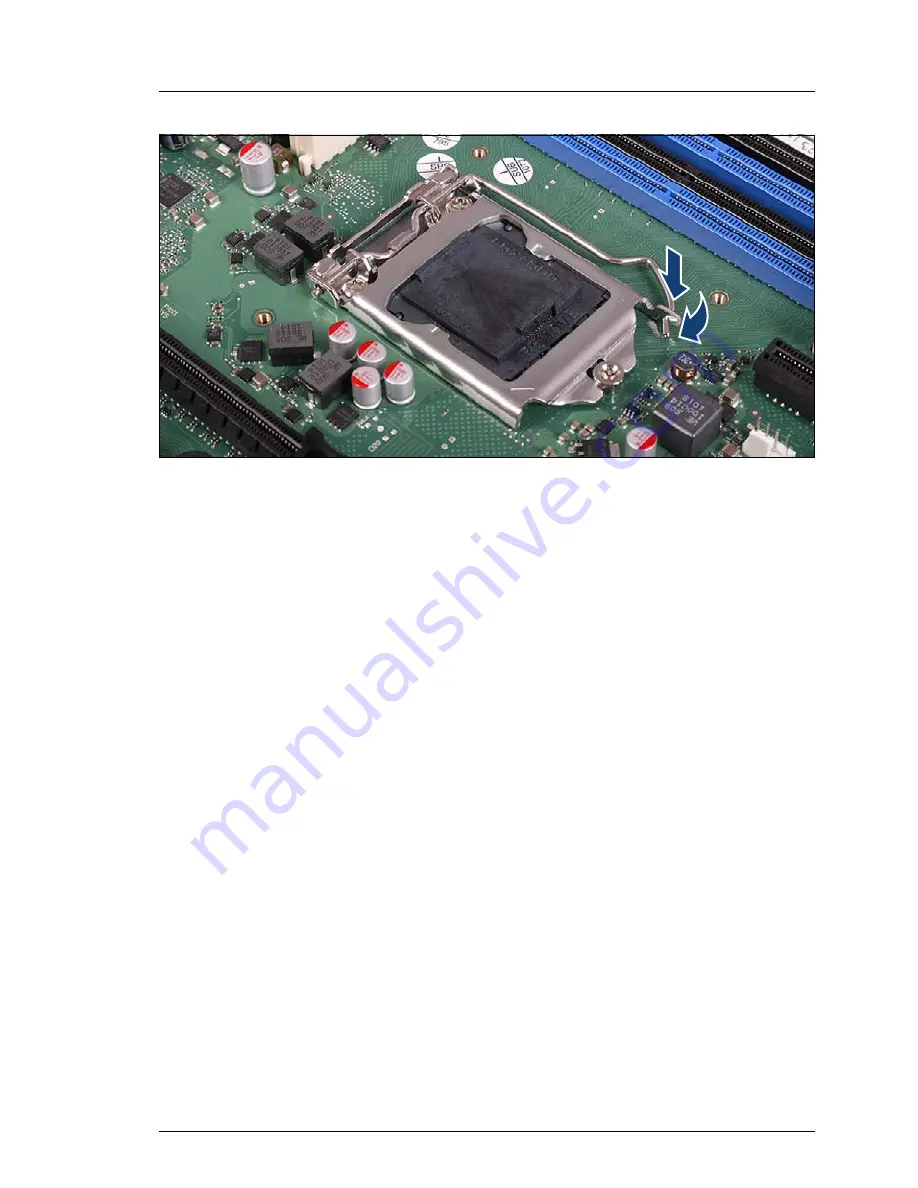
Figure 303: Installing the protective socket cover (defective system board) (C)
Ê
Latch the socket lever under the load plate tab.
14.4.5 Concluding steps
Ê
Reconnect all cables to the system board. For a complete cabling overview,
please refer to section
"Cabling overview" on page 490
.
Ê
Reinstall all remaining system board components as shown in the related
sections:
– Heat sinks: refer to section
"Installing the processor heat sink" on
page 321
– Memory modules: refer to section
"Installing a memory module" on
page 297
I
Install all memory modules into their original slots.
– Expansion cards: refer to section
"Installing a memory module" on
page 297
I
Install all expansion cards into their original slots.
– UFM board: refer to section
"Installing the UFM board" on page 422
– TPM board (if applicable): refer to section
section "Installing the TPM
board" on page 437
Summary of Contents for PRIMERGY TX140 S1
Page 6: ...Upgrade and Maintenance Manual TX140 S1 ...
Page 22: ...Upgrade and Maintenance Manual TX140 S1 Contents ...
Page 24: ...24 Upgrade and Maintenance Manual TX140 S1 ...
Page 40: ...40 Upgrade and Maintenance Manual TX140 S1 Before you start ...
Page 204: ...204 Upgrade and Maintenance Manual TX140 S1 Hard disk drives solid state drives ...
Page 292: ...292 Upgrade and Maintenance Manual TX140 S1 Expansion cards and backup units ...
Page 306: ...306 Upgrade and Maintenance Manual TX140 S1 Main memory ...
Page 370: ...370 Upgrade and Maintenance Manual TX140 S1 Accessible drives ...
Page 414: ...414 Upgrade and Maintenance Manual TX140 S1 Front panel and external connectors ...
Page 472: ...472 Upgrade and Maintenance Manual TX140 S1 System board and components ...
Page 568: ...568 Upgrade and Maintenance Manual TX140 S1 Cabling ...

