TX140 S2
Upgrade and Maintenance Manual
265
System board and components
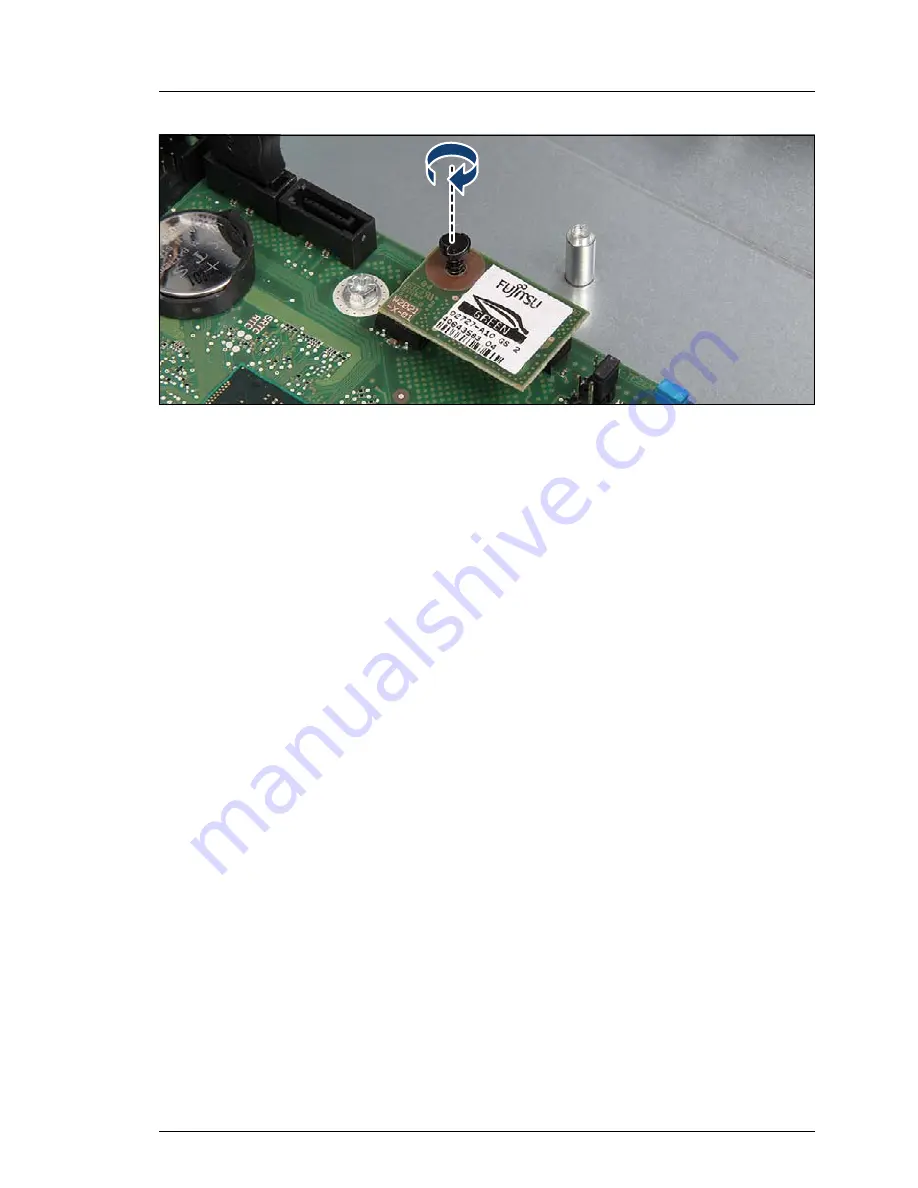
Figure 173: Securing the TPM
Ê
Secure the TPM with the TPM screw using the TPM bit insert.
I
Do not fasten the screw too firmly. Stop as soon as the head of the
screw lightly touches the TPM.
14.4.1.3 Concluding steps
Ê
"Reassembling" on page 58
Ê
"Connecting the server to the mains" on page 67
Ê
"Switching on the server" on page 68
Ê
Enable TPM in the system board BIOS. Proceed as follows:
Ê
Switch on or restart your server.
Ê
As soon as the startup screen appears, press the
[F2]
function key to
enter the BIOS.
Ê
Select the
Advanced
menu.
Ê
Select the
Trusted Computing
submenu.
Ê
Set the
TPM Support
and
TPM State
settings to
Enabled
.
Ê
Under
Pending TPM operation
, select the desired TPM operation mode.
Ê
Save your changes and exit the BIOS.
I
For more information on how to access the BIOS and modify settings,
refer to the corresponding BIOS Setup Utility reference manual.
Ê
"Enabling BitLocker functionality" on page 90
Summary of Contents for PRIMERGY TX140 S2
Page 30: ...30 Upgrade and Maintenance Manual TX140 S2 Before you start ...
Page 98: ...98 Upgrade and Maintenance Manual TX140 S2 Basic software procedures ...
Page 120: ...120 Upgrade and Maintenance Manual TX140 S2 Power supply ...
Page 148: ...148 Upgrade and Maintenance Manual TX140 S2 Hard disk drives solid state drives ...
Page 158: ...158 Upgrade and Maintenance Manual TX140 S2 System fan and air duct ...
Page 208: ...208 Upgrade and Maintenance Manual TX140 S2 Expansion cards and backup units ...
Page 216: ...216 Upgrade and Maintenance Manual TX140 S2 Main memory ...
Page 314: ...314 Upgrade and Maintenance Manual TX140 S2 Cabling ...
Page 332: ...332 Upgrade and Maintenance Manual TX140 S2 Appendix ...


