Using ScanSnap with the Quick Menu (for Windows Users)
197
3.
Click the [Scan to SharePoint] icon
.
D
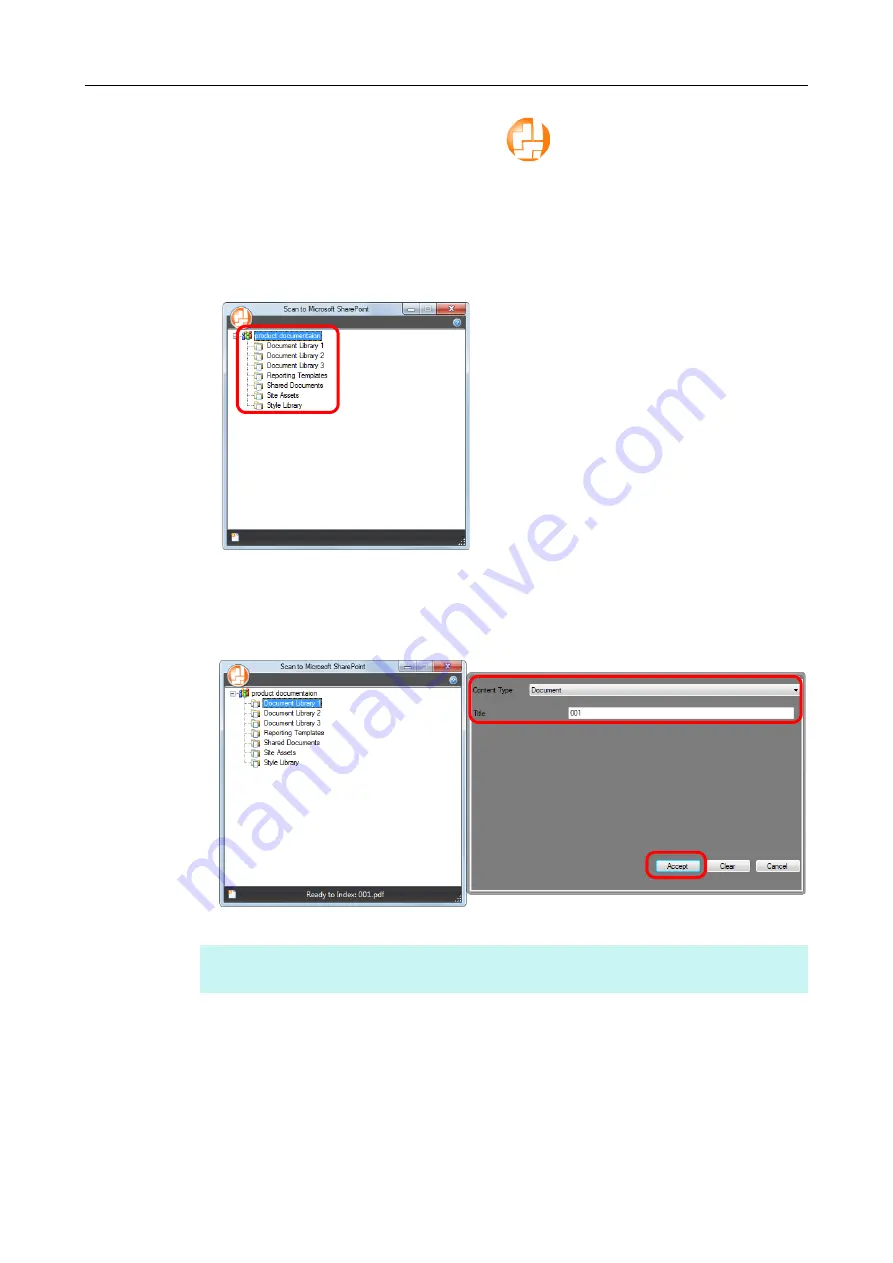
Scan to Microsoft SharePoint starts up.
4.
From the Site Tree Pane, select the document library in which you want
to save the scanned image.
D
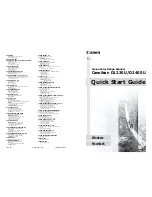
The Index Pane appears.
5.
Enter information, such as the title, and click the [Accept] button.
D
The scanned image is saved in the specified document library.
HINT
For details, refer to the Scan to Microsoft SharePoint User's Guide.


