363
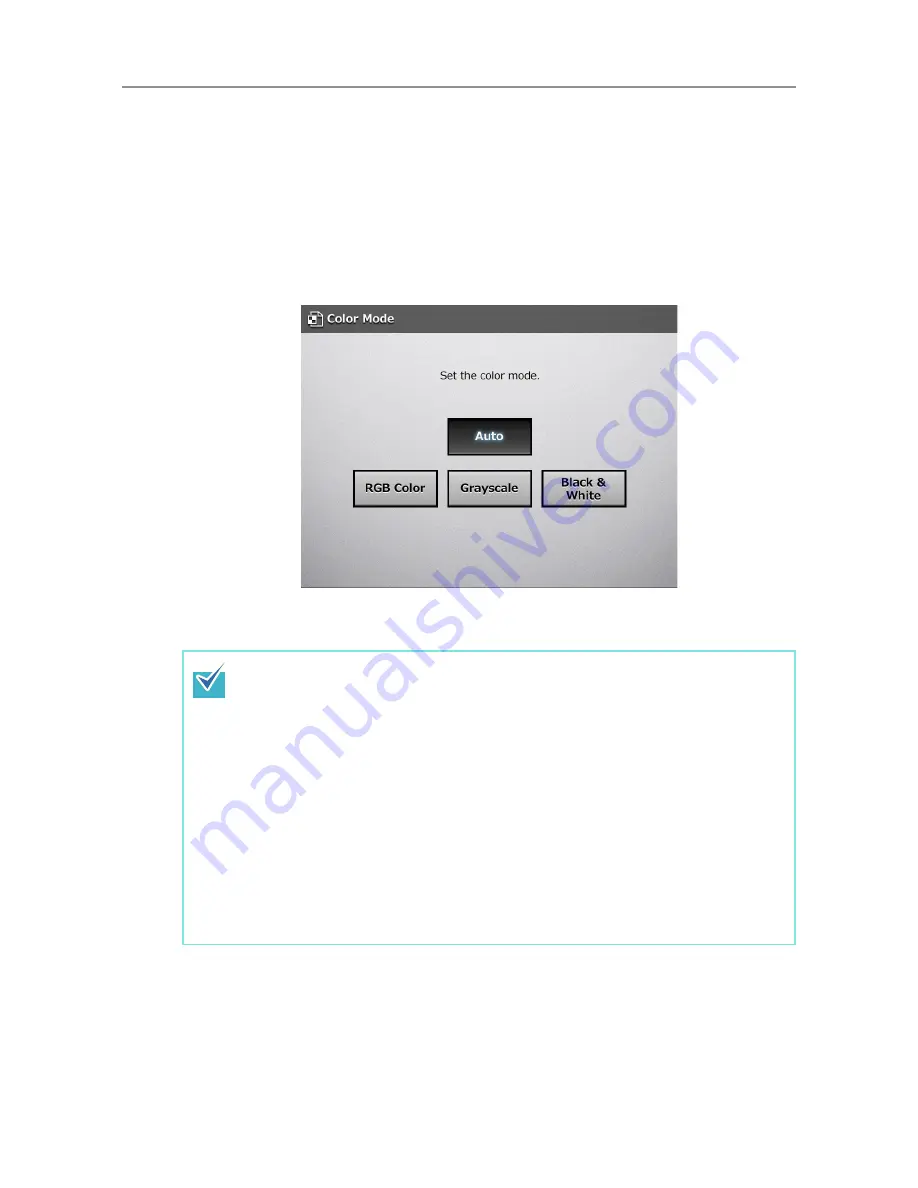
6.9.2 Color Mode
Set whether the document is scanned in "color" or "black and white".
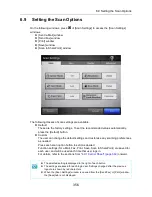
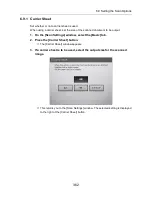
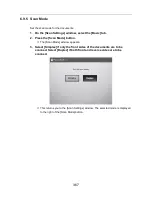
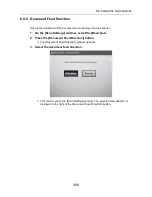
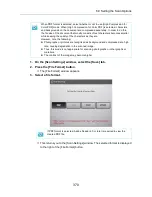
1. On the [Scan Settings] window, select the [Basic] tab.
2. Press the [Color Mode] button.
D
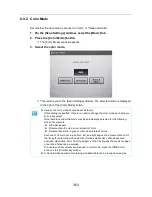
The [Color Mode] window appears.
3. Select the color mode.
D
This returns you to the [Scan Settings] window. The selected mode is displayed
to the right of the [Color Mode] button.
z
Usually, the color mode should be set as [Auto].
If this setting is specified, there is no need to change the color mode each time you
scan a document.
Note that black and white mode may be automatically selected for the following
kinds of documents:
z
Off-white papers
z
Documents with only a minor amount of color
z
Documents printed in gray or other close-to-black colors
Sections of 16 mm from top, bottom, left, and right edges of a document are out of
the range for automatic mode selection (for the smaller sizes of business card,
postcard, A6 and B6, 4 mm from the edges), so that the shades of document edges
or punched holes can be avoided.
To ensure such documents are scanned in color mode, press the [RGB Color]
button on the [Color Mode] window.
z
A black & white document containing a shaded table can be recognized as gray.
Summary of Contents for ScanSnap N1800
Page 1: ...ScanSnap N1800 Network Scanner Operator s Guide P3PC 3182 01ENZ0 ...
Page 17: ...17 ...
Page 29: ...29 ...
Page 55: ...55 ...
Page 65: ...65 ...
Page 73: ...73 ...
Page 271: ...271 7 Press the Back button D The Central Admin Console main window appears again ...
Page 355: ...355 D The Main Menu window is shown again ...
Page 415: ...415 ...
Page 441: ...441 ...
Page 481: ...481 ...
Page 492: ...492 Appendix D Scanner Specifications This appendix gives specifications for the scanner ...
Page 527: ...527 ...
Page 528: ...528 Appendix G Glossary ...
Page 533: ...533 ...
Page 535: ...535 ...

