How to Perform a Scan (for Windows users)
70
7.
Press the [Scan/Stop] button on the ScanSnap to finish scanning.
D
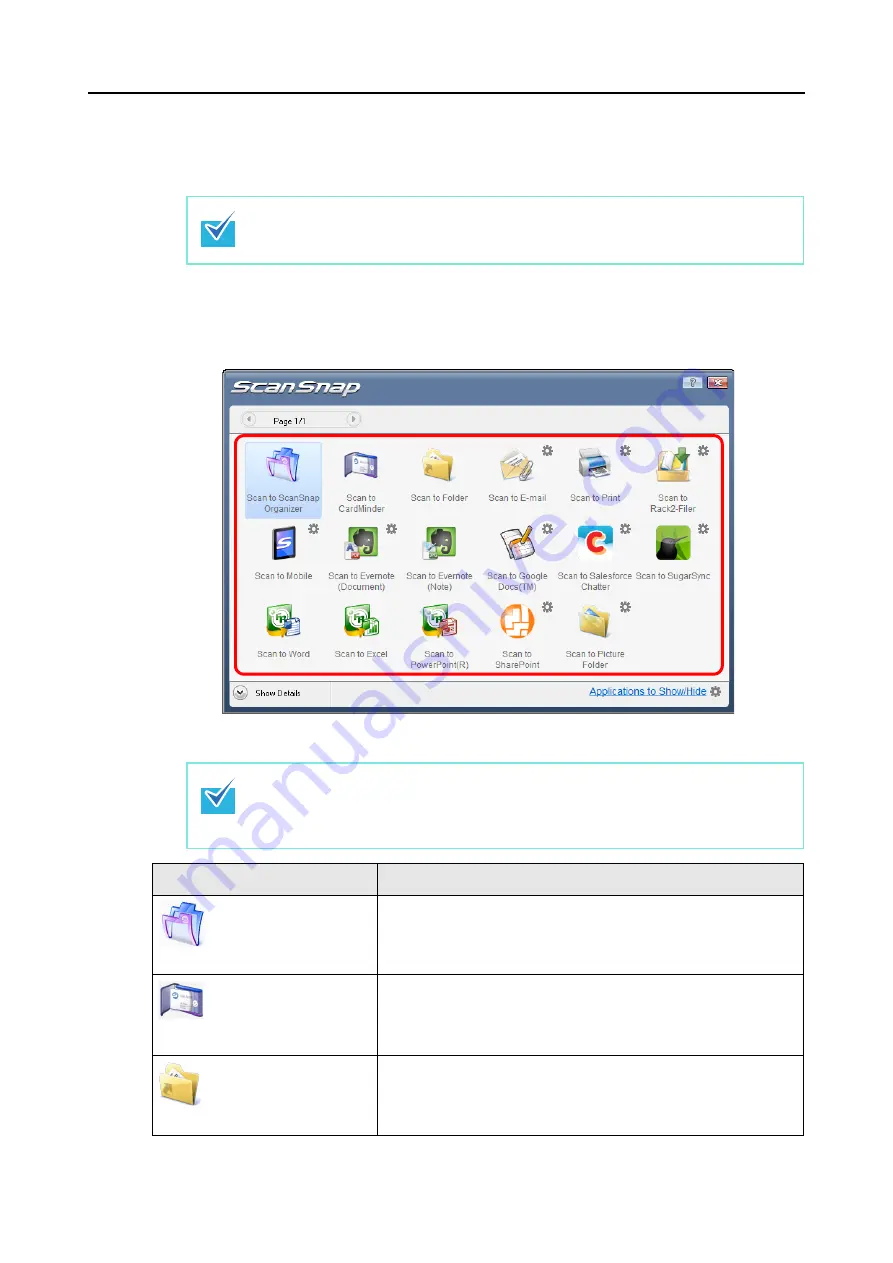
The Quick Menu appears.
8.
In the Quick Menu, click the icon of the application to link with ScanSnap
Manager.
D
The selected application is started.
z
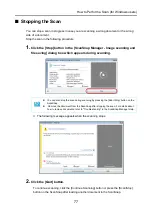
You can also finish scanning by clicking the [Finish Scanning] button in the [ScanSnap
Manager - Image scanning and file saving] dialog box.
z
The [Scan/Stop] button on the ScanSnap flashes in blue during the scan.
z
To specify which applications to display/hide in the Quick Menu, or change the display
order of the applications, refer to
"Quick Menu Settings" (page 79).
z
To select an application to link with ScanSnap Manager before scanning, refer to
out Using the Quick Menu" (page 73).
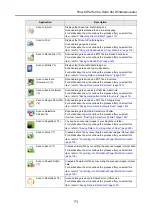
Application
Description
Scan to ScanSnap
Organizer (*1)
Displays the [ScanSnap Organizer] dialog box.
Scanned image is saved in a folder specified in ScanSnap Organizer.
For details about how to operate ScanSnap Organizer, refer to the
ScanSnap Organizer User's Guide.
Scan to CardMinder (*2)
Displays the [CardMinder] dialog box.
Scanned image is stored in CardMinder.
For details about how to continue the process after you select this
item, refer to
"Storing Business Cards in CardMinder" (page 144)
Scan to Folder
Displays the [Scan to Folder] dialog box.
You can specify the destination folder to save the scanned images.
For details about how to continue the process after you select this
item, refer to

