HINT
l
If there are available updates for ScanSnap Online Update on the server, you will be asked whether
you accept the license agreement terms for ScanSnap Online Update.
For details about ScanSnap Online Update, refer to the ScanSnap Online Update Help.
l
To save images created from documents that you scanned with the ScanSnap to a mobile device
or a cloud service directly, you need to connect the ScanSnap to the mobile device or the
ScanSnap Cloud server.
For details, refer to
"Connecting the ScanSnap to a Mobile Device or the ScanSnap Cloud Server
(iX1500/iX500/iX100)" (page 49)
.
3
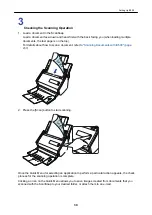
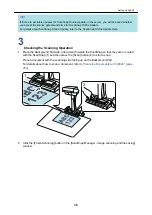
Checking the Scanning Operation
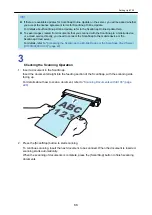
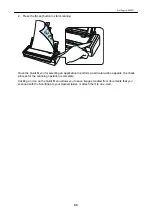
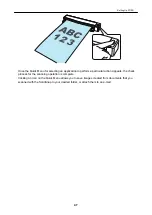
1. Insert a document in the ScanSnap.
Insert the document straight into the feeding section of the ScanSnap, with the scanning side
facing up.
For details about how to scan a document, refer to
"Scanning Documents with iX100" (page
2. Press the [Scan/Stop] button to start scanning.
To continue scanning, insert the next document to be scanned. When the document is inserted,
scanning starts automatically.
When the scanning of documents is complete, press the [Scan/Stop] button to finish scanning
documents.
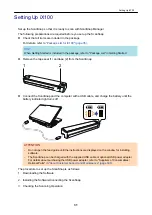
Setting Up iX100
33
Summary of Contents for SV600
Page 1: ...P3PC 6912 01ENZ2 Basic Operation Guide Windows ...
Page 54: ...What You Can Do with the ScanSnap 54 ...
Page 66: ...What You Can Do with the ScanSnap 66 ...
Page 87: ...Example When SV600 and iX1500 are connected to a computer Right Click Menu 87 ...
Page 89: ...ScanSnap Setup Window 89 ...
Page 245: ...For details refer to the Advanced Operation Guide Scanning Documents with iX100 245 ...
Page 320: ...For details refer to the Advanced Operation Guide Scanning Documents with S1100i 320 ...


