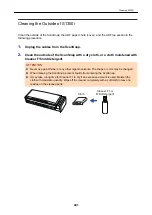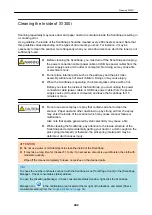
l
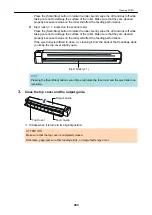
Pick roller assembly (× 1, located on the scanner side)
Gently wipe the dirt and dust off the rollers as you manually rotate them downward. Be
careful not to damage the surface of the rollers. Make sure that they are cleaned
properly because residue on the rollers will affect the feeding performance.
l
Glass (× 2, one on the ADF top section and one on the opposite side)
Gently wipe the dirt and dust off the surface of the glass sections. Make sure that they
are cleaned properly because dirty glass sections may cause vertical lines on scanned
images.
l
White backing strip (× 2, one on the ADF top section and one on the opposite side)
The white sections at the edge of the glass sections. Gently wipe the dirt and dust off
the surface.
2.
Clean the feed rollers and eject rollers.
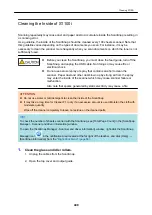
1. Connect the power connection cable (power cable or USB bus power cable) to the power
supply source (AC outlet or computer), and press the [Scan] button for three seconds with
the ADF top section open.
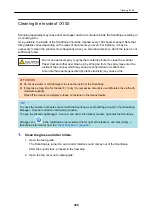
ATTENTION
Connect the power connection cable (power cable or USB bus power cable) to the power
supply source (AC outlet or computer) only when cleaning the feed rollers and eject rollers.
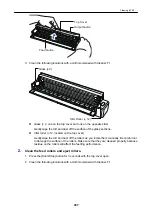
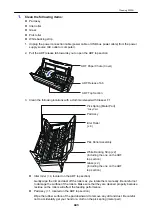
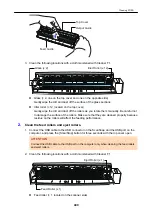
2. Clean the following locations with a cloth moistened with Cleaner F1.
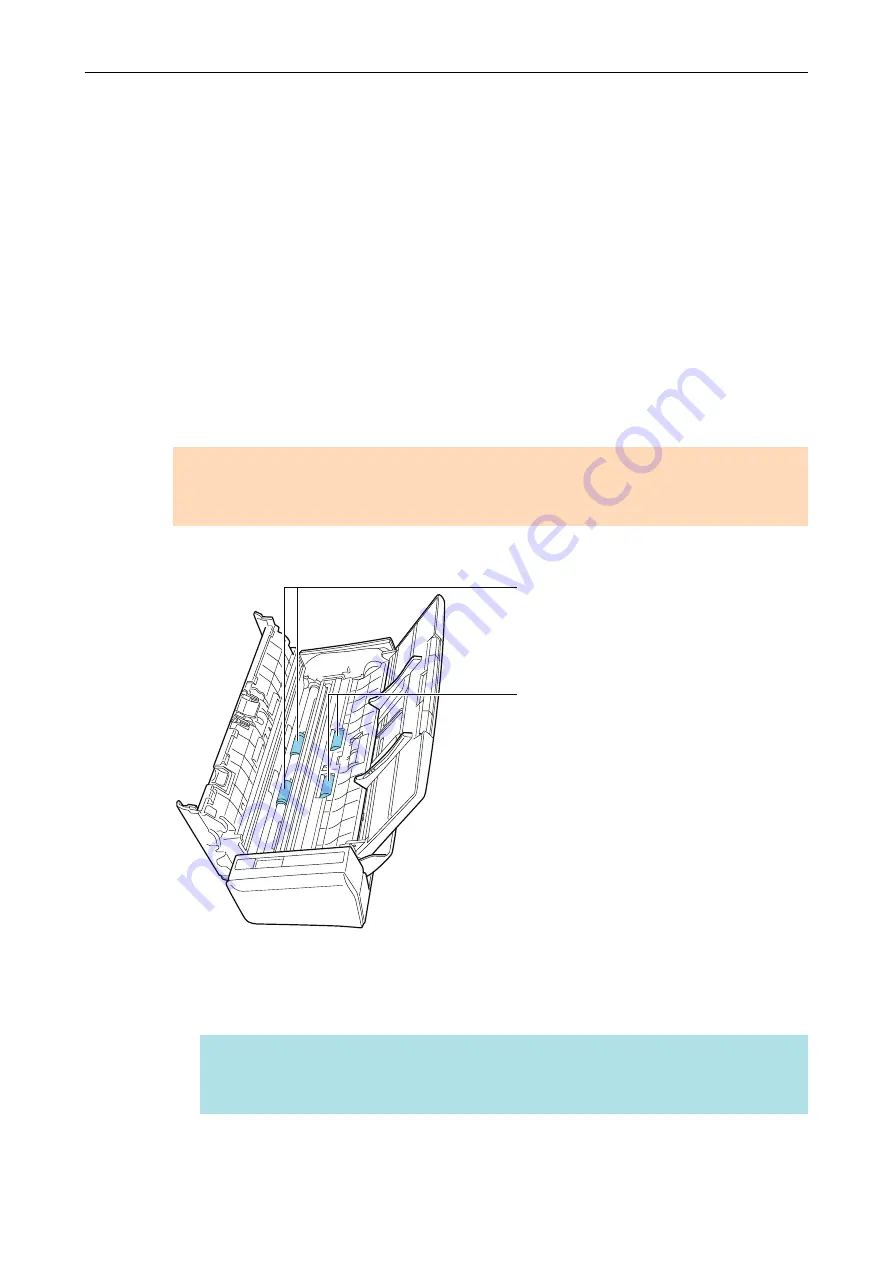
Eject Roller
(x 2)
Feed Roller
(x 2)
l
Feed roller (× 2)/eject roller (× 2)
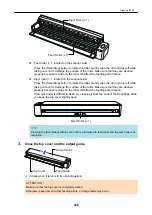
Press the [Scan] button to rotate the rollers. Gently wipe the dirt and dust off while
taking care not to damage the surface of the roller. Make sure that they are cleaned
properly because residue on the rollers will affect the feeding performance.
HINT
Pressing the [Scan] button seven times will rotate the feed rollers and the eject rollers
one revolution.
3.
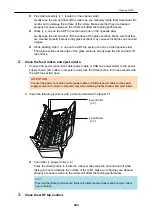
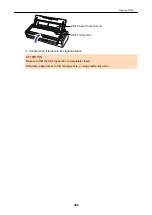
Close the ADF top section.
Cleaning S1300i
444
Summary of Contents for SV600
Page 1: ...P3PC 6912 01ENZ2 Basic Operation Guide Windows ...
Page 54: ...What You Can Do with the ScanSnap 54 ...
Page 66: ...What You Can Do with the ScanSnap 66 ...
Page 87: ...Example When SV600 and iX1500 are connected to a computer Right Click Menu 87 ...
Page 89: ...ScanSnap Setup Window 89 ...
Page 245: ...For details refer to the Advanced Operation Guide Scanning Documents with iX100 245 ...
Page 320: ...For details refer to the Advanced Operation Guide Scanning Documents with S1100i 320 ...


