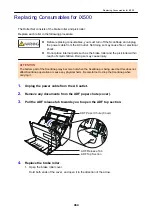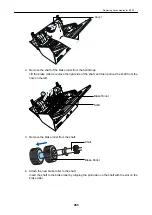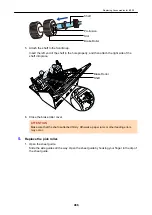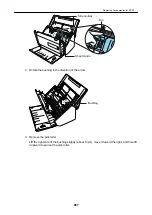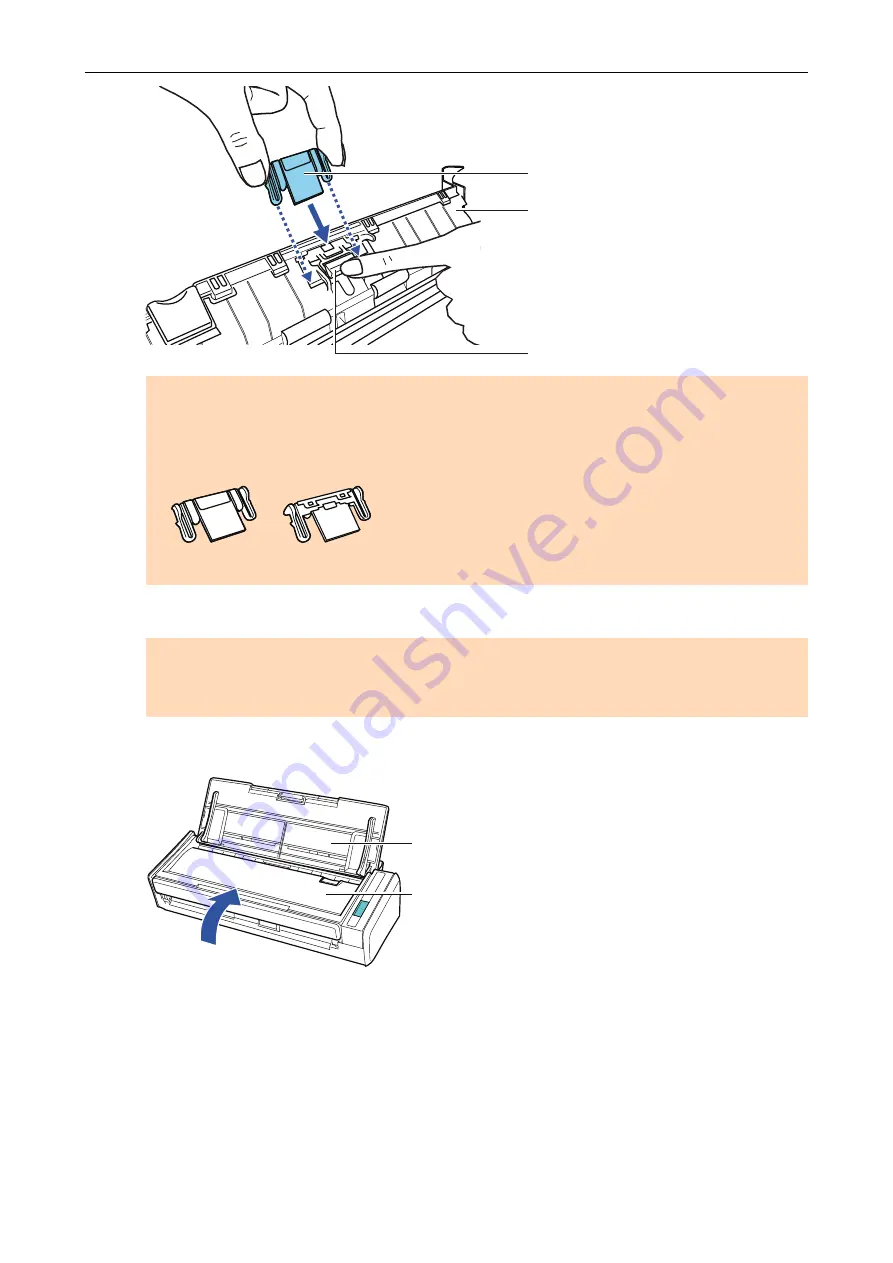
Pad Assy
ADF Top Section
Pad Plate
ATTENTION
Attach the pad assy with the front side up.
If the pad assy is attached upside down, paper jams or other feeding errors may occur.
Correct
Incorrect
Front
Back
6.
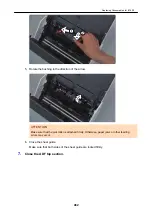
Make sure that the pad assy is attached to the retaining hook firmly.
ATTENTION
Make sure that the pad assy is attached firmly. Otherwise, paper jams or other feeding errors
may occur.
7.
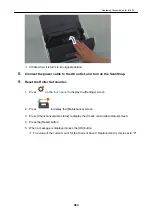
Close the ADF top section.
ADF Paper Chute (Cover)
ADF Top Section
→ It clicks when it returns to its original position.
8.
Connect the power connection cable (power cable or USB bus power cable)
to the power supply source (AC outlet or computer), and turn on the
ScanSnap.
9.
Reset the pad assy count.
Replacing Consumables for S1300i
473
Summary of Contents for SV600
Page 1: ...P3PC 6912 01ENZ2 Basic Operation Guide Windows ...
Page 54: ...What You Can Do with the ScanSnap 54 ...
Page 66: ...What You Can Do with the ScanSnap 66 ...
Page 87: ...Example When SV600 and iX1500 are connected to a computer Right Click Menu 87 ...
Page 89: ...ScanSnap Setup Window 89 ...
Page 245: ...For details refer to the Advanced Operation Guide Scanning Documents with iX100 245 ...
Page 320: ...For details refer to the Advanced Operation Guide Scanning Documents with S1100i 320 ...

