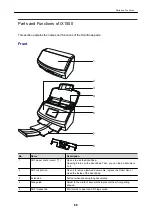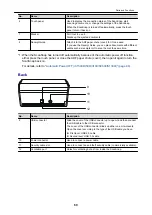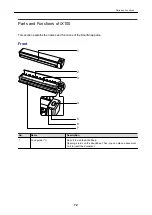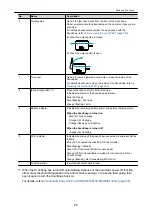
Side
8
9
No.
Name
Description
8
Tape seal
Remove this tape seal after installing the software.
9
USB connector
Used to connect a USB cable.
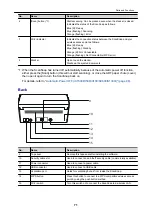
Back
10
11
No.
Name
Description
10
WPS button
Press this button to connect to a WPS compatible device by using
the push button method.
11
Wi-Fi switch
Turn this switch on to connect the ScanSnap via wireless LAN.
Parts and Functions
74
Summary of Contents for SV600
Page 1: ...P3PC 6912 01ENZ2 Basic Operation Guide Windows ...
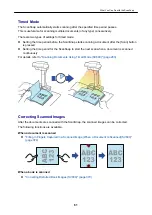
Page 54: ...What You Can Do with the ScanSnap 54 ...
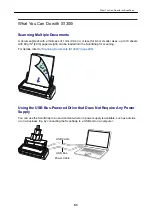
Page 66: ...What You Can Do with the ScanSnap 66 ...
Page 87: ...Example When SV600 and iX1500 are connected to a computer Right Click Menu 87 ...
Page 89: ...ScanSnap Setup Window 89 ...
Page 245: ...For details refer to the Advanced Operation Guide Scanning Documents with iX100 245 ...
Page 320: ...For details refer to the Advanced Operation Guide Scanning Documents with S1100i 320 ...


