EASIAIR
®
20
20
THE RPE EXPERTS
8
6.3 Testing the battery
To test the level of an equipped battery:
•
Turn on the blower unit.
•
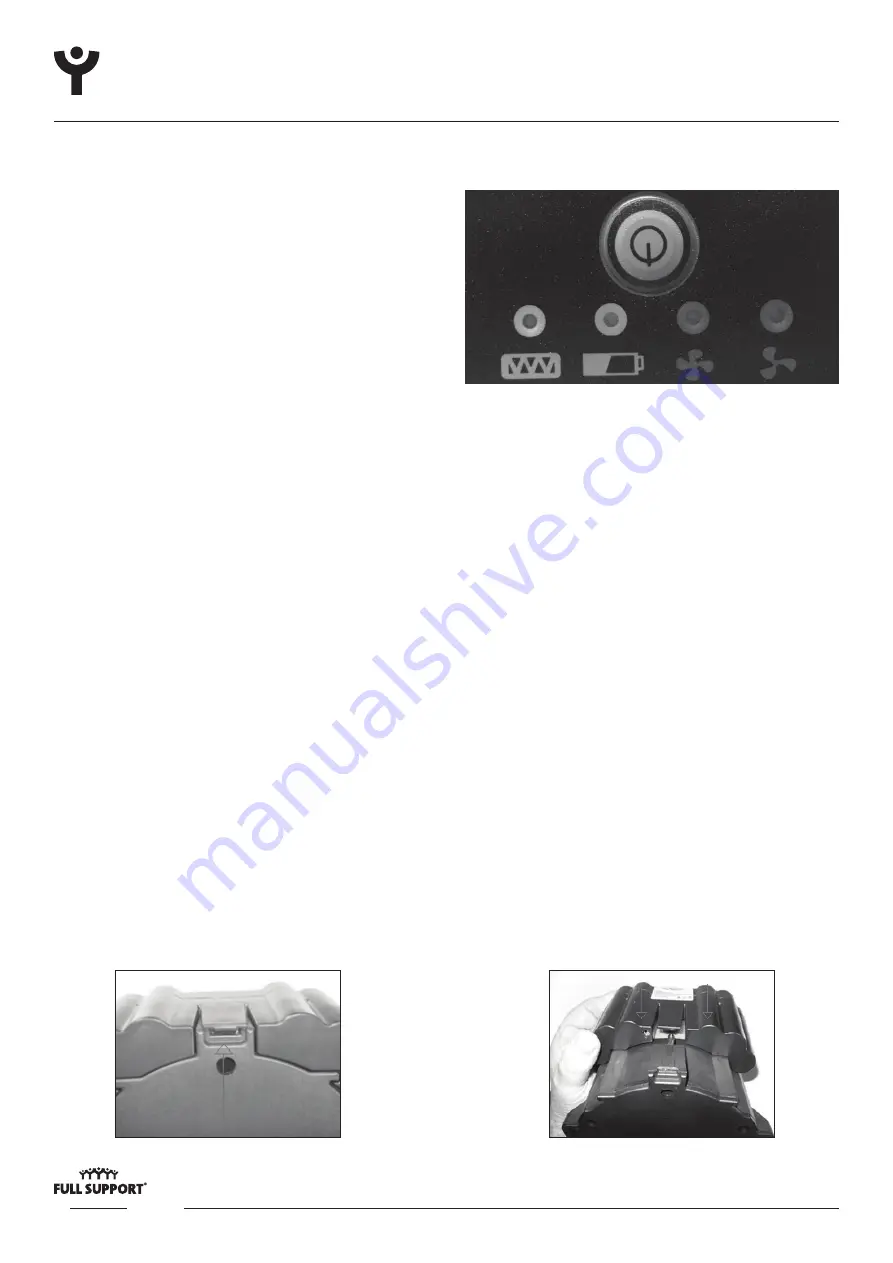
The battery level will be displayed on the control
panel briefly by flashing red LED lights:
- 1 LED = 25%
- 2 LED = 50%
- 3 LED = 75%
- 4 LED = 100%
6.4 Testing the alarm
If the Manufacturer’s Minimum Design Flow (MMDF) cannot be achieved, the battery is too low, or the filter needs
changing, an audible/visual alarm will be triggered. To ensure your Easiair
®
2020 Powered Air Kit is working, the
alarm should be tested before every use.
•
Turn on the device.
•
Place the palm of your hand over the air outlet and hold.
•
An audible/visual alarm should trigger.
•
Turn off the device to reset.
7. ASSEMBLY & DONNING
The following instructions should be followed closely in order to maximise the efficiency of your device. If your unit
is not assembled or fitted correctly you may not be protected.
7.1 Battery
When supplied, your unit’s battery may hold a small charge. Before first use, the battery should be run flat and then
charged until fully charged. A fully charged battery should last up to 12 hours when in continuous use. From empty,
a battery should take 4-6 hours to charge.
Ensure the battery is fully charged before use, using the battery charger provided (see 6.2/3).
To remove the battery:
•
Take the blower unit in both hands, with the rear
side facing you.
•
Open the battery latch upwards with your thumb.
•
Slide the battery forward to disconnect from the unit.
To attach the battery:
•
Ensure the battery is the correct way around in
relation to the blower unit.
•
Slide the battery along the guide rails.
•
You should hear an audible ‘click’ as the battery locks
into place.


