21
24
Before you start using your Jarvis, you’ll need to get all
the parts synced. Don’t worry — it’s easy.
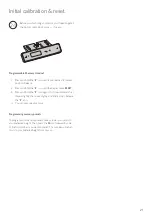
Initial calibration & reset
1. Press and hold the
icon until Jarvis reaches its lowest
position. Release.
2. Press and hold the
icon until the display reads
RESET
.
3. Press and hold the
icon again, this time until Jarvis first
lowers slightly, then rises slightly, and finally stops. Release
the
icon.
4. You can now use your Jarvis.
To program your memory presets, raise or lower your Jarvis to
your preferred height. Then, press the
M
icon followed by one
of the four numbers you want to preset. This number will return
Jarvis to your preferred height from now on.
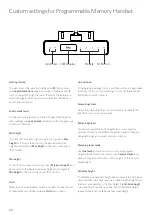
Programmable Memory Handset
Programming memory presets
Summary of Contents for Jarvis
Page 2: ...Thank you for choosing a Jarvis desk from Fully ...
Page 7: ...7 Not to scale Large Desktop Small Desktop AD AE Desktop Screw x16 Extra AF Desktop boxes 2 ...
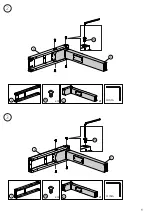
Page 9: ...9 J W C J x4 W C x1 3 2 W I C x4 W C x1 I 4 mm 4 mm ...
Page 10: ...10 4 A V 2 A x2 V 2 4 mm B V 3 B x2 V 3 5 4 mm ...
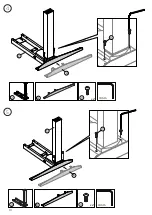
Page 11: ...11 6 K P W AB x2 W P K x2 AB 4 mm x2 U 6 L 7 U L 6 4 mm ...
Page 12: ...12 x2 U 8 x2 AB U N AB 7 N 4 mm 9 Q x2 x8 T AE Q T 1 4 3 2 AD ...
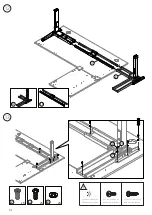
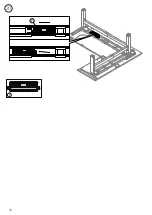
Page 18: ...18 20 F F ...
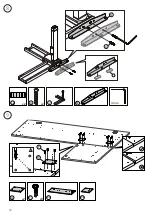
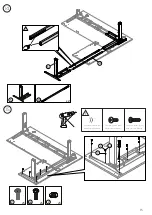
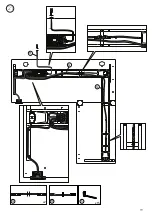
Page 19: ...19 21 G G H G x2 H x15 S ...
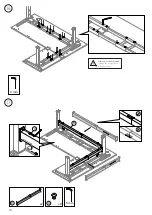
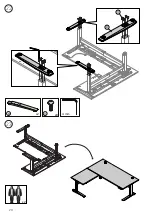
Page 20: ...20 22 23 V D V x8 4 mm x2 D x2 ...
Page 25: ...25 ...
Page 26: ...version 40000492V C Everything you need to find your work flow ...


