background image

6

EN

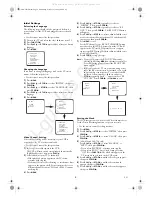
Initial Settings

Selecting the Language

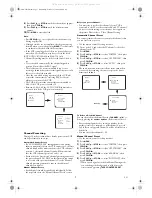
The following steps should only be performed if there is a 
power failure or if the VCR is unplugged for more than 30 
seconds.

• Use the remote control for this procedure.

1)

Turn on the TV and select the video channel on the TV.

2)

Press 

FUNCTION

.

3)

Press 

PLAY

/

K

 or 

STOP

/

L

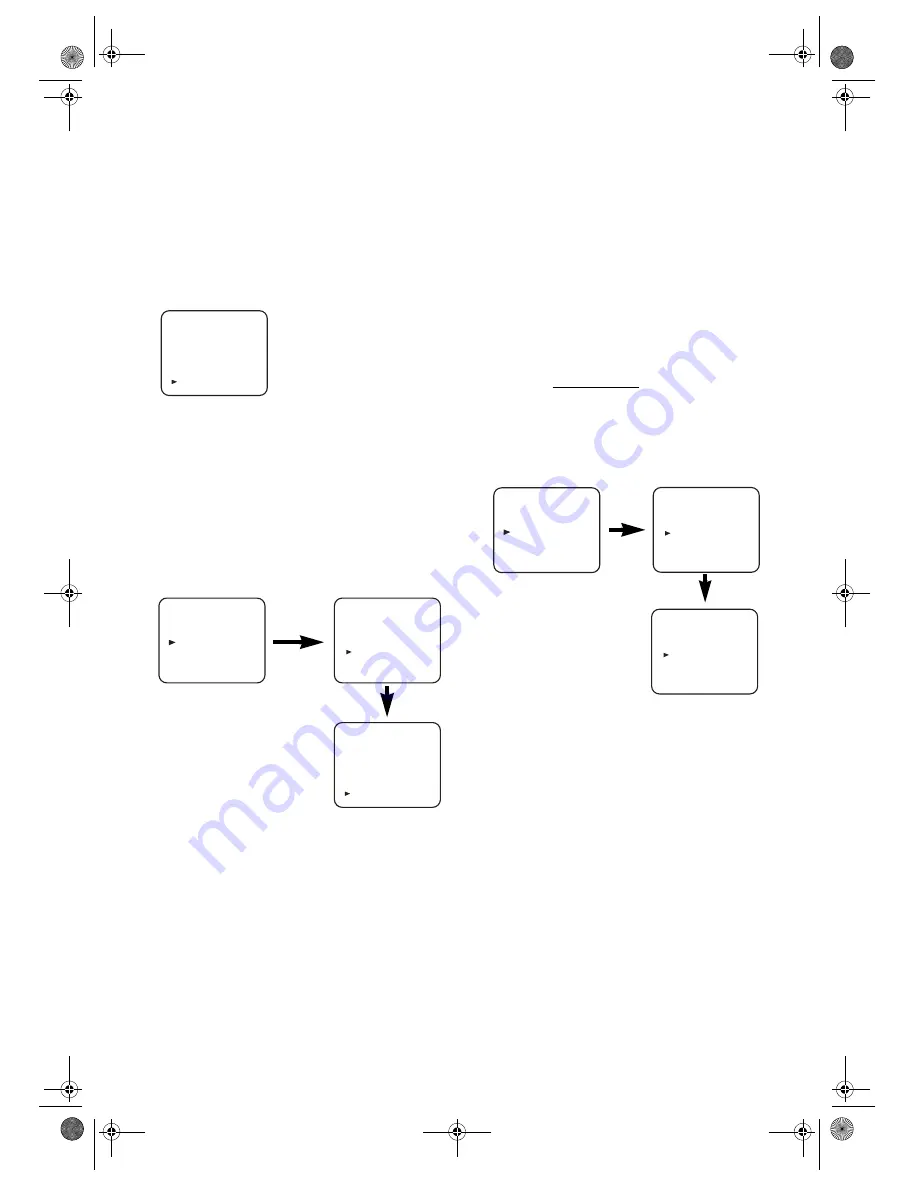
 repeatedly to select your desired 

language.

4)

Press 

MENU

.

Changing the Language

If you want to change the language used on the TV screen 
menus, follow the steps below.

• Use the remote control for this procedure.

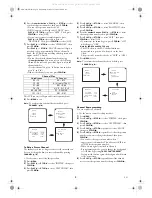
1)

Press 

MENU

.

2)

Press 

PLAY

/

K

 or 

STOP

/

L

 to select “INITIAL”, then press 

F.FWD

/

B

.

3)

Press 

PLAY

/

K

 or 

STOP

/

L

 to select “LANGUAGE”, then 

press 

F.FWD

/

B

.

4)

Press 

PLAY

/

K

 or 

STOP

/

L

 repeatedly to select your desired 

language.

5)

Press 

MENU

.

Video Channel Setting

Video channel setting will be necessary, if your VCR is 
connected to the TV via the coaxial cable.

• Use the remote control for this procedure.

1)

Insert a pre-recorded tape into the VCR.
The VCR will turn on and start playback automatically.
If playback does not start, press 

PLAY

/

K

.

2)

Select and adjust your TV to channel 36. 

•If the playback picture appears on the TV screen, 

continue with step 

8)

.

•If channel 36 is set for broadcasting, or interference lines 

appear on the picture, the RF converter must be set to a 
different channel between CH22 and CH69. Continue 
with step 

3)

.

3)

Press 

MENU

.

4)

Press 

PLAY

/

K

 or 

STOP

/

L

 repeatedly to select to 

“INITIAL”. Then, press 

F.FWD

/

B

.

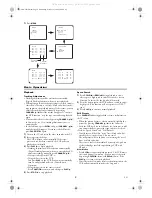
5)

Press 

PLAY

/

K

 or 

STOP

/

L

 repeatedly to select to “RF 

OUT”. Then, press 

F.FWD

/

B

. The RF OUT CH menu 

will appear.

6)

Press 

PLAY

/

K

 or 

STOP

/

L

 to select a channel which is not 

used for broadcasted between channel 22 and channel 69 
in your area, then press 

F.FWD

/

B

7)

Press 

MENU

 to exit.

Set the TV channel to the RF OUT CHANNEL which 
was selected on the VCR. A picture from the VCR will 
appear on the TV screen. If a picture does not appear, 
repeat steps 

3)

 to 

7)

 using a different channel which is not 

used for broadcasted.

8)

Press 

STOP

/

L

 to stop the tape.

Note: •

You may also access the RF OUT CH menu by 
pressing and holding 

MENU

 on the remote control for 

3 seconds during power off until the RF OUT CH 
menu appears.

If this unit and your TV are connected using a scart 
cable, the RF converter may be switched off to avoid 
any possibility of interference. To switch off the RF 
converter, follow steps 

3)

 to 

5)

 above and press 

STOP

/

L

 repeatedly until “- -” appears next to “RF 

OUT CH.” Press 

F.FWD

/

B

, then 

MENU

 to exit.

Setting the Clock

This VCR incorporates a 24-hour clock. The clock must be set 
for the Timer Recording function to operate correctly.

• Use the remote control for this procedure.

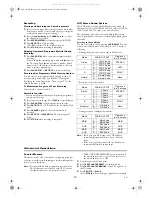
1)

Press 

MENU

.

2)

Press 

PLAY

/

K

 or 

STOP

/

L

 to select “INITIAL”, then press 

F.FWD

/

B

.

3)

Press 

PLAY

/

K

 or 

STOP

/

L

 to select “CLOCK”, then press 

F.FWD

/

B

.

4)

(29A-654 and 29A-754 only)
Press 

PLAY

/

K

 or 

STOP

/

L

 to select “MANUAL” or 

“AUTO”, then press 

F.FWD

/

B

.

•If you select “MANUAL”, continue with step 

5)

.

•If you select “AUTO”, Auto Clock Setting becomes 

“ON”. Press 

FUNCTION

. The clock will appear on the 

TV screen when you turn on the VCR again.

5)

Press 

PLAY

/

K

 or 

STOP

/

L

 until the relevant year appears, 

then press 

F.FWD

/

B

6)

Press 

PLAY

/

K

 or 

STOP

/

L

 until the relevant month 

appears, then press 

F.FWD

/

B

.

7)

Press 

PLAY

/

K

 or 

STOP

/

L

 until the relevant day appears, 

then press 

F.FWD

/

B

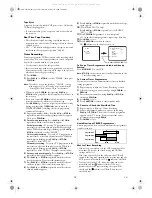
LANGUAGE

DEUTSCH
ITALIANO
ESPAÑOL
NEDERLANDS
FRANÇAIS
SVENSKA
ENGLISH

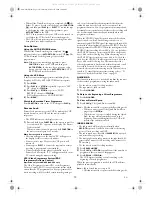
[                       ]

MENU

TIMER
SET UP
INITIAL

INITIAL

CH TUNING
CLOCK
RF OUT
LANGUAGE

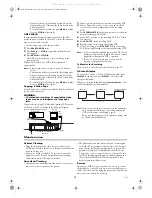
LANGUAGE

DEUTSCH
ITALIANO
ESPAÑOL
NEDERLANDS
FRANÇAIS
SVENSKA
ENGLISH

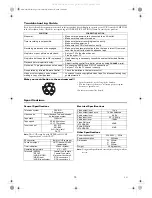
[                       ]

MENU

TIMER
SET UP
INITIAL

RF  OUT  CH  36

INITIAL

CH TUNING
CLOCK
RF OUT
LANGUAGE

29A-650(EN).fm  Page 6  Wednesday, October 27, 2004  10:40 AM

All manuals and user guides at all-guides.com

all-guides.com

Summary of Contents for 29A-650

Page 1: ...or free download 3 Before calling please have valid proof of purchase model type serial number and a precise description of the problem ready Service Hotline Mail service dangaard el com Service Hotli...

Page 2: ...nditions of high humidity Do not use the VCR for at least 2 hours until it is dry inside Positioning Do not place the VCR directly on top of or underneath your TV set Ensure that there is at least 20...

Page 3: ...of broadcast television programming video tape film or other copyrighted material may violate applicable copyright laws We do not take responsibility for the unauthorised duplication use or other act...

Page 4: ...the function of SPEED is available for this VCR 13 F FWD B button 14 PLAY K button 15 TAPE COUNTER RESET button 16 TAPE COUNTER MEMORY button 17 SLOW button 18 CHANNEL K L buttons 19 EJECT button To i...

Page 5: ...te If you want to connect a TV with Scart socket to your VCR the TV must be connected to the VCR through AV1 TV A connection to AV2 DECODER will not function correctly AV Front Terminals When you copy...

Page 6: ...the RF OUT CHANNEL which was selected on the VCR A picture from the VCR will appear on the TV screen If a picture does not appear repeat steps 3 to 7 using a different channel which is not used for br...

Page 7: ...nually and individually Follow the steps laid out in the Manual Channel Preset section Before you preset Channel It is necessary to set the video channel if your VCR is connected to the TV via the coa...

Page 8: ...ess PLAY K or STOP L to select SKIP then press F FWD B to select ON To memorize the channel again press F FWD B ON will change to OFF Note for 29A 654 and 29A 754 only The VCR refers to the PDC channe...

Page 9: ...ew a videotape at a high speed in either a forward or reverse direction In this mode the sound will be muted 2 Press the button again the VCR will now search in super high speed This function will not...

Page 10: ...eo sound decoder This equipment will receive stereo and bilingual broadcasts and it is possible the several ways of recording and playing back the sound Selecting the Sound Mode You can select each mo...

Page 11: ...select the Auto Repeat mode it stays in effect even after you turn off the VCR TAPE COUNTER MEMORY does not function if the Auto Repeat mode is set to ON When you set the Auto Repeat mode to ON while...

Page 12: ...Press PLAY K or STOP L repeatedly until your desired day appears 6 Press PLAY K or STOP L repeatedly until the relevant start hour appears Next enter the minute digit 7 Press PLAY K or STOP L repeate...

Page 13: ...ayed start or extension of the programme duration Also if a programme is interrupted and for example some special news is broadcast the recording will also be interrupted automatically and resumed whe...

Page 14: ...or colour fades in and out you may be copying a copy guarded video tape To Monitor the Recording Turn on the TV and select the video channel on the TV A Status Display To check the Counter or Clock Ch...

Page 15: ...cessary consult the nearest Authorized Service Centre Playback picture is partially noisy Adjust tracking control for a better picture by using CHANNEL K L On the air TV programmes cannot be seen Re c...

Page 16: ...GMBH Gasstrasse 18 22761 Hamburg Germany declare that the Video Cassette Recorder 29A 650 29A 654 29A 750 and 29A 754 are in compliance with following norms EN 55013 2001 EN 55020 2002 EN 61000 3 2 2...

Reviews: