Chapter 6
Wireless Adapter Utility Configuration
34
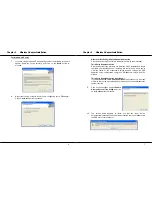
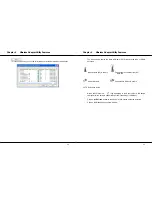
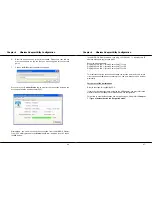
Once you have installed the utility, the system will automatically create a
default profile.
If you wish to create a new profile, click on
New
button. If not, simply click
on
Modify
button to change the default settings.
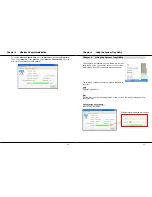
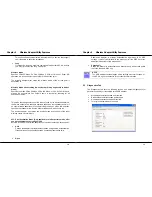
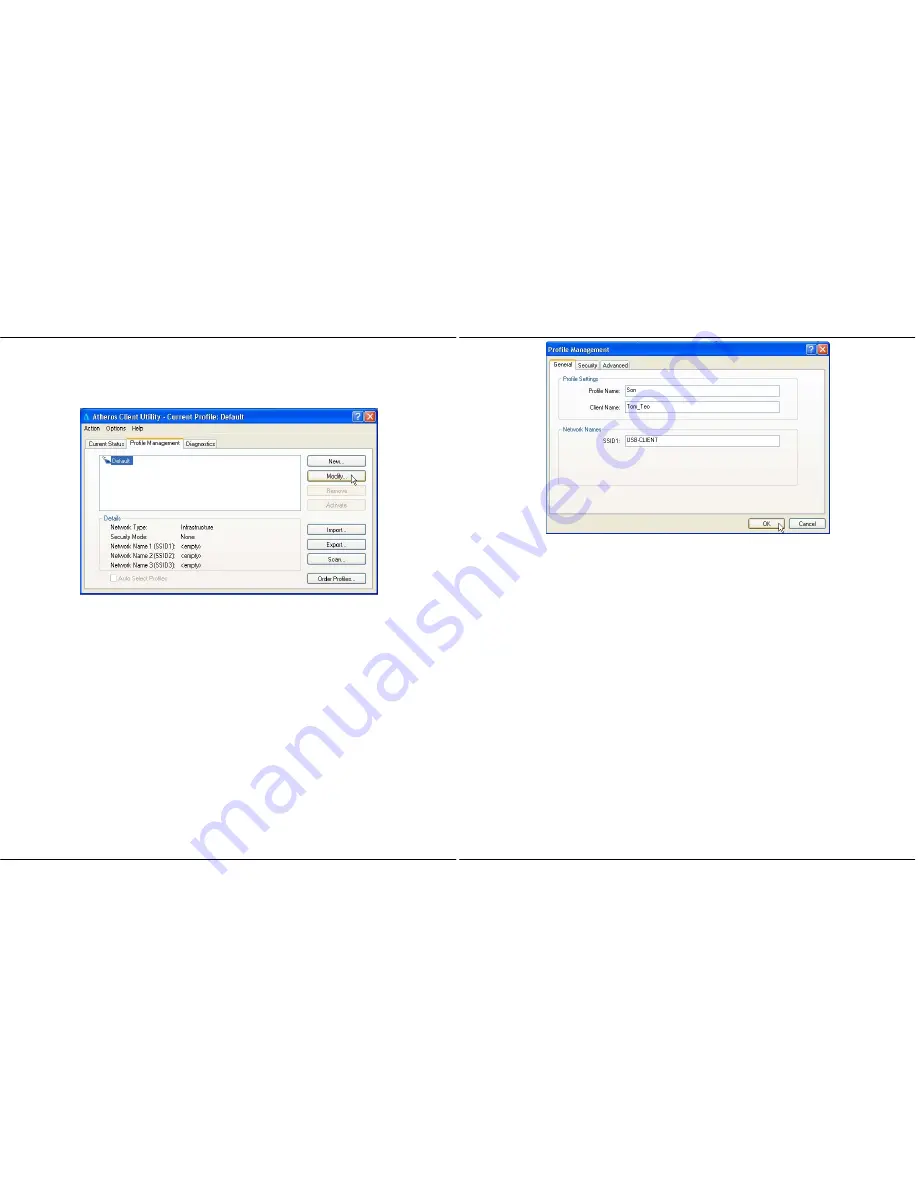
3.
Enter your own profile name, e.g.
son
. The
Client name
refers to the
name that is registered to your PC/notebook.
4.
Set the SSID to
USB-CLIENT
and click on the
OK
button to update the
changes.
Please ensure that all the clients in your Ad-hoc network use the same
SSID, which in our example is set to
USB-CLIENT
.
Chapter 6
Wireless Adapter Utility Configuration
35
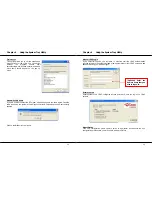
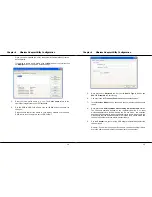
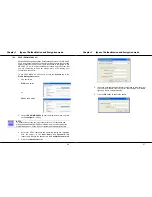
5.
Next,
proceed
to
Advanced
tab. Set your
Network Type
to
AdHoc
and
802.11b Preamble
to
Short &Long
.
6.
You may leave the
Transmit Power Level
at their default values.
7.
In
the
Wireless Mode
section, check and confirm whether all options are
ticked.
8.
Next, proceed to
Wireless Mode when starting Ad-hoc Network
section.
The channels available depend on the regulatory domain. If no other
wireless adapters are found matching the ad hoc mode, this selection
specifies the channel with which the adapter starts a new ad hoc network.
Please note that the wireless adapter must match the wireless mode and
channel of the other wireless clients it associates to.
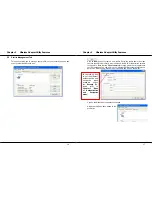
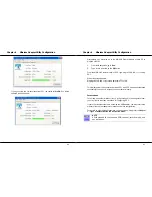
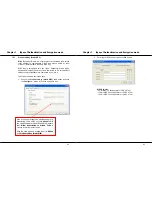
9.
Set
the
Channel
to
Auto
to let the USB adapter automatically detect the
channel to use.
However, if you wish to set a specific channel, you must ensure all clients
are in the same channel in order to communicate to one another.

