6
English
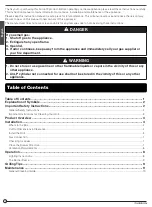
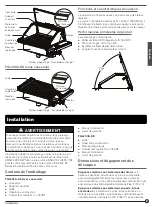
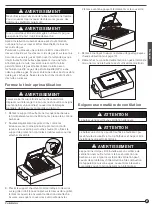
Limit bracket
Limit bracket
Fig. C
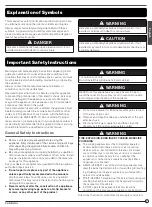
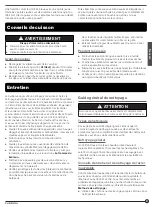
3. Mount the grill with 4 screws (not included) on the drawer.
Recommend using a #8 type stainless screw that is
designed for adhering to the counter top material.
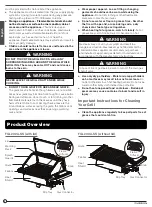
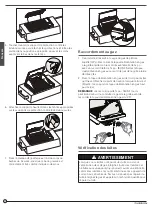
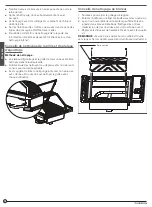
4. Re-attach the lid to the grill by inserting the 2 angled tabs
on the bottom of the lid down into the slot openings in the
grill.
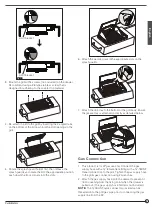
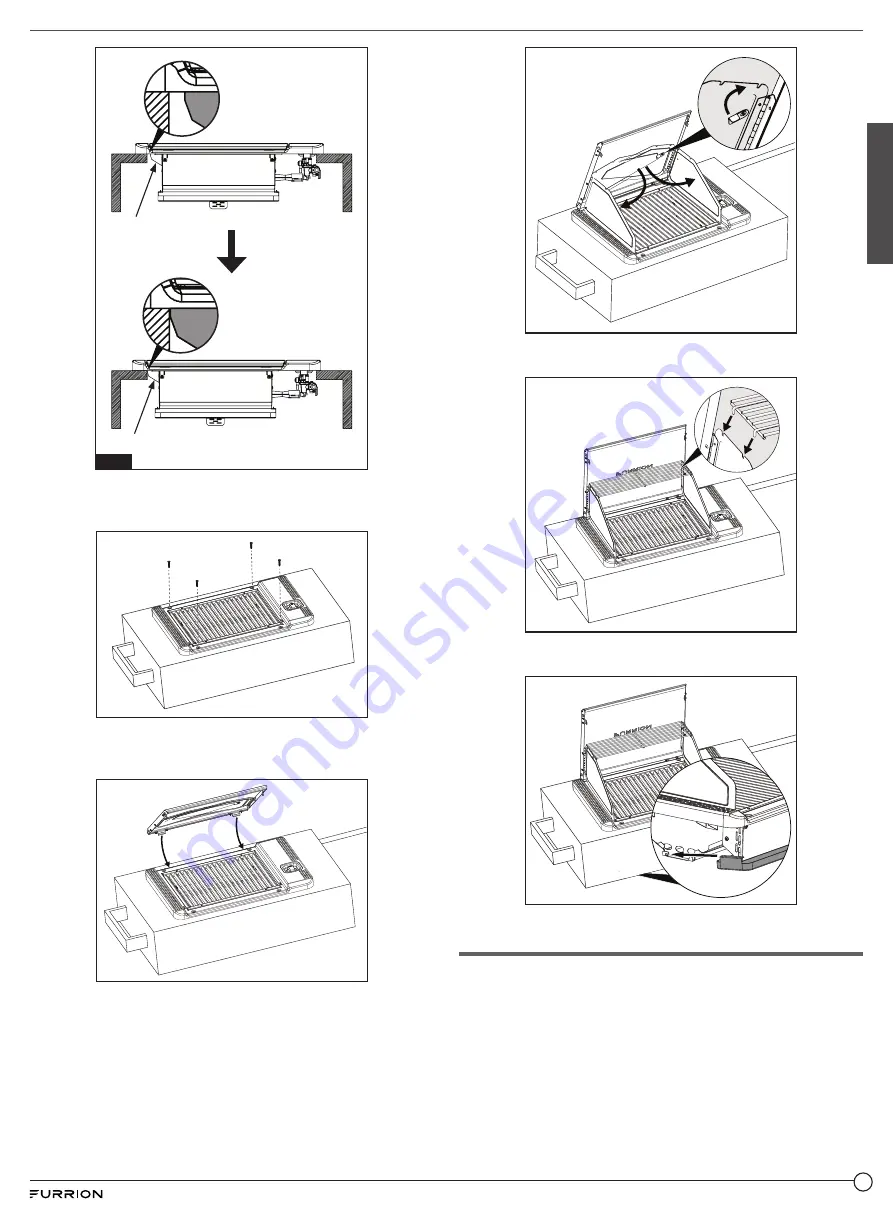
5. Rotate the splash guard holder first, then release the
splash guards and rotate them to the appropriate position,
push down the front corners into the slots.
6. Attach the warming rack in the appropriate slots on the
splash guards.
7. Attach the drip tray to the bottom of the grill body. Ensure
the grease tray is attached correctly as detailed below.
Gas Connection
1. This product is for LP gas use only. Connect the gas
supply hose with a ⅜” female flare fitting with a 5/8”-18UNF
thread connection to the grill. Tighten the gas supply hose
to the grills gas connection using 2 wrenches.
2. Attach the gas supply hose onto the drawer to prevent it
from loosening from the fixing point when the drawer is
pulled out. (The gas supply hose holder is not included.)
NOTE:
The 5/8”-18UNF quick connector provided can be
threaded on to the grill gas pipe prior to connecting the gas
supply line from the RV.


