


3. WIRING
3-4
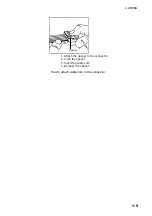
4) Fabricating of the control unit cable (66S1238)
30
8 to 9
50
150
66S1238
Vinyl tape
Armor
Cut off the internal
shield and sheath.
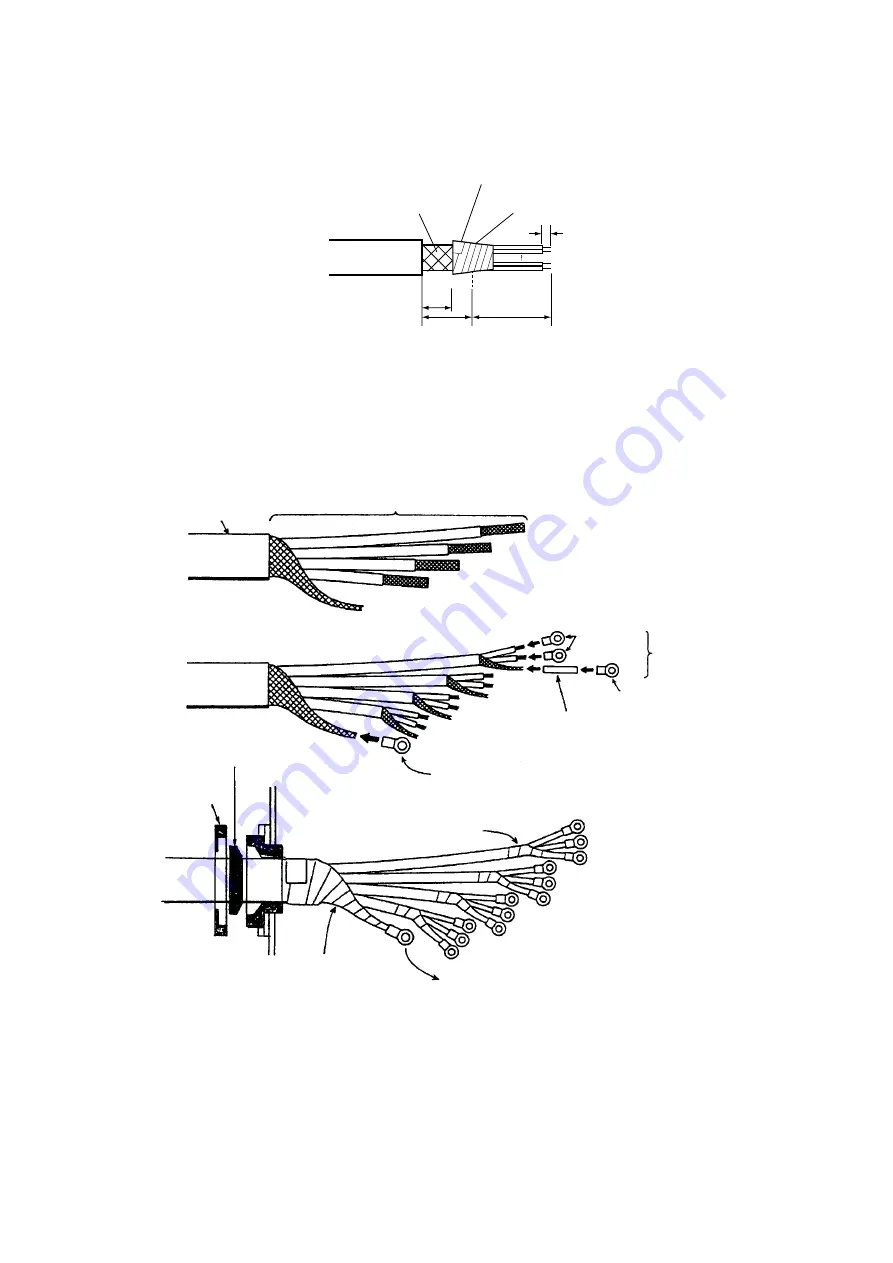
3.3
Connecting the Junction Box
The transducer cable is connected to the junction box with an extension cable. After making
the connection, seal the cable gland with putty for watertightness.
1) Transducer cable (66S1066, no armor)
Vinyl sheath
Cut to suitable length considering location on terminal board.
Insulation tube
FV2-P4
FV5.5-5
FV1.25-4
Junction box
Rubber gasket
Gland
Vinyl tape
Vinyl tape
See interconnection
diagram.
To internal earth stud
*
*
*
*
Transducer cable (no armor)
Summary of Contents for CI-88
Page 4: ...ii SYSTEM CONFIGURATIONS System configuration ...
Page 24: ...2 MOUNTING 2 14 This page is intentionally left blank ...
Page 34: ...3 WIRING 3 10 This page is intentionally left blank ...
Page 53: ...4 ADJUSTMENT 4 19 ...
Page 55: ...4 ADJUSTMENT 4 21 ...
Page 56: ...4 ADJUSTMENT 4 22 This page is intentionally left blank ...
Page 63: ...Takahashi T Y Hatai D 1 ...
Page 64: ...Y Hatai D 2 ...
Page 65: ...Y Hatai D 3 ...
Page 66: ...22 Mar 2011 Y NISHIYAMA D 4 ...
Page 67: ...Takahashi T Y Hatai D 5 ...
Page 68: ...D 6 19 Mar 2015 H MAKI ...
Page 69: ...Takahashi T Y Hatai D 7 ...
Page 70: ...D 8 ...
Page 71: ...Dec 19 03 D 9 ...
Page 72: ...D 10 ...
Page 73: ...Dec 19 03 D 11 ...
Page 74: ...D 12 ...
Page 75: ...Feb 22 05 D 13 ...
Page 76: ...Feb 22 05 D 14 ...
Page 77: ...Feb 22 05 D 15 ...
Page 78: ...Feb 22 05 D 16 ...
Page 79: ...Nov 15 05 D 17 ...
Page 80: ...29 May 2014 H MAKI D 18 ...
Page 81: ...D 19 ...
Page 82: ...D 20 Nov 27 03 ...


