4. OPERATION
4-12
4.5.4
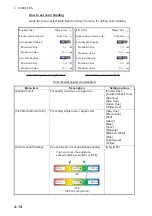
How to stop advancement of the display
You can stop advancement of the history display to observe the distribution of sea
floor topography and school of fish.
1. Tap the 3D sounder history display to show the pop-up menu.
2. Select [Pause] to stop the display.
4.5.5
How to adjust the echo detection level
Adjust the echo detection level if schools of fish are detected unstably.
1. Select [Menu] from the menu icon to show the menu.
2. Select [Multibeam Sonar].
3. Select [Fish Detection Level].
4. Select [Low], [Medium] or [High] as required. The default setting is [Medium]. If too
many schools of fish are being detected, select [Low]. If too few schools are de-
tected, select [High].
5. Select [Close] to close the menu.
4.5.6
How to calibrate the seabed echo
If schools of fish or a fish reef are detected and displayed as the seabed echo, adjust
the strength of the seabed echo as shown below to correctly identify the seabed echo.
1. Select [Menu] from the menu icon to show the menu.
2. Select [Multibeam Sonar].
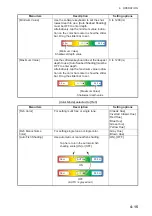
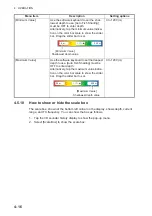
3. Select [Seabed Echo Calibration]. Drag the slider bar to adjust.
The setting range is -15 to +15. A large figure helps distinguish bottom fish from
the seabed echo; however, it is difficult to distinguish a fish bed. Use a small figure
to distinguish a fish bed; however, it is difficult to distinguish bottom fish from the
seabed echo.
4. Select [Close] to close the menu.
4.5.7
How to use the noise filter
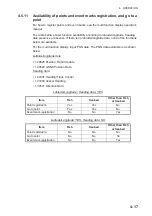
If the seabed echo is displayed with undulations, use the noise filter to smooth the sea-
bed echo.
1. Select [Menu] from the menu icon to show the menu.
2. Select [Multibeam Sonar].
3. Select [Noise Filter].
4. Select [Low], [Medium] or [High] as required. The default setting is [Medium].
5. Select [Close] to close the menu.
Summary of Contents for DFF-3D
Page 1: ...MULTI BEAM SONAR DFF 3D OPERATOR S MANUAL www furuno com Model ...
Page 10: ...SYSTEM CONFIGURATION viii This page is intentionally left blank ...
Page 14: ...1 INSTALLATION 1 4 Unit of measurement Top millimeter Bottom inch ...
Page 16: ...1 INSTALLATION 1 6 This page is intentionally left blank ...
Page 36: ...3 INITIAL SETTINGS 3 10 This page is intentionally left blank ...
Page 54: ...4 OPERATION 4 18 This page is intentionally left blank ...
Page 68: ...APPENDIX 4 INSTALLATION OF TRANSDUCER TM54 AP 12 This page is intentionally left blank ...
Page 71: ...D 1 20 Sep 2016 H MAKI 20 Sep 2016 H MAKI 20 Sep 2016 H MAKI 20 Sep 2016 H MAKI ...
Page 74: ...INDEX IN 2 Z Zoom display 4 8 ...

