5. 3D MODE
5-3
5.3
Basic Operation
5.3.1
How to change the viewpoint angle
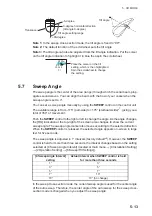
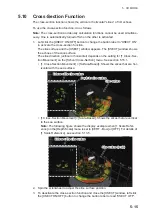
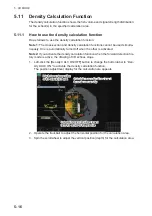
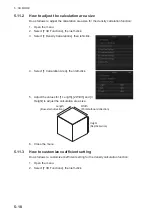
You can observe the 3D objects from various angles by changing the viewpoint. To
change the viewpoint, do as follows:
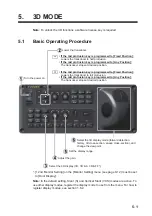
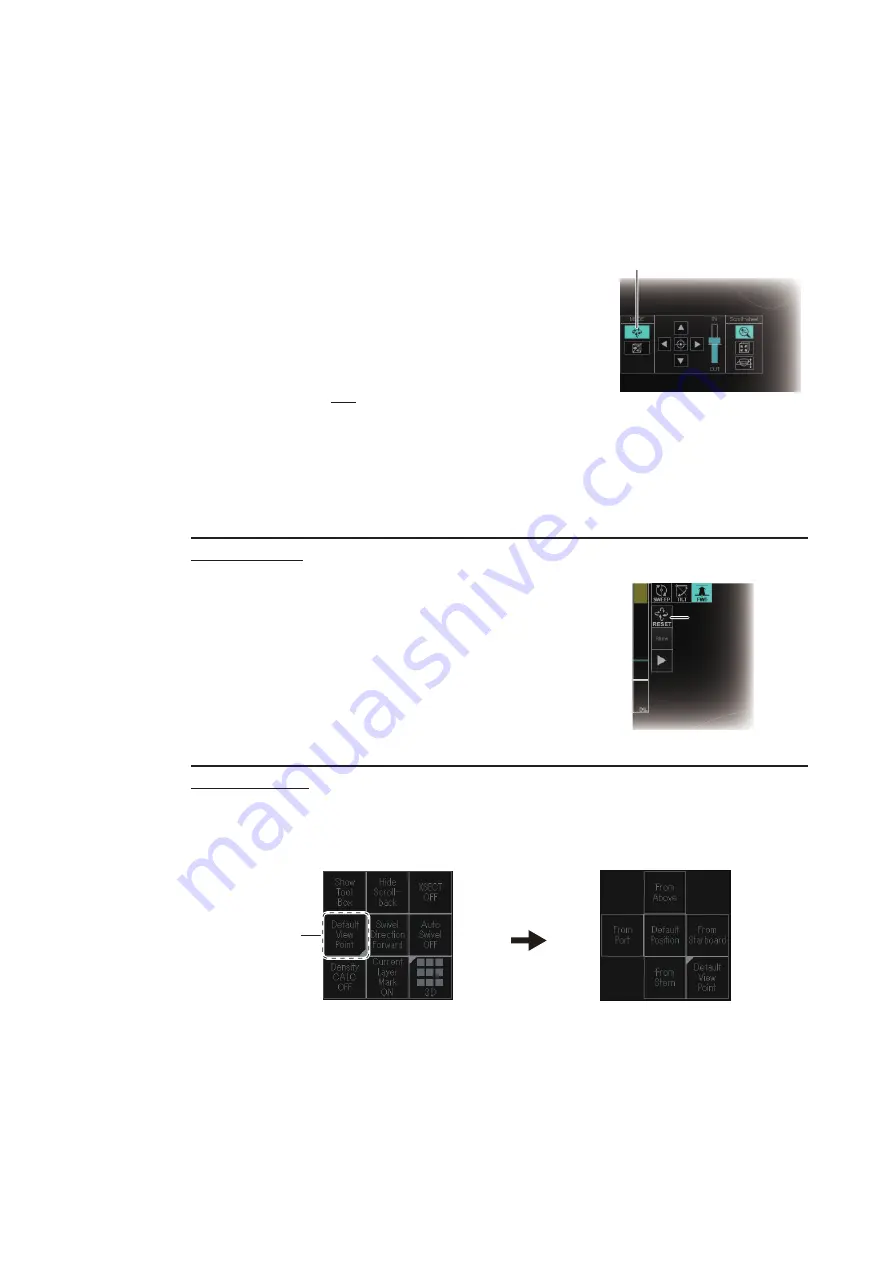
1. Check that the viewpoint operation mode icon on
tool box is highlighted.
Note 1:
If the tool box is hidden, click the [Show/
Hide Tool Box] button on the 3D function panel.
Note 2:
If the viewpoint operation mode icon is not
highlighted, click the [Density CALC ON/OFF] but-
ton to turn the density calculation function off.
2. Hold down the
left button
while moving the track-
ball to change the viewpoint.
5.3.2
How to reset the viewpoint position
There are three methods to reset the viewpoint position.
Reset the viewpoint position using the viewpoint reset button at the top left
of the display
Left-click the viewpoint reset button at the top left of
the display to reset the viewpoint position.
Note:
The reset position is based on the setting of
[1 Default View Point] on the [Camera Setting]
menu. See section 5.15.2.
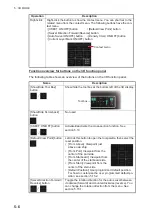
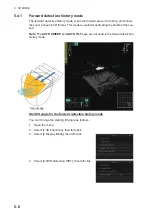
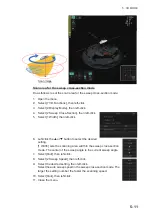
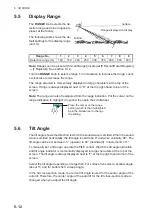
Reset the viewpoint position using the [Default View Point] button on the 3D
function panel
Left-click the [Default View Point] button on the 3D function panel, then select the reset
position.
• [From Above]: Viewpoint just above own ship
• [From Port]: Viewpoint from the center of the port side
• [From Starboard]: Viewpoint from the center of the starboard side
• [From Stern]: Viewpoint from the center of the stern side
• [Default Position]: User programmed default position. For how to customize the user
programmed default position, see section 5.15.2.
Viewpoint operation mode
icon
Viewpoint reset
button
Viewpoint reset
button
Left-click the button.
Viewpoint
reset button
Summary of Contents for FSV-75
Page 1: ...OPERATOR S MANUAL www furuno com HALF CIRCLE COLOR SCANNING SONAR Model FSV 75 FSV 75 3D ...
Page 78: ...2 SLANT MODE 2 44 This page is intentionally left blank ...
Page 110: ...4 FISH FINDER MODE 4 12 This page is intentionally left blank ...
Page 144: ...5 3D MODE 5 34 This page is intentionally left blank ...
Page 148: ...6 NUMERIC GRAPHIC DATA DISPLAY 6 4 This page is intentionally left blank ...
Page 158: ...7 HOW TO CUSTOMIZE THE SONAR 7 10 This page is intentionally left blank ...
Page 216: ...10 MAINTENANCE 10 28 This page is intentionally left blank ...
Page 234: ...INDEX IN 3 W Warning messages 10 5 X XSECT ON OFF button 5 6 Z Zoom in out 5 4 ...
Page 235: ......


