Installation of the ADU
2-21
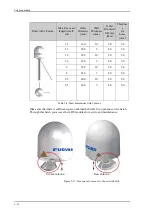
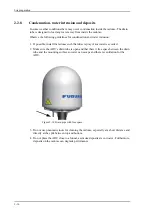
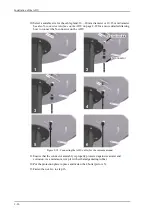
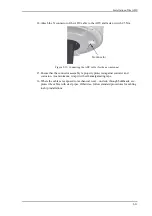
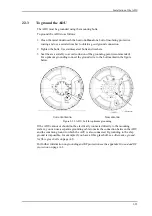
14.Attach the N connector of the ADU cable to the ADU and fasten it with 2.5 Nm.
15.Ensure that the connector assembly is properly protected against seawater and
corrosion. As a minimum, wrap it with self-amalgamating tape.
16.Where the cables are exposed to mechanical wear – on deck, through bulkheads, etc. –
protect the cables with steel pipes. Otherwise, follow standard procedures for cabling
in ship installations.
Figure 2-19: Connecting the ADU cable (for the new antenna)
2
4
N connector
Summary of Contents for FV-110GX
Page 1: ...GX TERMINAL FV 110GX OPERATOR S MANUAL www furuno com Model ...
Page 16: ...xiv This page is intentionally left blank ...
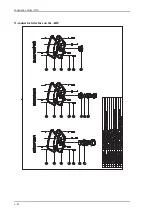
Page 46: ...Installation of the ADU 2 22 N connector interface on the ADU ...
Page 54: ...To connect the ADU ACU and GMU 2 30 This page is intentionally left blank ...
Page 110: ...Installation check list Functional test in harbor 6 4 This page is intentionally left blank ...
Page 164: ...Supported commands C 10 This page is intentionally left blank ...
Page 165: ...D 1 Appendix D Approvals D This appendix lists the approvals for FV 110GX OEM declaration ...
Page 166: ...OEM declaration D 2 D 1 OEM declaration ...
Page 173: ...OD 1 30 Jul 2018 H MAKI ...
Page 174: ...OD 2 30 Jul 2018 H MAKI ...
Page 175: ...OD 3 2 Oct 2018 H MAKI ...
Page 176: ...OD 4 2 Oct 2018 H MAKI ...
Page 178: ......
Page 186: ......

