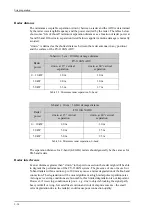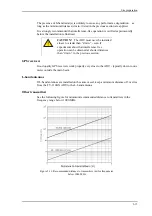
Installation of the ADU
2-23
2.3.2
To open and remove the service hatch
Through the service hatch you can access the antenna modules. You can remove the hatch
for better mobility when servicing the antenna.
To open the service hatch in order to access the antenna modules do as follows:
For the current antenna
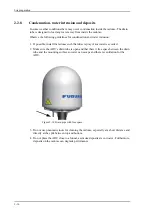
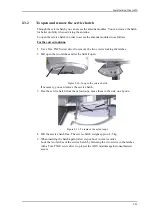
1. Use a Torx TX20 screw driver to remove the two screws locking the latches.
2. Pull open the two latches and let the lid fall open.
Figure 2-20: To open the service hatch
If necessary, you can remove the service hatch.
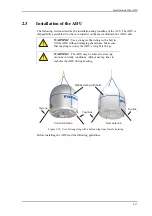
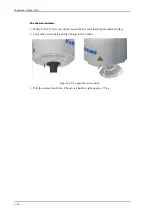
3. Free the service hatch from the nylon loops, move them to the side, one by one.
Figure 2-21: To remove the nylon loops
4. Pull the service hatch free. The service hatch weighs approx. 4.5 kg.
5. When inserting the hatch again follow steps above in reverse order.
Lock the two latches of the service hatch by fastening the two screws in the latches
with a Torx TX20 screw driver to protect the ADU modules against unauthorised
access.
Summary of Contents for FV-110GX
Page 1: ...GX TERMINAL FV 110GX OPERATOR S MANUAL www furuno com Model ...
Page 16: ...xiv This page is intentionally left blank ...
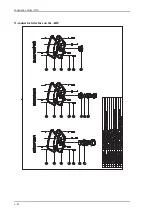
Page 46: ...Installation of the ADU 2 22 N connector interface on the ADU ...
Page 54: ...To connect the ADU ACU and GMU 2 30 This page is intentionally left blank ...
Page 110: ...Installation check list Functional test in harbor 6 4 This page is intentionally left blank ...
Page 164: ...Supported commands C 10 This page is intentionally left blank ...
Page 165: ...D 1 Appendix D Approvals D This appendix lists the approvals for FV 110GX OEM declaration ...
Page 166: ...OEM declaration D 2 D 1 OEM declaration ...
Page 173: ...OD 1 30 Jul 2018 H MAKI ...
Page 174: ...OD 2 30 Jul 2018 H MAKI ...
Page 175: ...OD 3 2 Oct 2018 H MAKI ...
Page 176: ...OD 4 2 Oct 2018 H MAKI ...
Page 178: ......
Page 186: ......


