9. OTHER FUNCTIONS
9-15
6. Press the
NU/CU ENT
key.
Note:
For the TX interval of [0.1s] or [0.2s], set the positioning cycle (refer to
paragraph 9.3.7) as follows:
• For [0.1s], set the positioning cycle at 10Hz.
• For [0.2s], set the positioning cycle at 5Hz or 10Hz.
7. Press the
MENU/ESC
key to close the sentence window.
8. Press the
MENU/ESC
key to open the main menu.
9. Select [7 I/O] then [5 Ethernet].
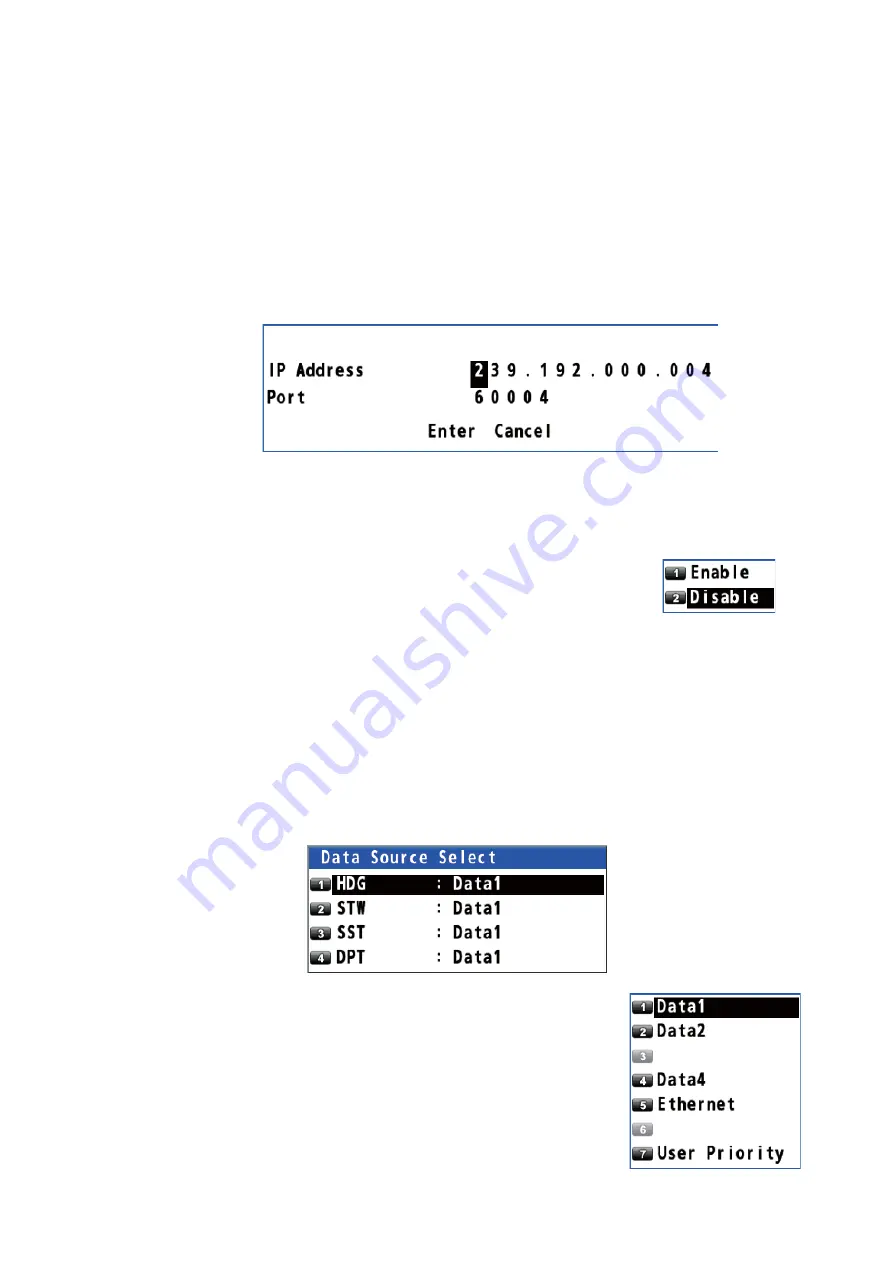
10. Select [2 IP ADR /Port].
11. Enter the IP address and port (setting range: 49152 to 65535) with the numeric
keys. When setting dual configuration (see section 9.7), set “239.192.000.004” for
IP address and “60004” for port.
12. Move the cursor to [Enter] then press the
NU/CU ENT
key.
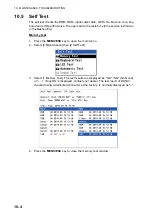
13. Select [3 MP].
14. Select [1 Enable] or [2 Disable]. For [1 Enable], go to
step 15. For [2 Disable], go to step 18.
15. Select [4 MP IP ADR /Port].
16. Enter the MP IP address and port with the numeric keys.
17. Move the cursor to [Enter] then press the
NU/CU ENT
key.
18. Press the
MENU/ESC
key to close the main menu.
9.6.3
How to select the input data
1. Press the
MENU/ESC
key to open the main menu.
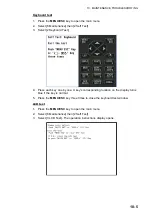
2. Select [7 I/O] then [6 Data Source Select].
3. Select [1 HDG].
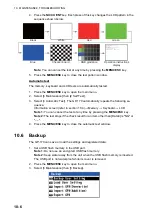
4. Select the port for heading data. For [5 Ethernet], go to


