4-3
4.2 Entering
Marks,
Lines
You can inscribe marks and lines on the display to denote important locations such as
fishing spots, buoys, islands, etc.
4.2.1
Entering marks on the radar display
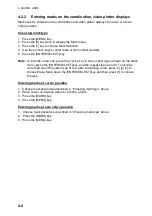
Choosing mark entry method
Marks may be entered on the radar display by cursor, latitude and longitude position and
own ship’s position.
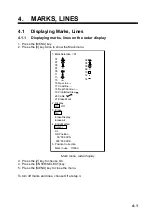
1. Press the [MENU] key.
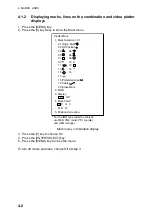
2. Press the [8] key twice to display the Mark menu.
3. Press the [1] key to choose Mark Selection.
4. Use the numeric keys to enter mark or line number desired.
5. Press the [ENTER/SELECT] key.
6. Press the [4] key to choose mark/line entry method desired; cursor, L/L, or own ship
position.
7. Press the [ENTER/SELECT] key. Follow “Entering marks by cursor,” “Entering marks by
latitude and longitude position,” or “Entering marks at own ship’s position” depending on
selection made at step 6.
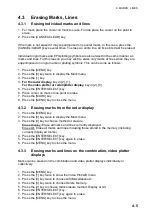
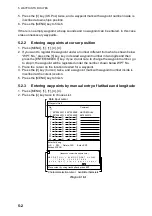
Entering marks at cursor position
1. Choose Cursor at step 6 in “Choosing mark entry method” above.
2. Place cursor on location where to inscribe a mark.
3. Press the [MARK] key.
4. To enter a line, repeat steps 2 and 3.
5. Press the [MENU] key.
Note:
To inscribe another line, press the [1] key, key in line number (type) shown on the
Mark menu, press the [ENTER/SELECT] key, and the repeat steps 2 and 3. To
inscribe more than two of the same type of line, after completing a line, press [1], [2]
and [1] to choose Erase Mark, press the [ENTER/SELECT] key and then press [1] to
choose line type. The, do steps 2 and 3 in “Entering marks at cursor position.”
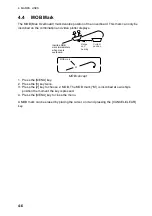
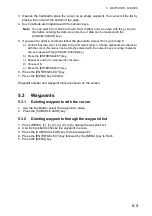
Entering marks by latitude and longitude position
1. Choose L/L at step 6 in “Choosing mark entry method” above.
2. Key in latitude and press the [ENTER/SELECT] key.
3. Key in longitude and press the [ENTER/SELECT] key.
4. Press the [MENU] key.
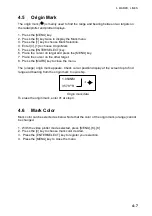
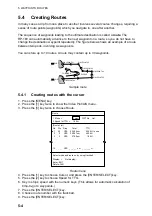
Entering marks at own ship’s position
1. Choose OS Position at step 6 in “Choosing mark entry method” above.
2. Press the [MARK] key. A mark is placed at own ship’s position.
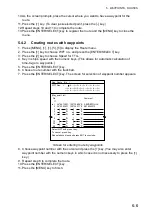
3. Press the [MENU] key.
Summary of Contents for RP-180
Page 1: ...VIDEO PLOTTER RP 180...
Page 31: ......
Page 45: ...6 NAVIGATION 6 6 This page intentionally left blank...
Page 49: ...7 ALARMS 7 4 This page intentionally left blank...
Page 57: ...8 MEMORY CARD OPERATIONS 8 8 This page intentionally left blank...
Page 90: ...APPENDIX AP 3 Schematic diagram Load requirements as listener 2 2 Kohms...
Page 97: ...APPENDIX AP 10 This page intentionally left blank...

